
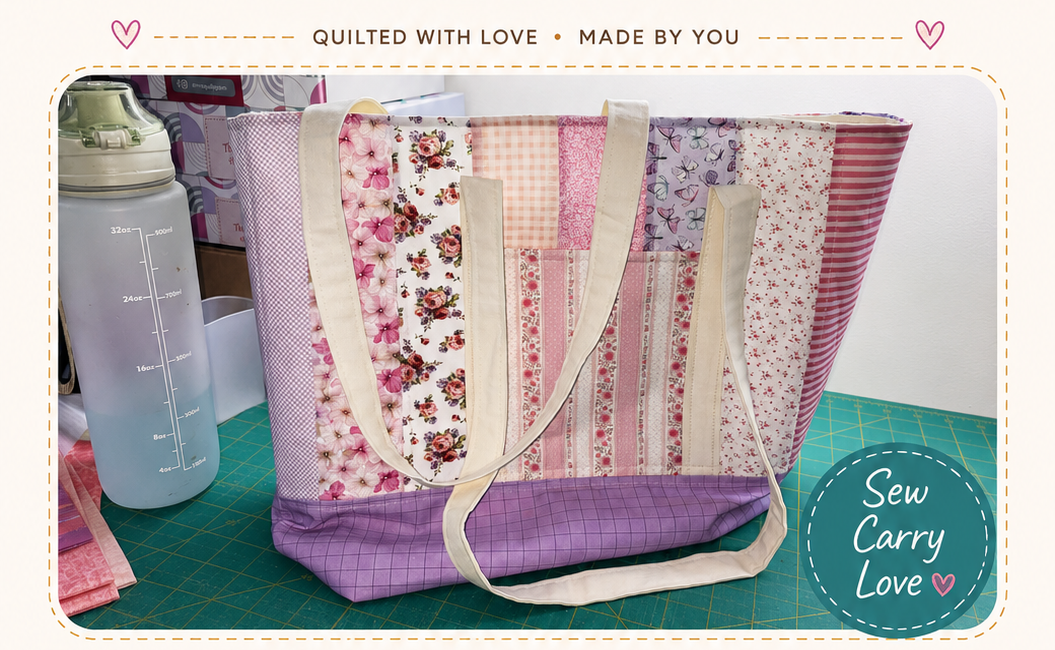
Heymish Market Tote
A roomy, quilted tote made from a 12-piece fat quarter bundle — stripy, sturdy and extremely capable of carrying more fabric home than you planned.
SKILL LEVEL
Confident beginner
FINISHED SIZE
Approx. 13″ × 13″ × 5″
A fat-quarter bundle with an actual job
Fat-quarter bundles are very good at looking pretty and quietly accusing you of never cutting into them. The Heymish Market Tote fixes that.
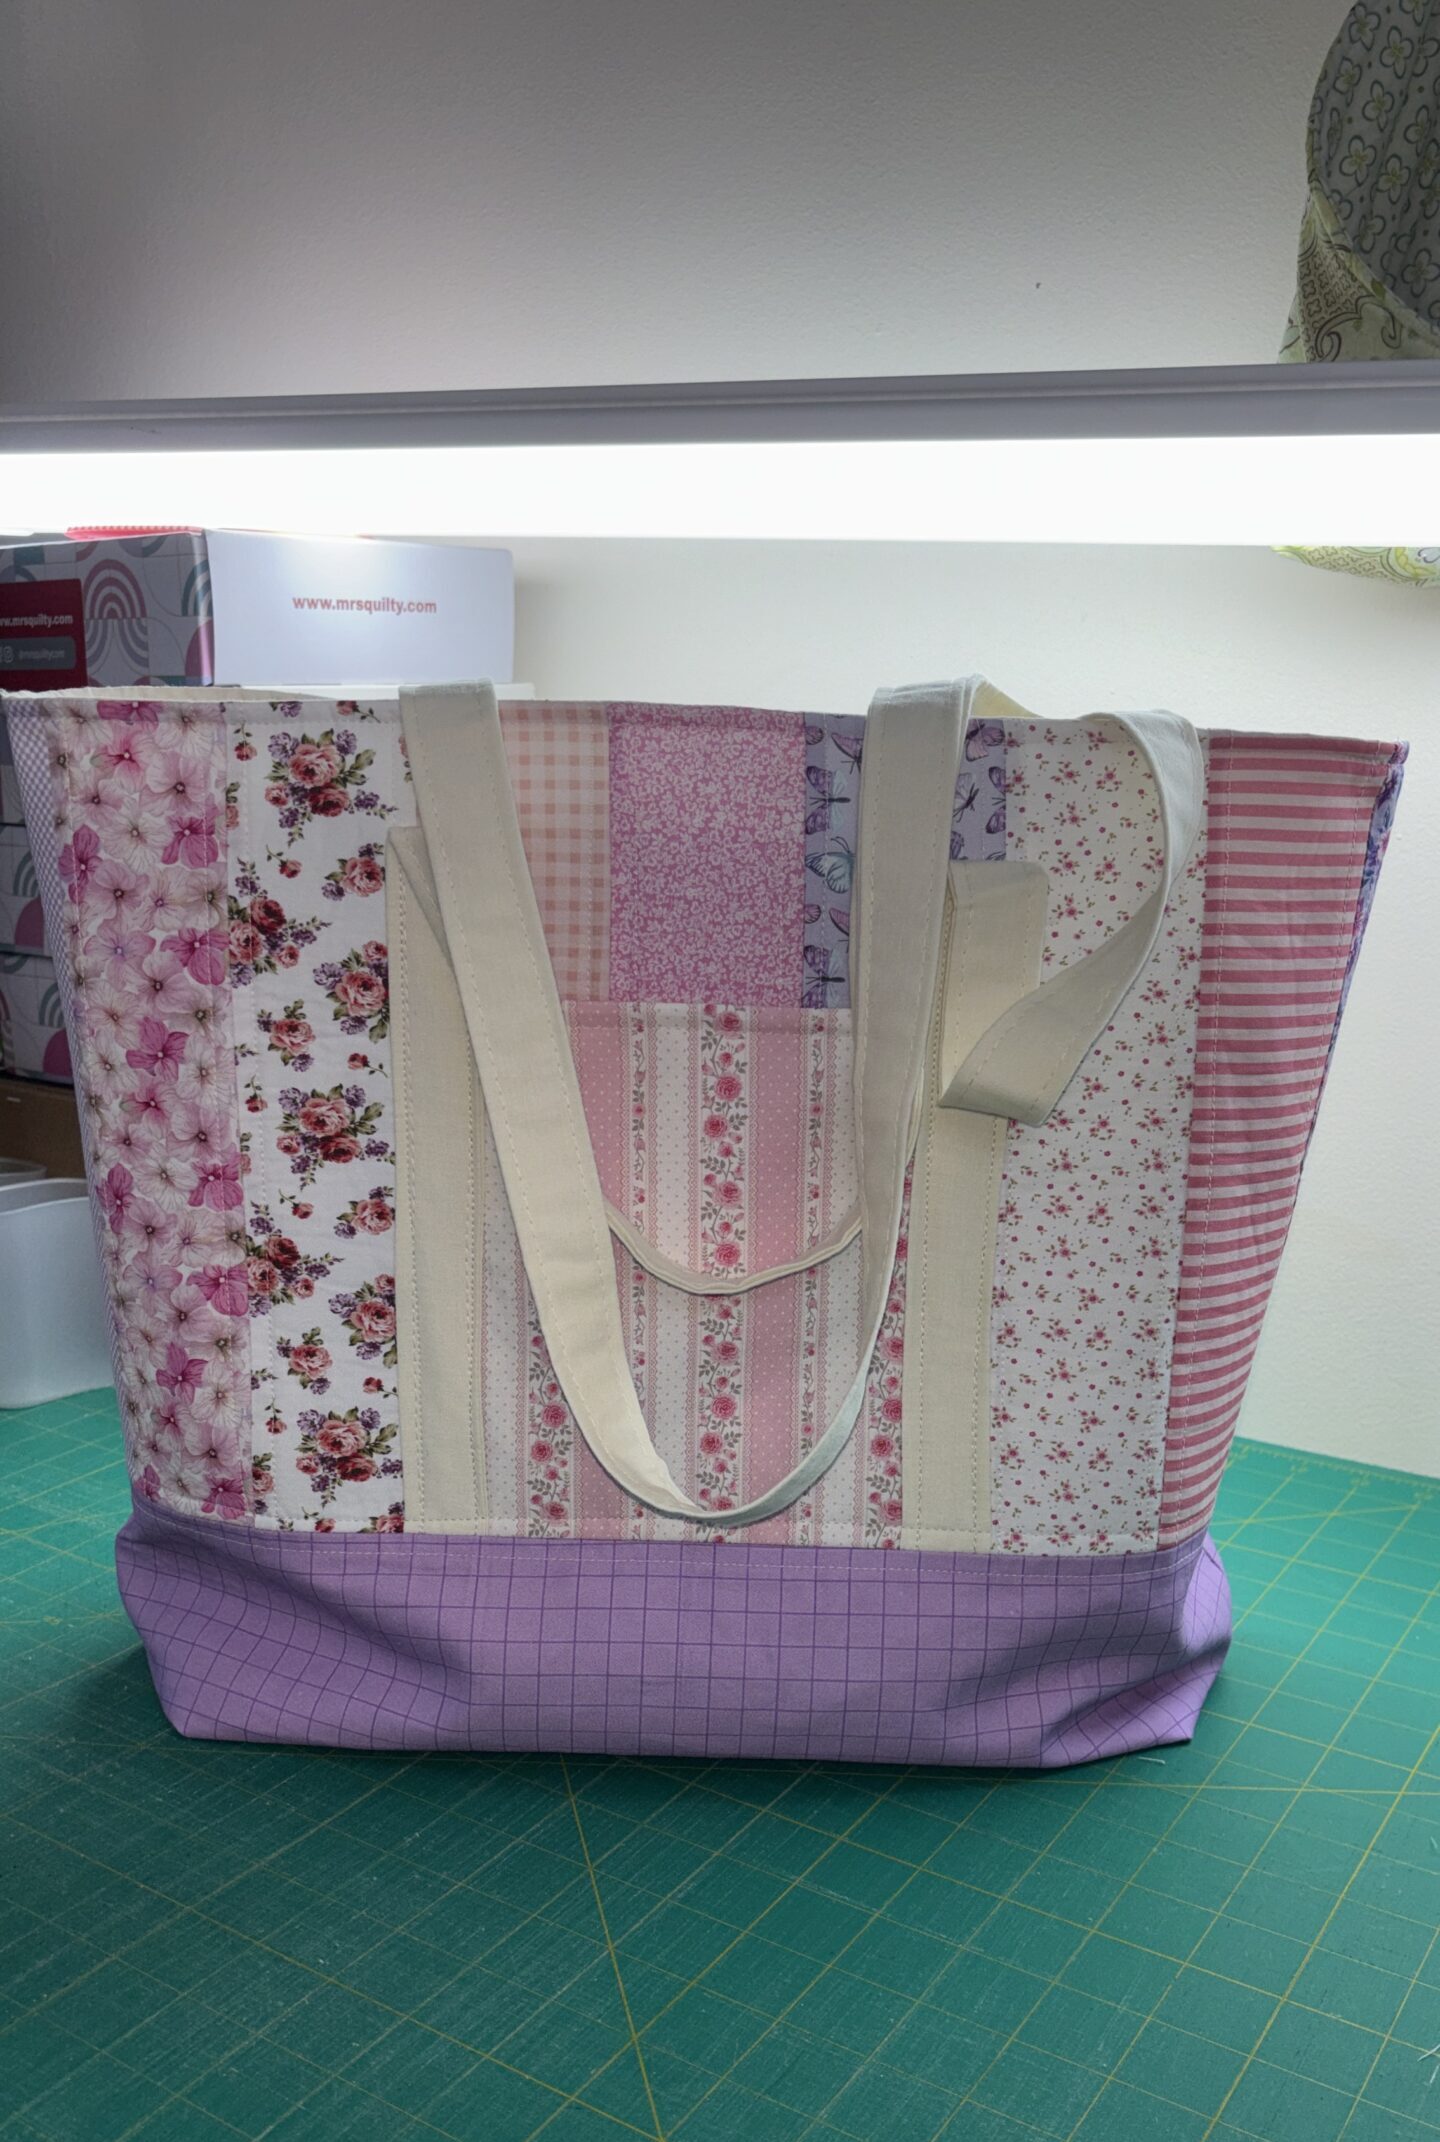
This project uses all 12 fat quarters to make a practical tote with quilted strip-pieced upper panels, a contrasting lower exterior, two outside pockets, a full lining and long handles. The whole tutorial is here on the page, so you can sew along without handing over your email address just to discover where the seams go.
GIFTED PROJECT DISCLOSURE
Made with a gifted Mrs Quilty Box
This project was made using a gifted Mrs Quilty Box as part of Heymish Handicrafts’ ambassador partnership. Use code HEYMISH25 when ordering.
Fabric Requirements
Prints
- 10 — 2½ × 21 inch strips for the upper exterior
- 1 — 13 × 18 inch piece for the lower exterior
- 2 — 7 × 6 inch pieces for the pockets
Solids
- 1 — 18 × 32 inch piece for the lining
- 2 — 6¾ × 6 inch pieces for the pocket lining
Handles
- 2 — 4 × 40 inch fabric strips
- or 2 — 1 × 40 inch lengths of webbing
Interfacing
1 — 20 x 22 inch – Upper Exterior
1 — 13 × 18 inch – Lower Exterior
2 — 7 × 6 inch – Pockets
Depending on how much structure you would like your tote to have, use either fusible fleece or woven interfacing for the exterior pieces.
You may use an unwoven fusible interfacing for the pocket pieces.
Tools
- Coordinating thread
- Rotary cutter
- Cutting mat
- Ruler
- Iron and pressing surface
- Clips or pins
- Removable fabric marker
PART 1
Choose and cut the fabrics
Give each fat quarter its job, then cut the strip-pieced upper exterior.
STEP 1
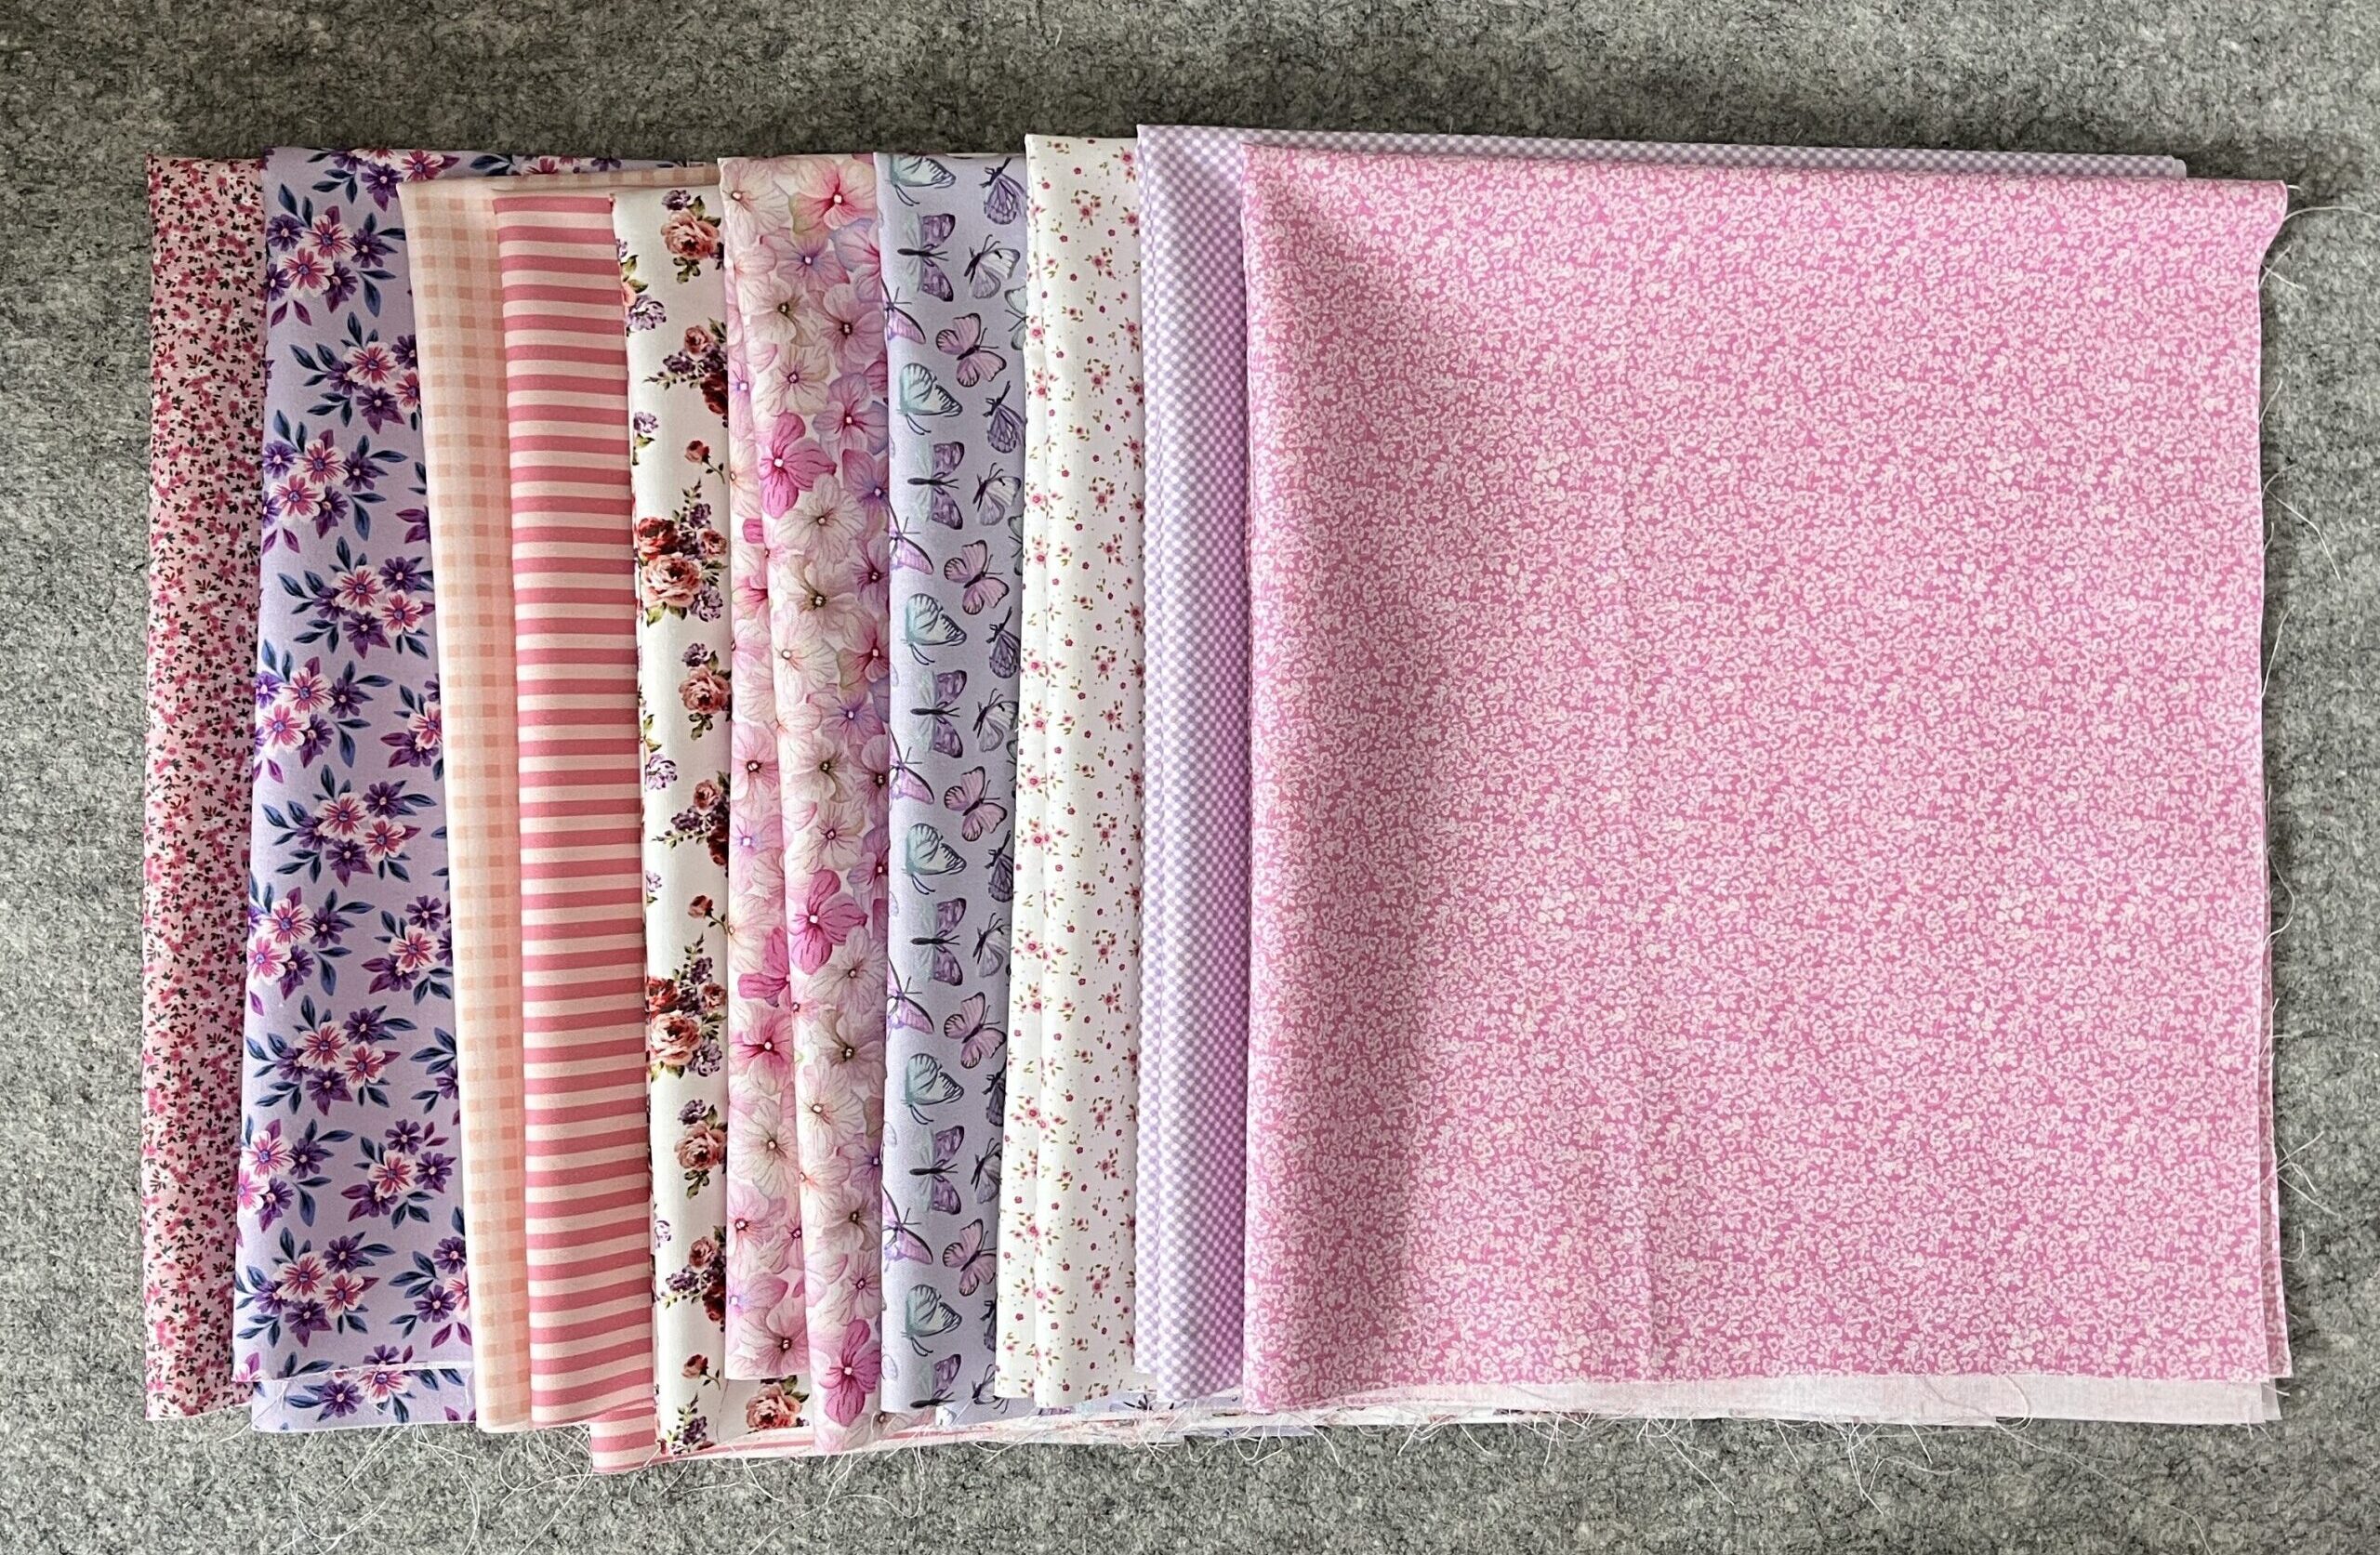
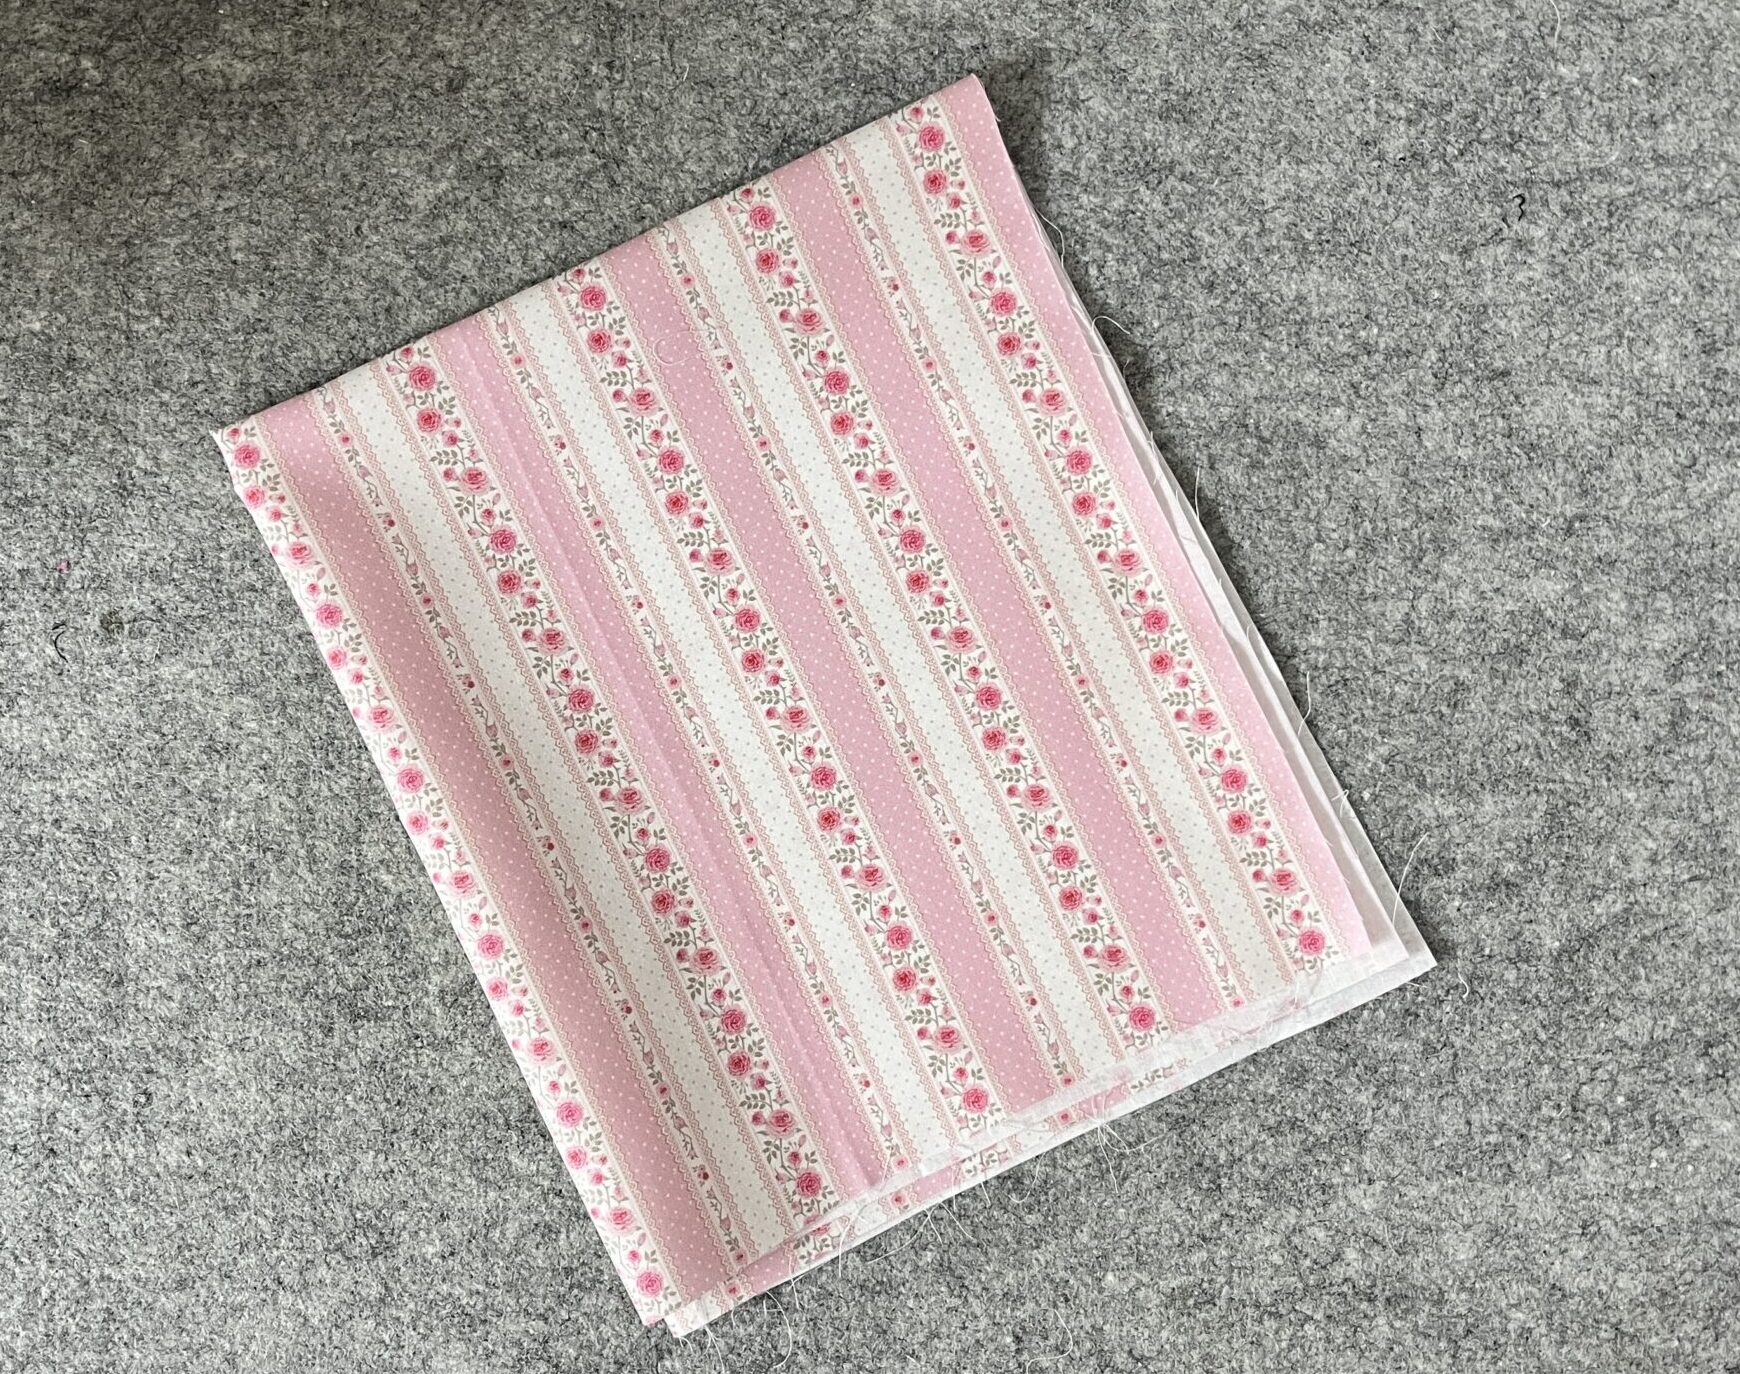
Choose 10 fabrics for your upper exterior.
STEP 2
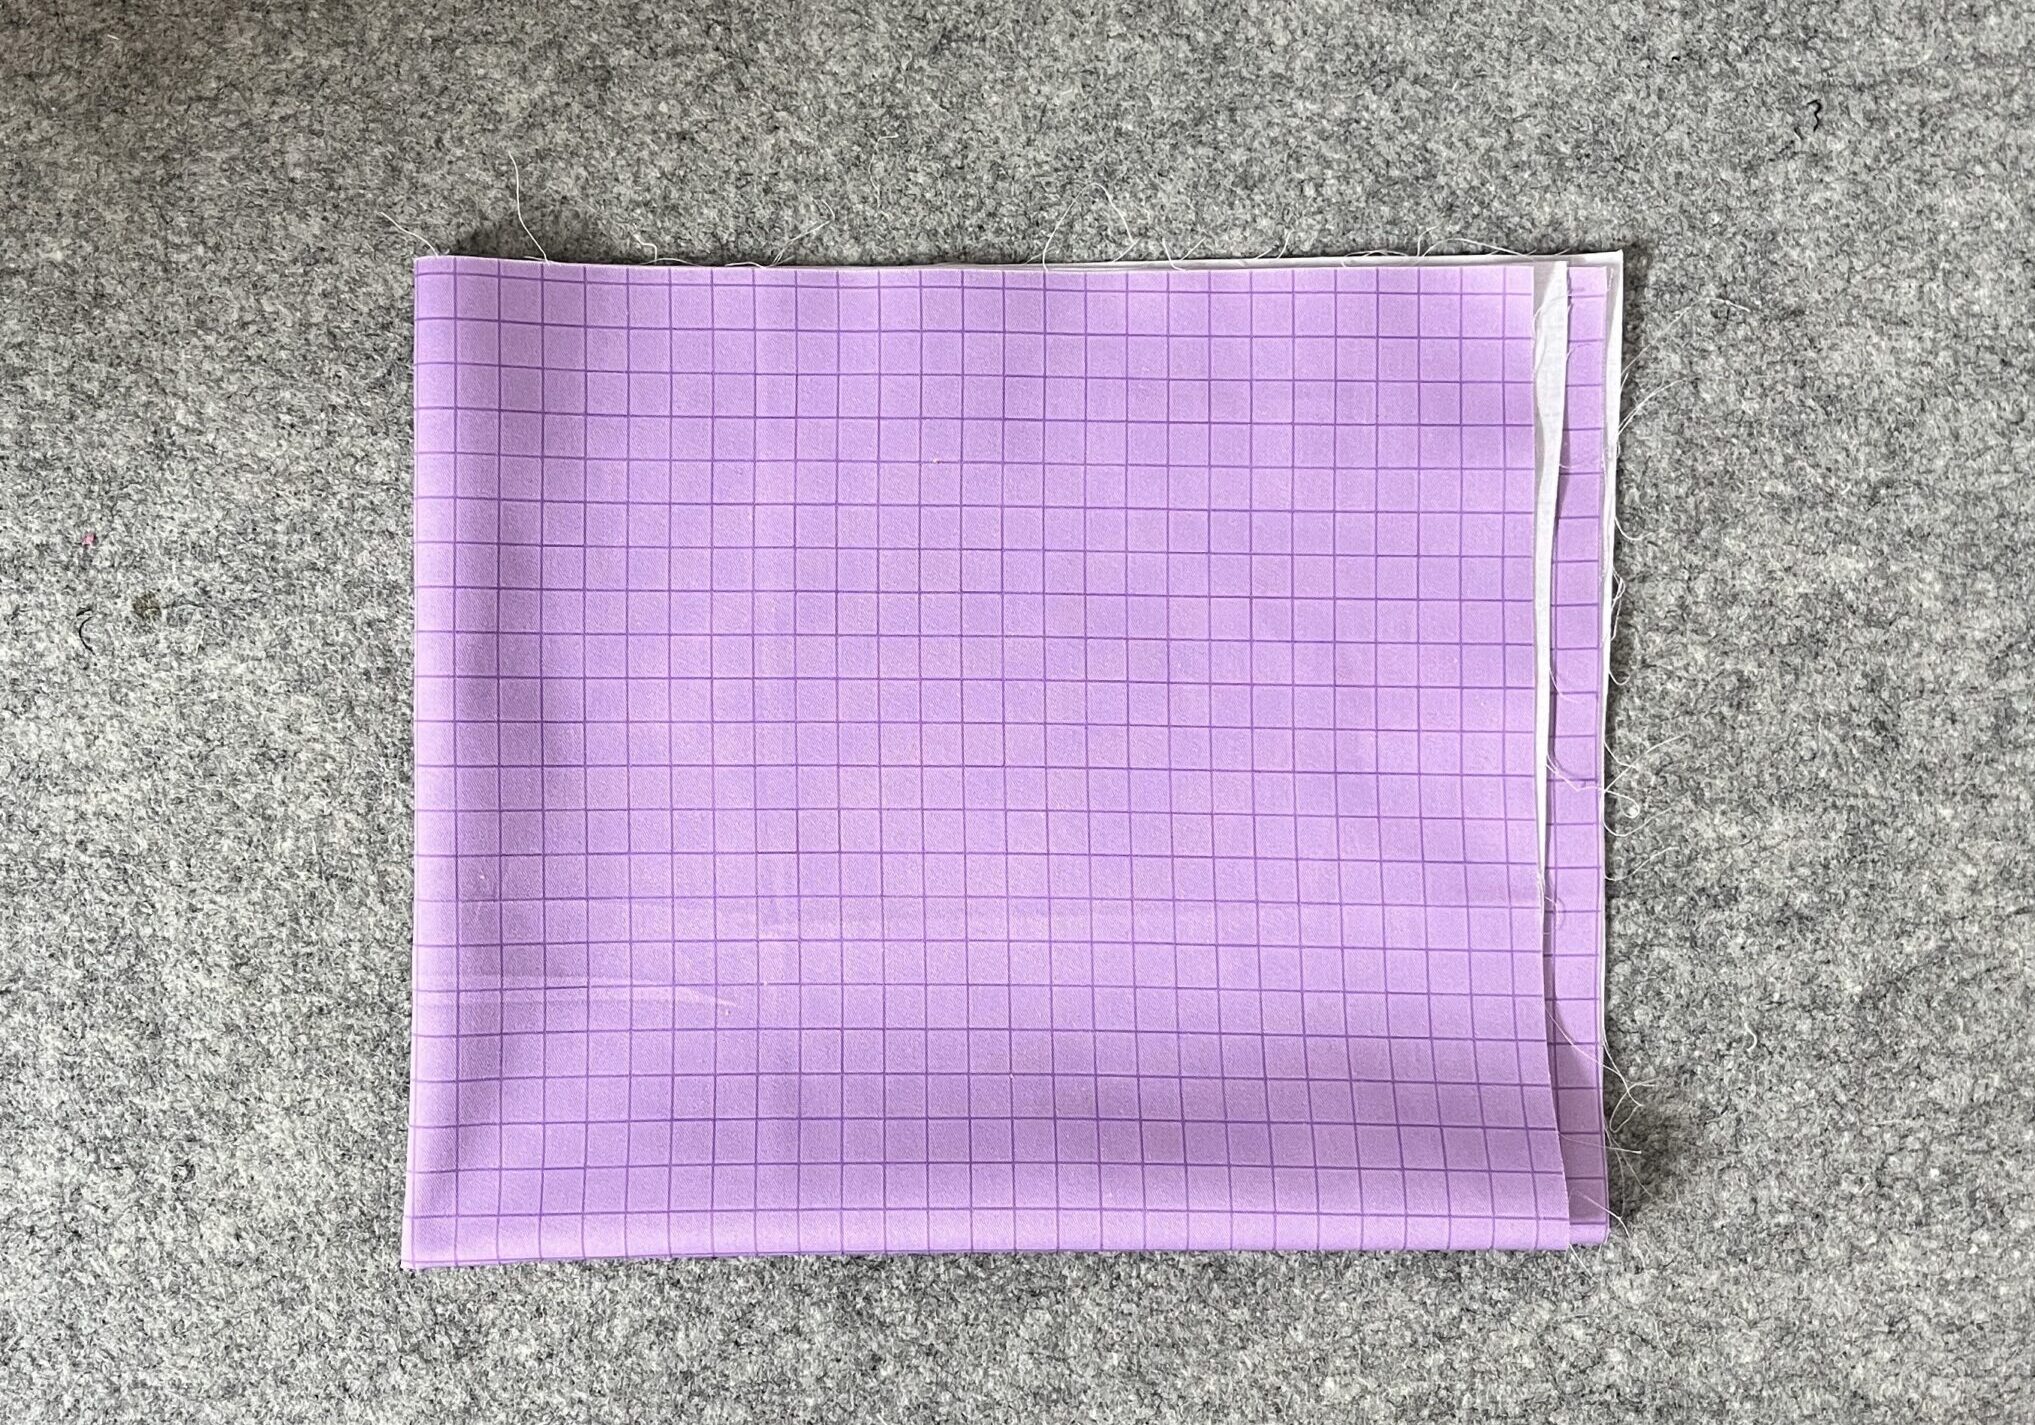
Choose one fabric for the lower exterior.
STEP 3
Choose one fabric for the pockets.
STEP 4
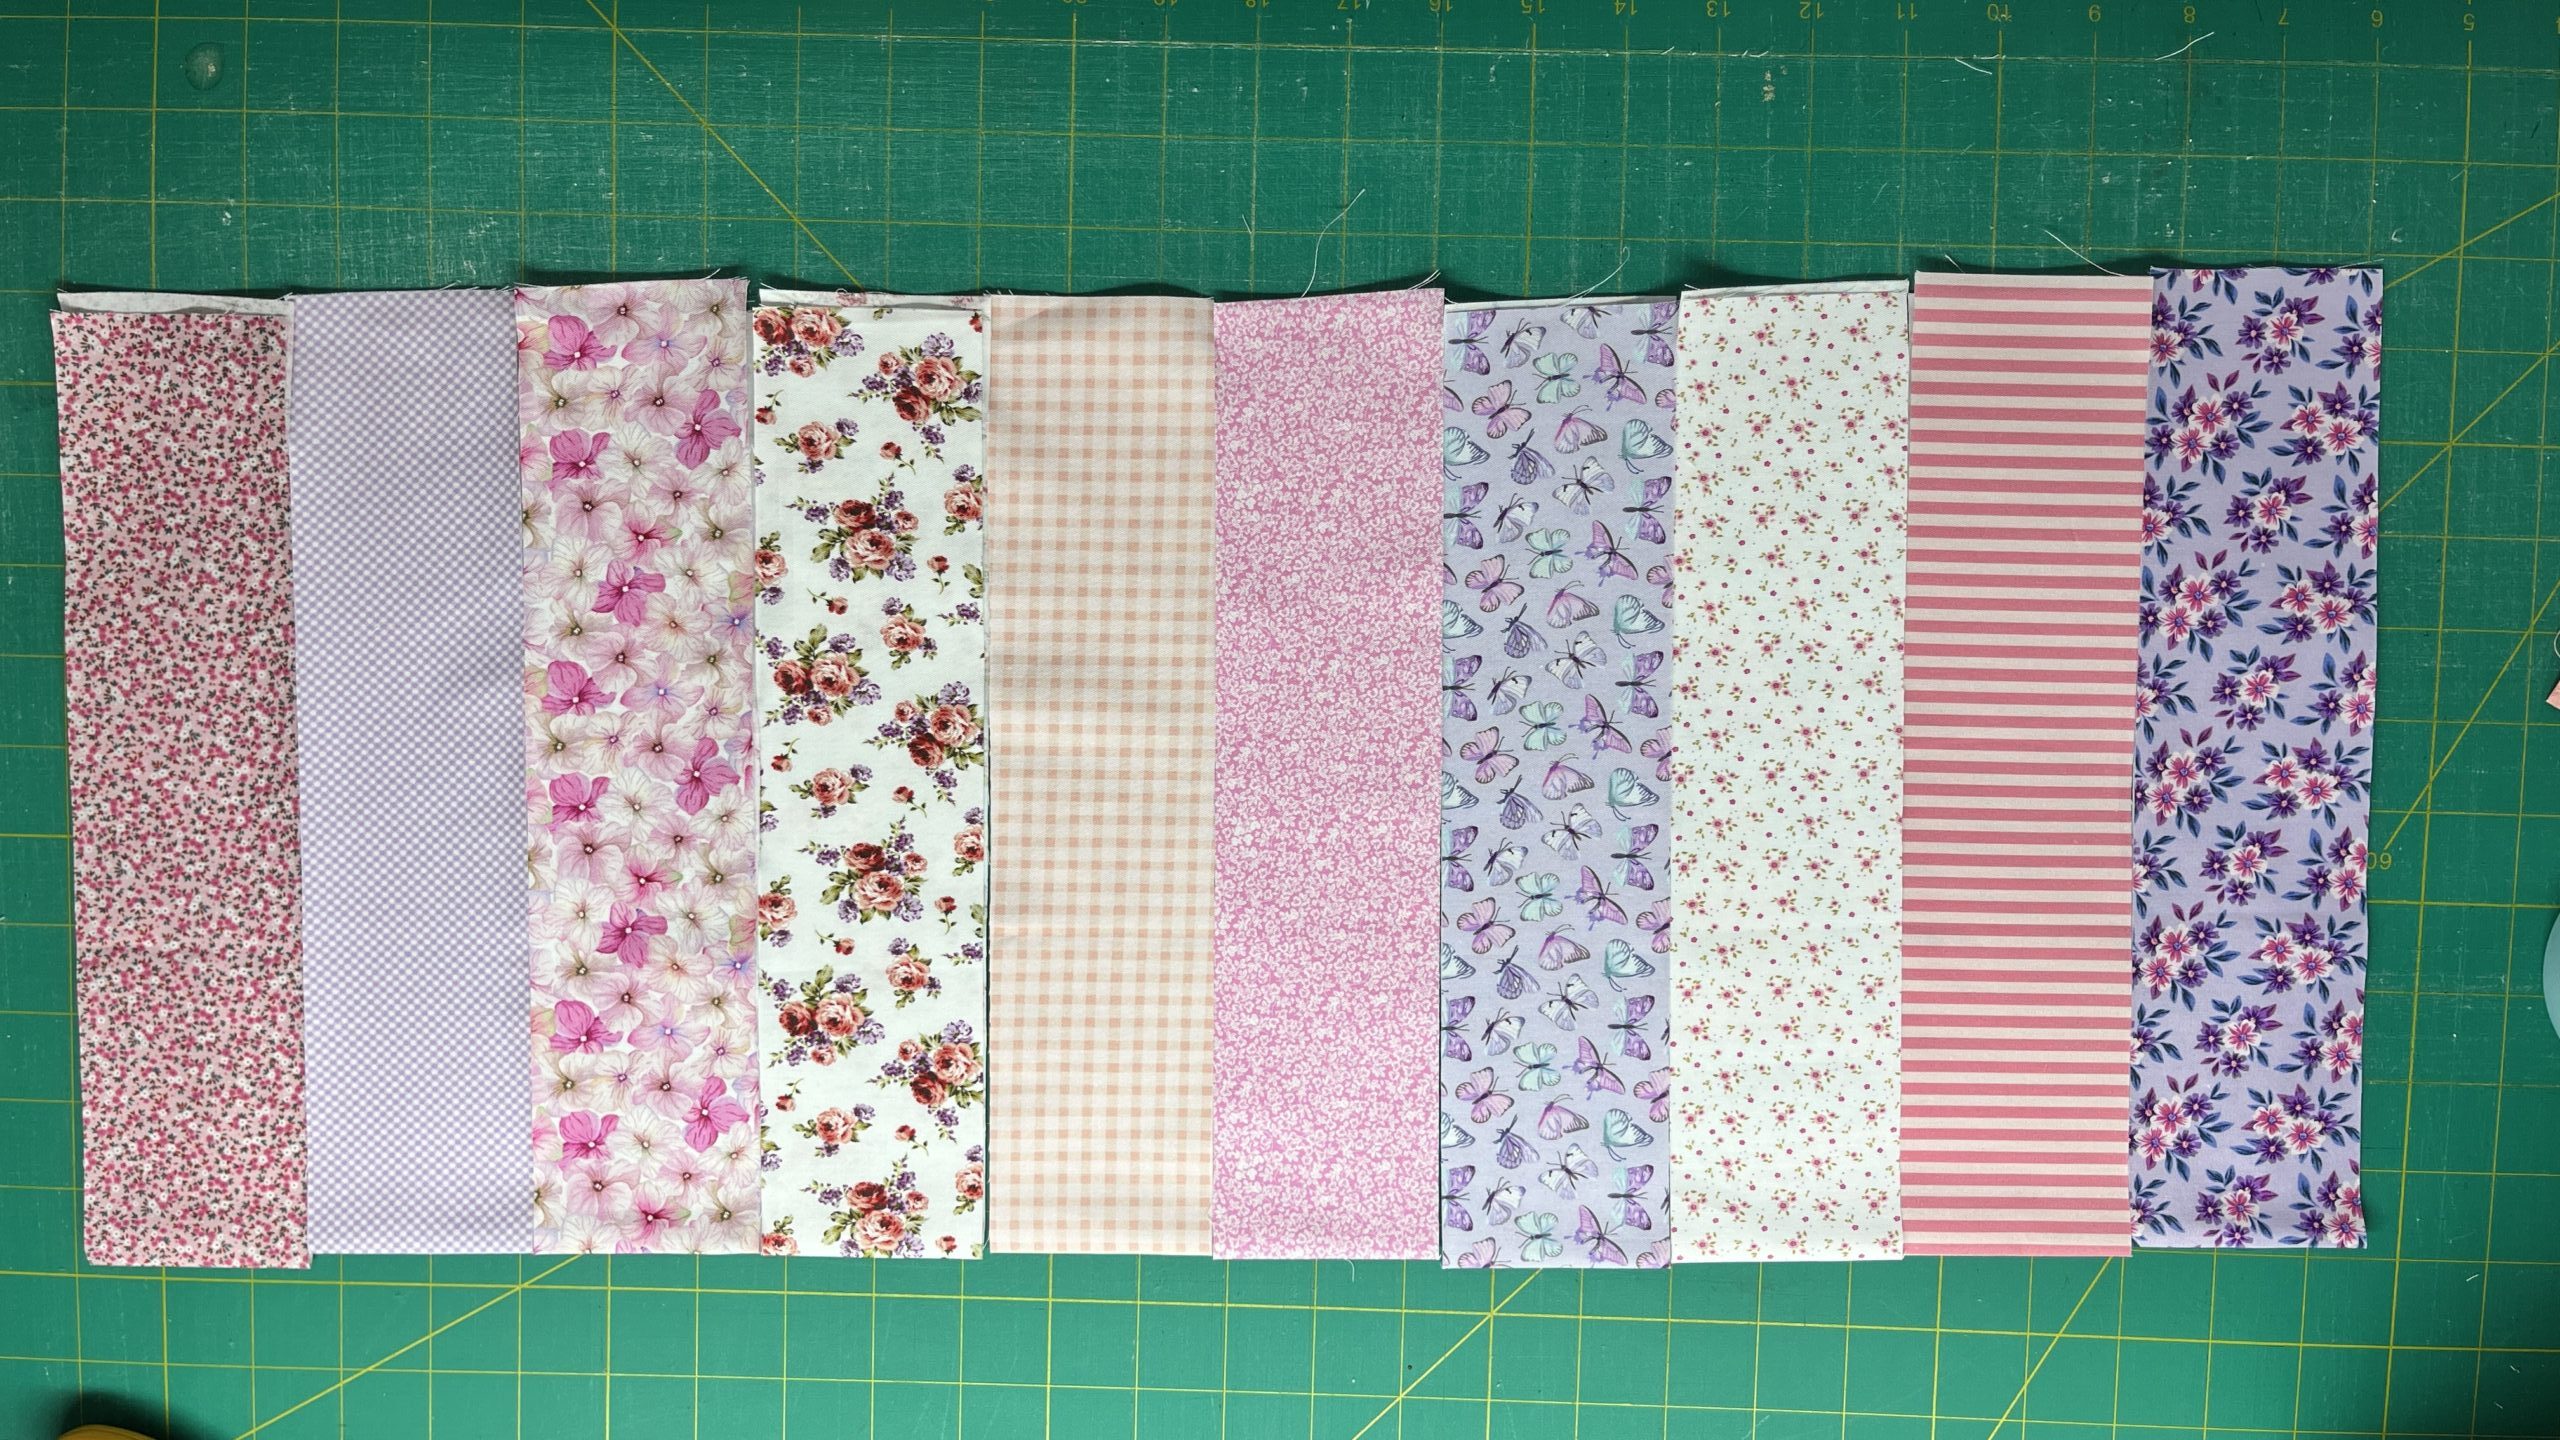
Cut 10 2 1/2 x 21 inch strips for the upper exterior and arrange them in the order you would like them.
PART 2
Piece and quilt the upper exterior
Turn the ten strips into one quilted slab, square it up and cut the two upper panels.
STEP 5
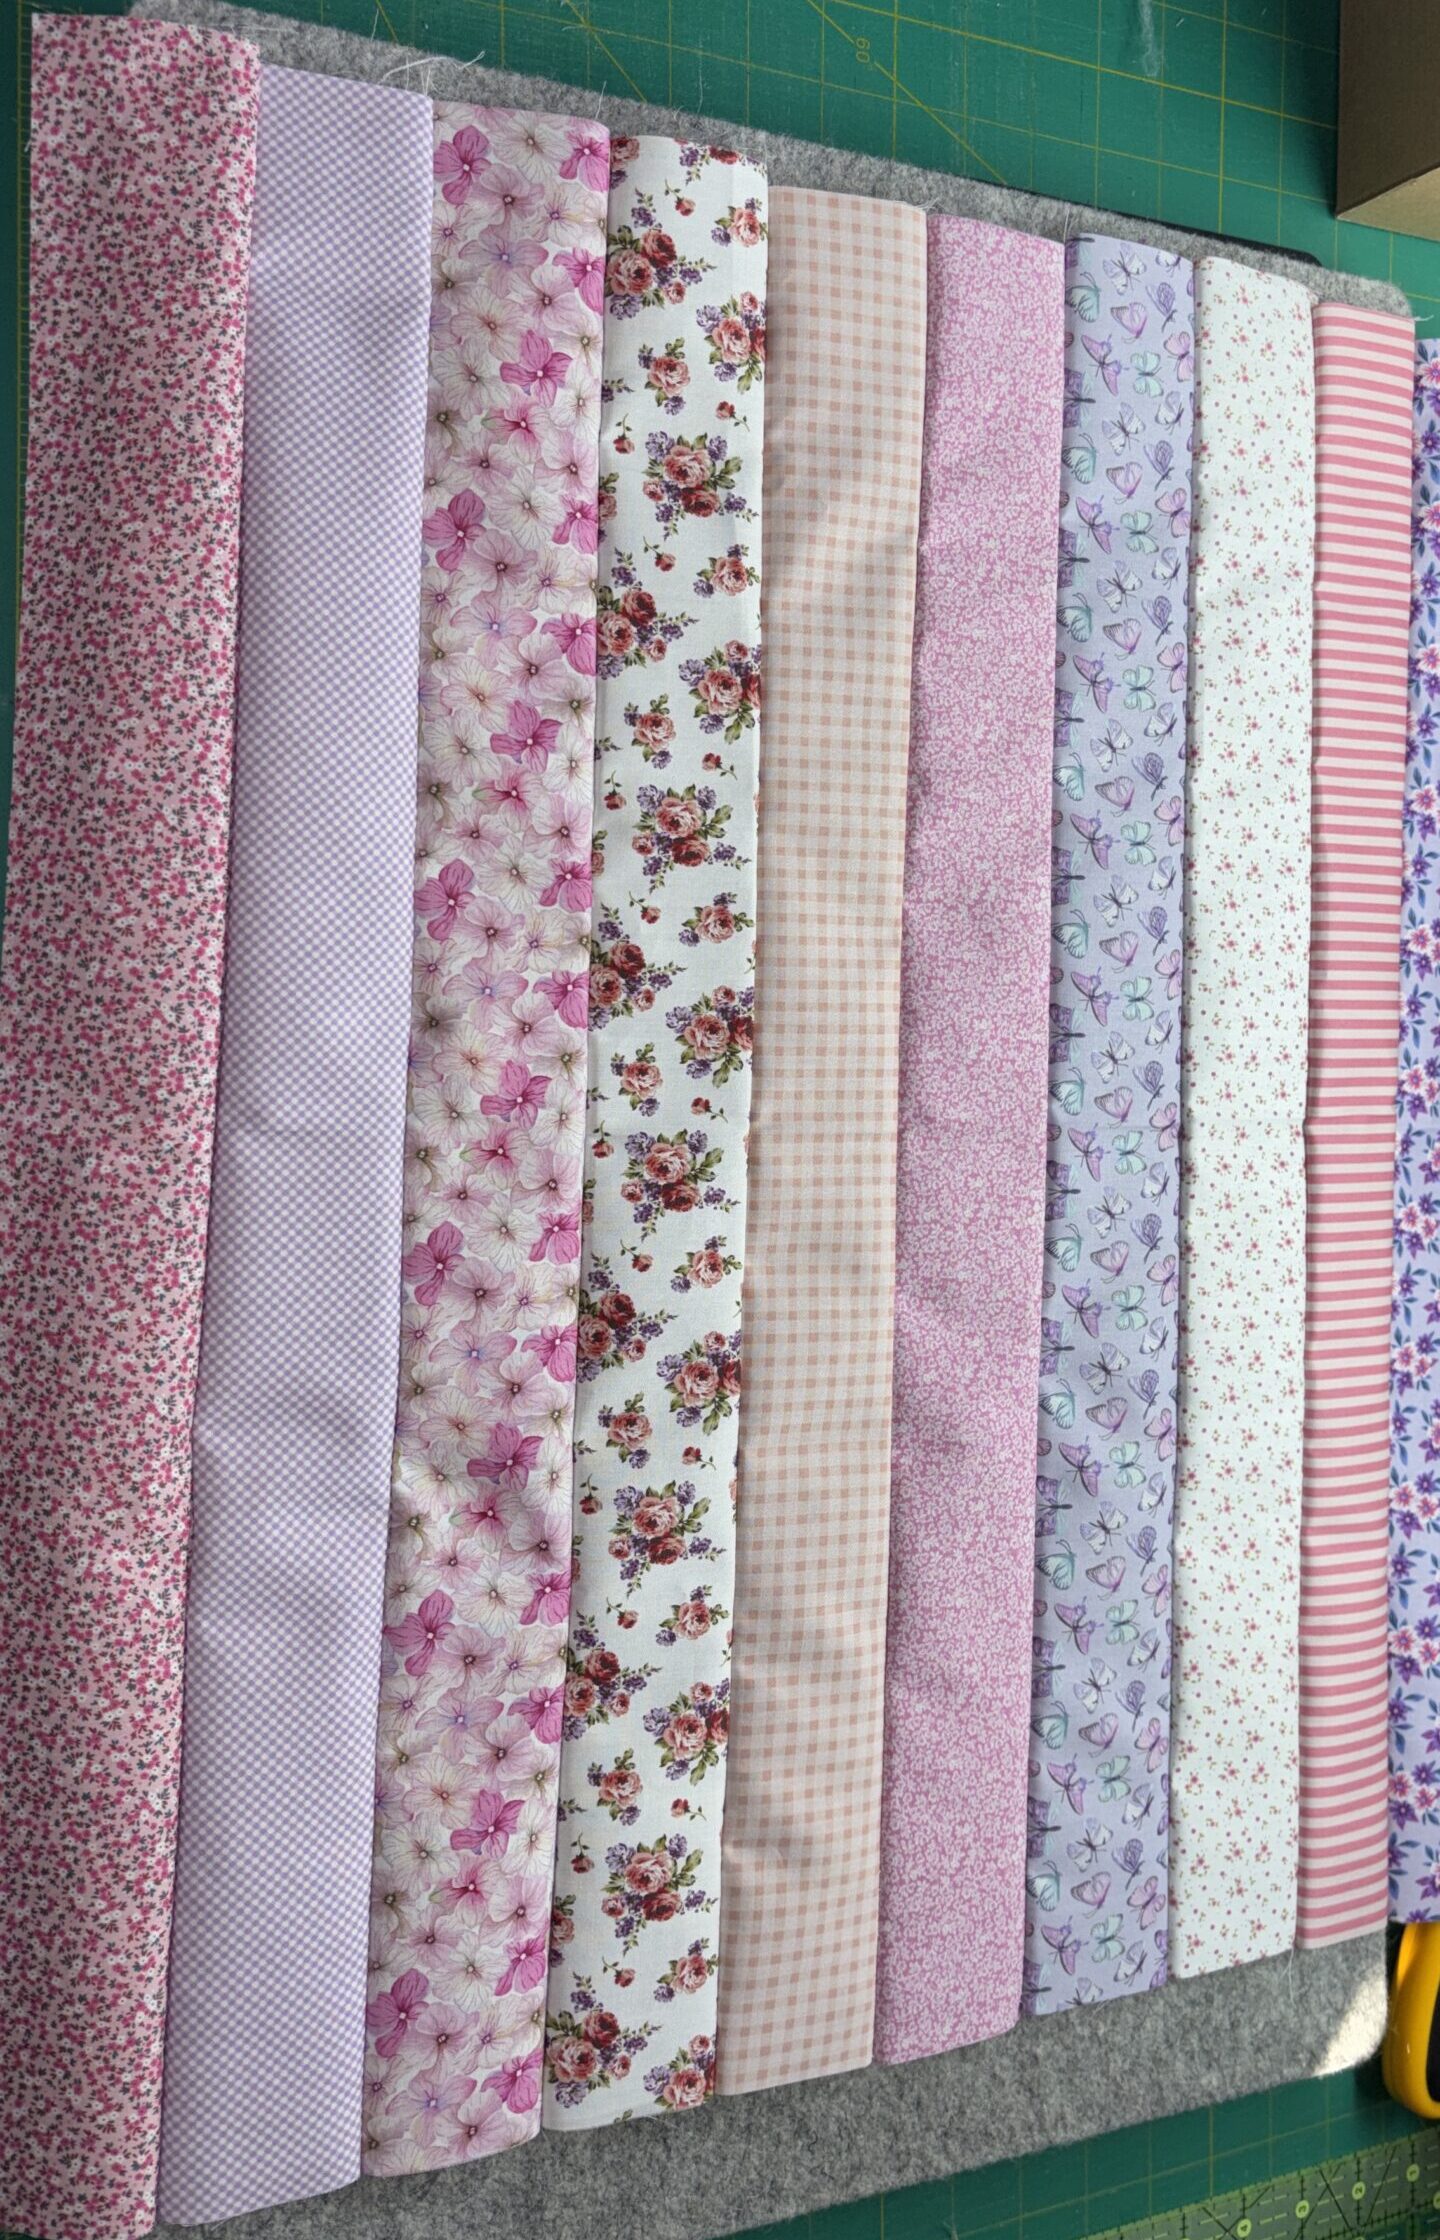
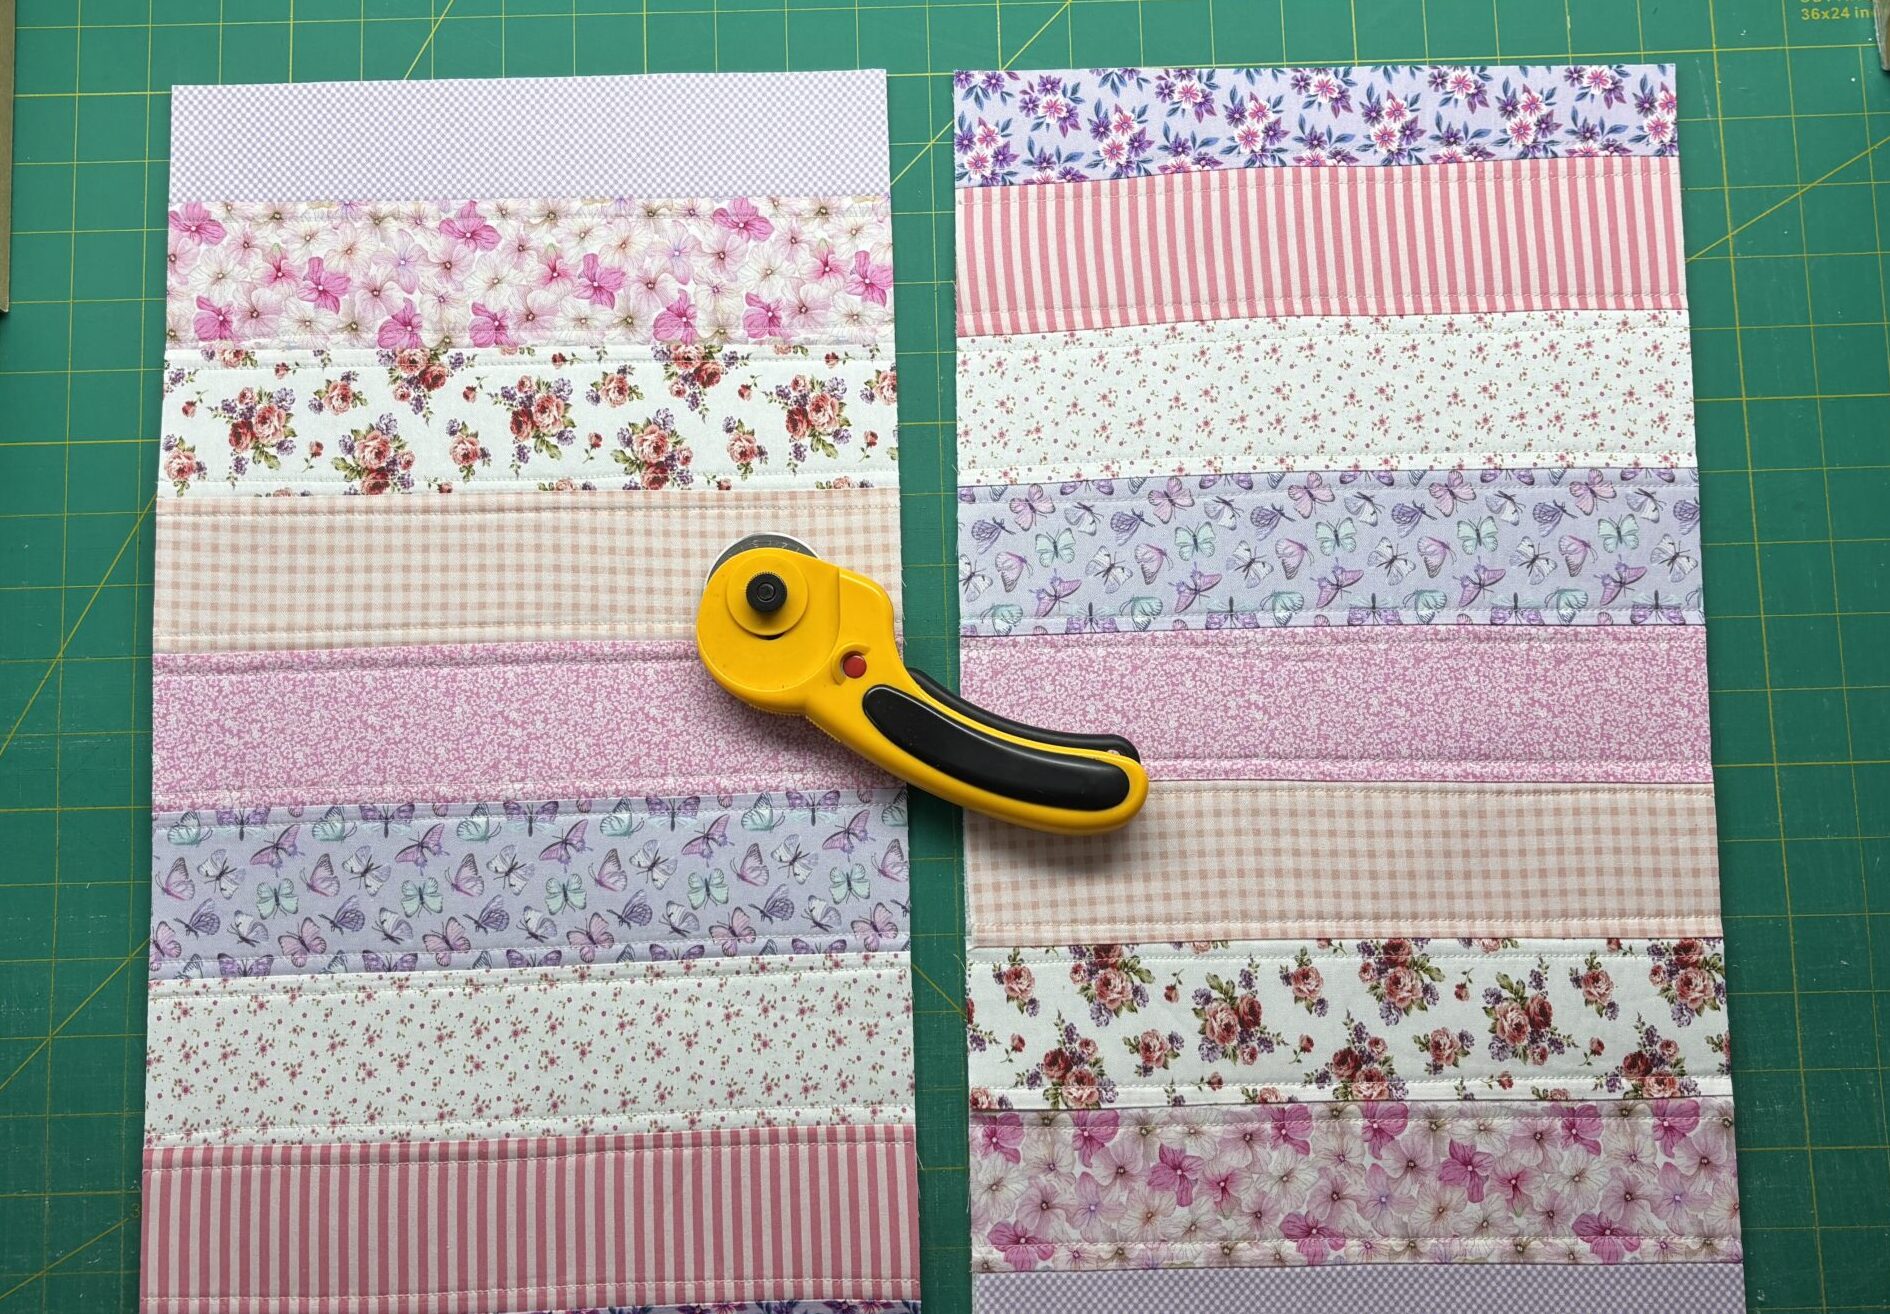
Sew the strips together along their long edges using a 1/4 inch seam allowance. Press the seams carefully so the strip-pieced slab lies flat.
STEP 6
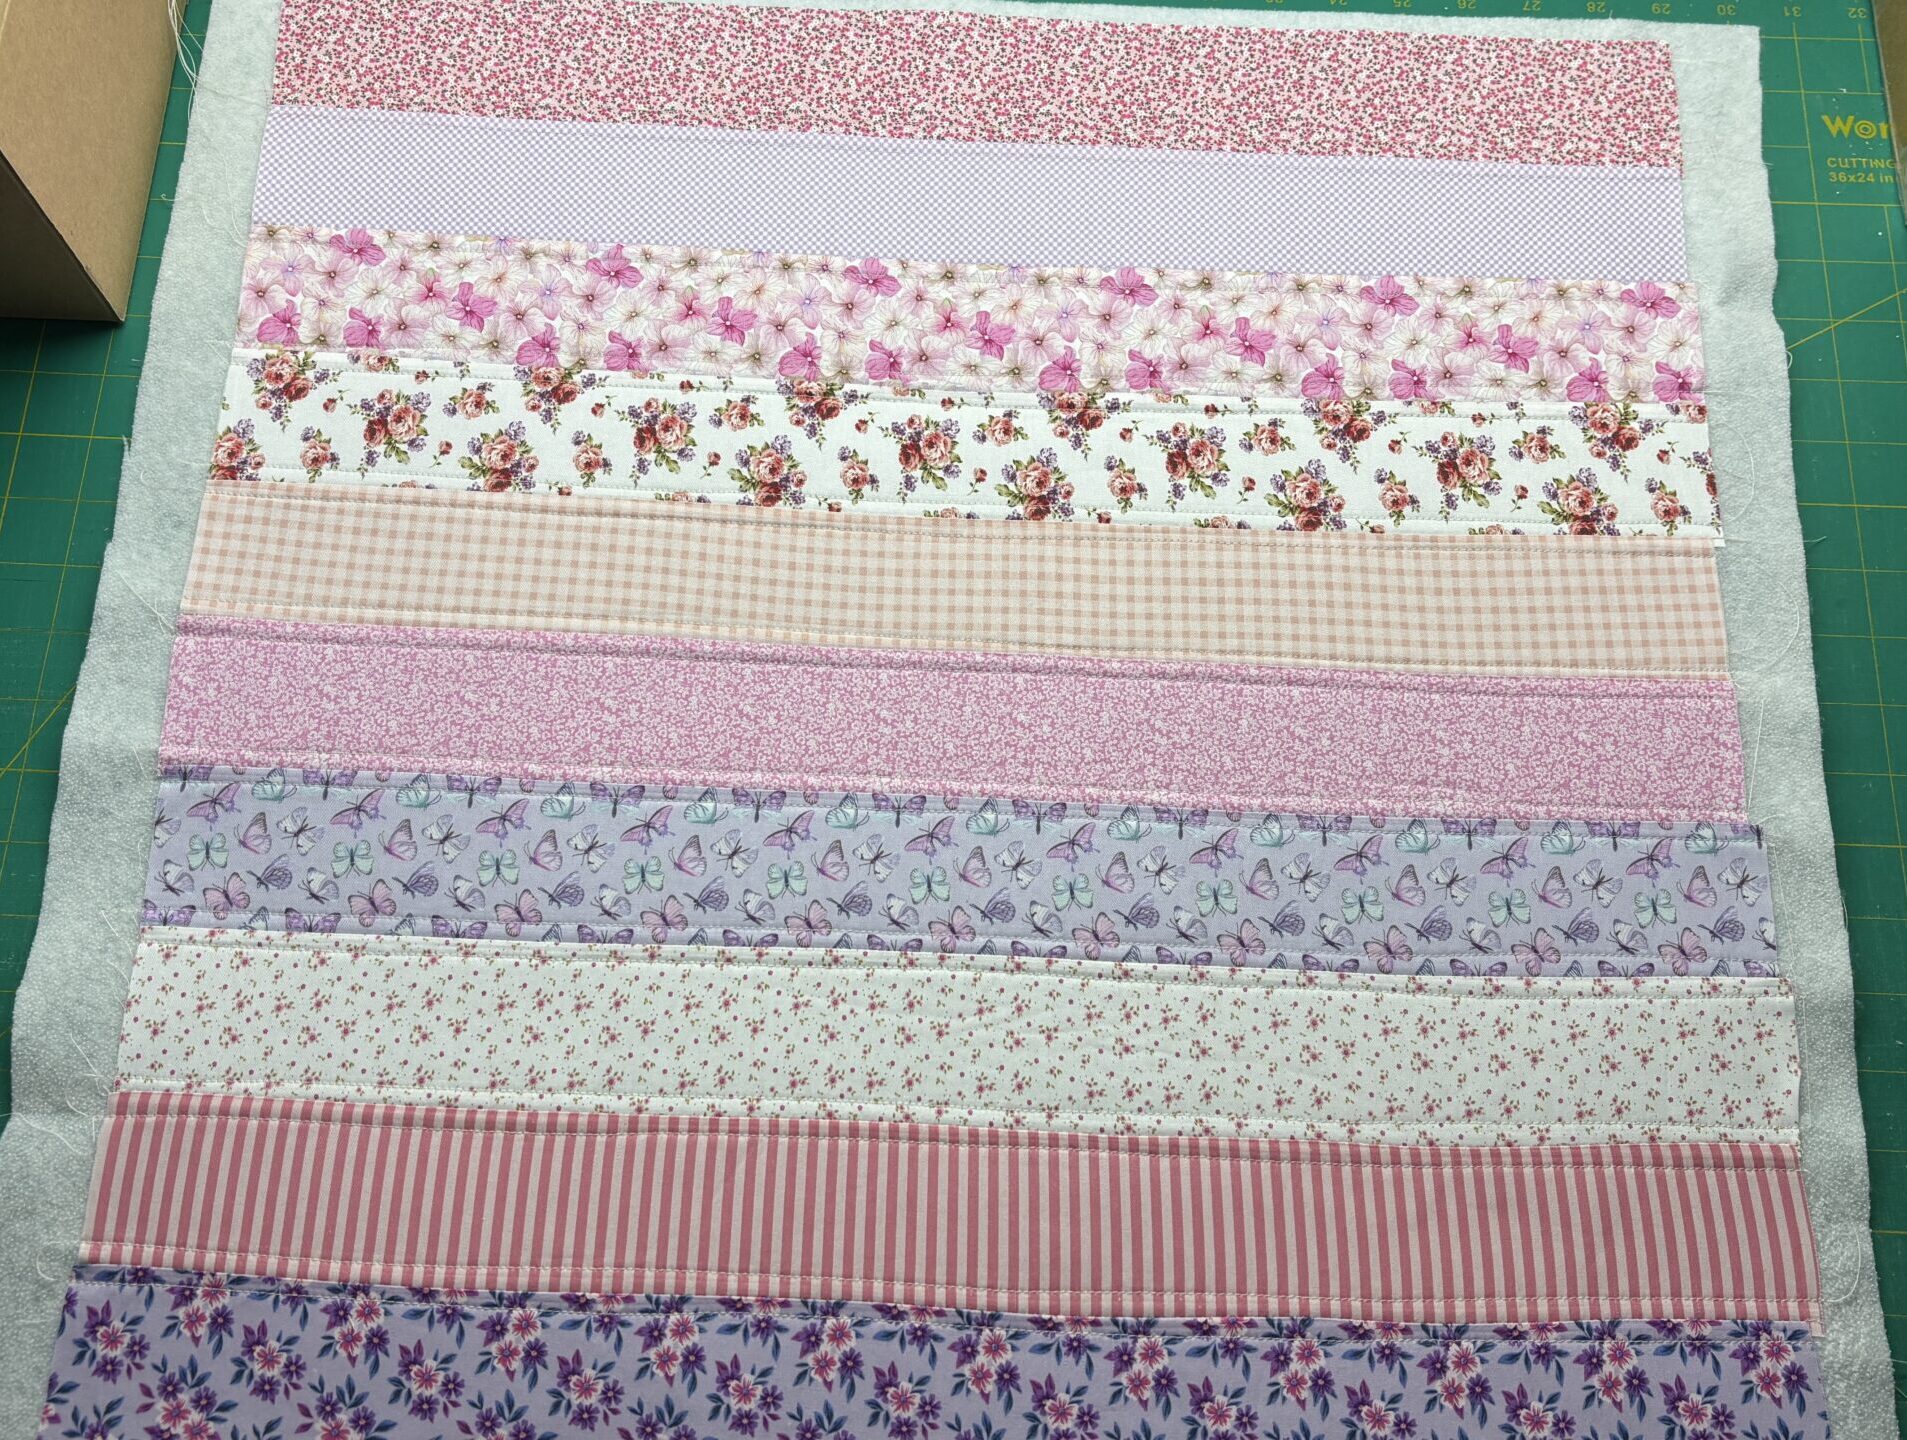
Place the completed strip-pieced slab onto fusible fleece or the chosen stabiliser. Fuse it in place, then quilt the slab using your preferred quilting method.
STEP 7
Cut two 10 x 18 upper exterior panels from the quilted strip-pieced slab.
PART 3
Prepare the bag pieces
Stabilise the base and pockets, cut the lining and build the pocket tops.
STEP 8
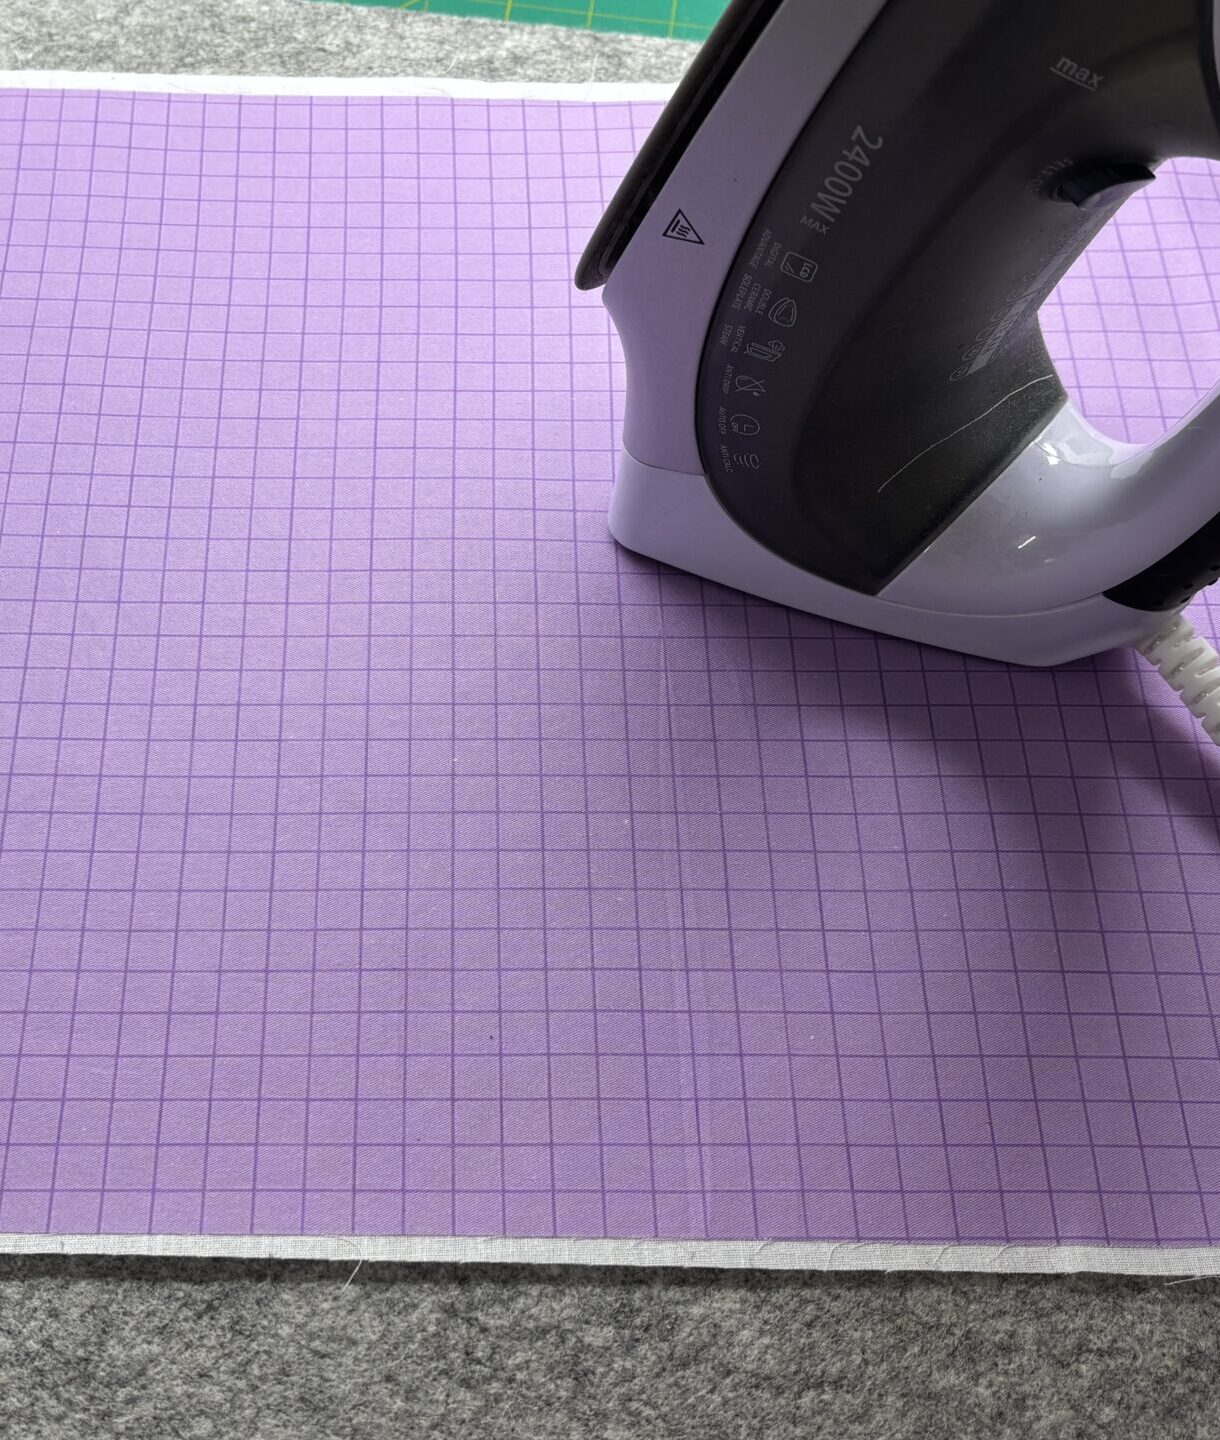
Fuse fleece or stabiliser to the wrong side of the single base rectangle, you can quilt it if desired. Trim to 13 x 18.
STEP 9
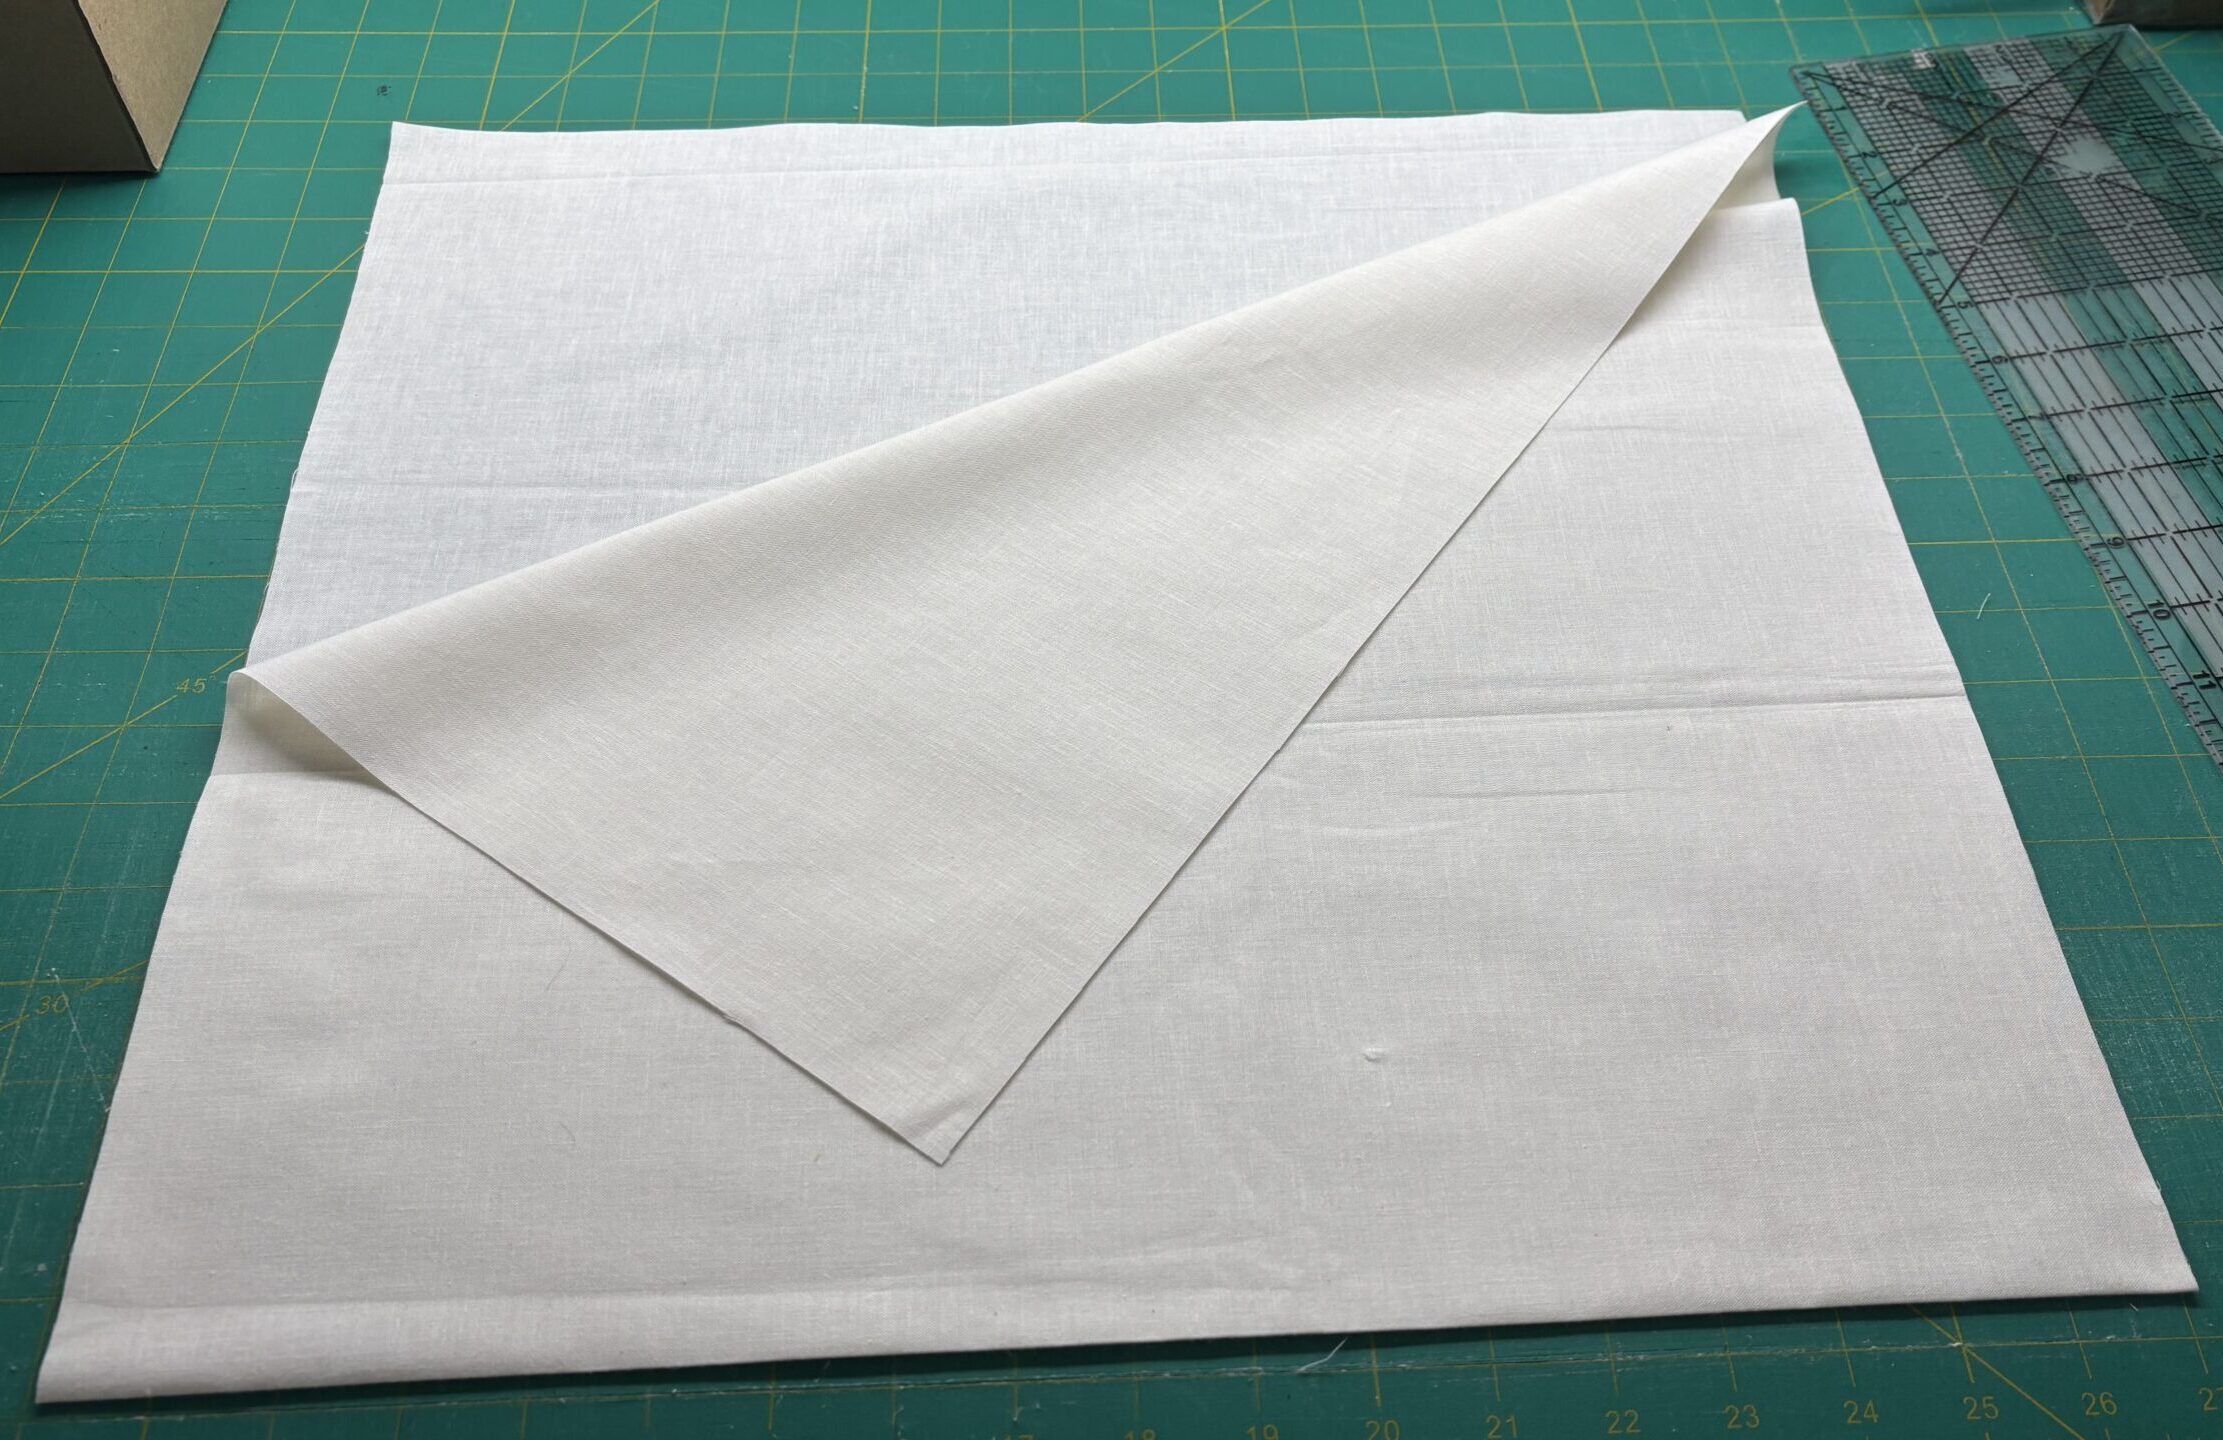
From the solid lining fabric, cut a single 18 x 32 piece. Fold in half and press the bottom seam.
STEP 10
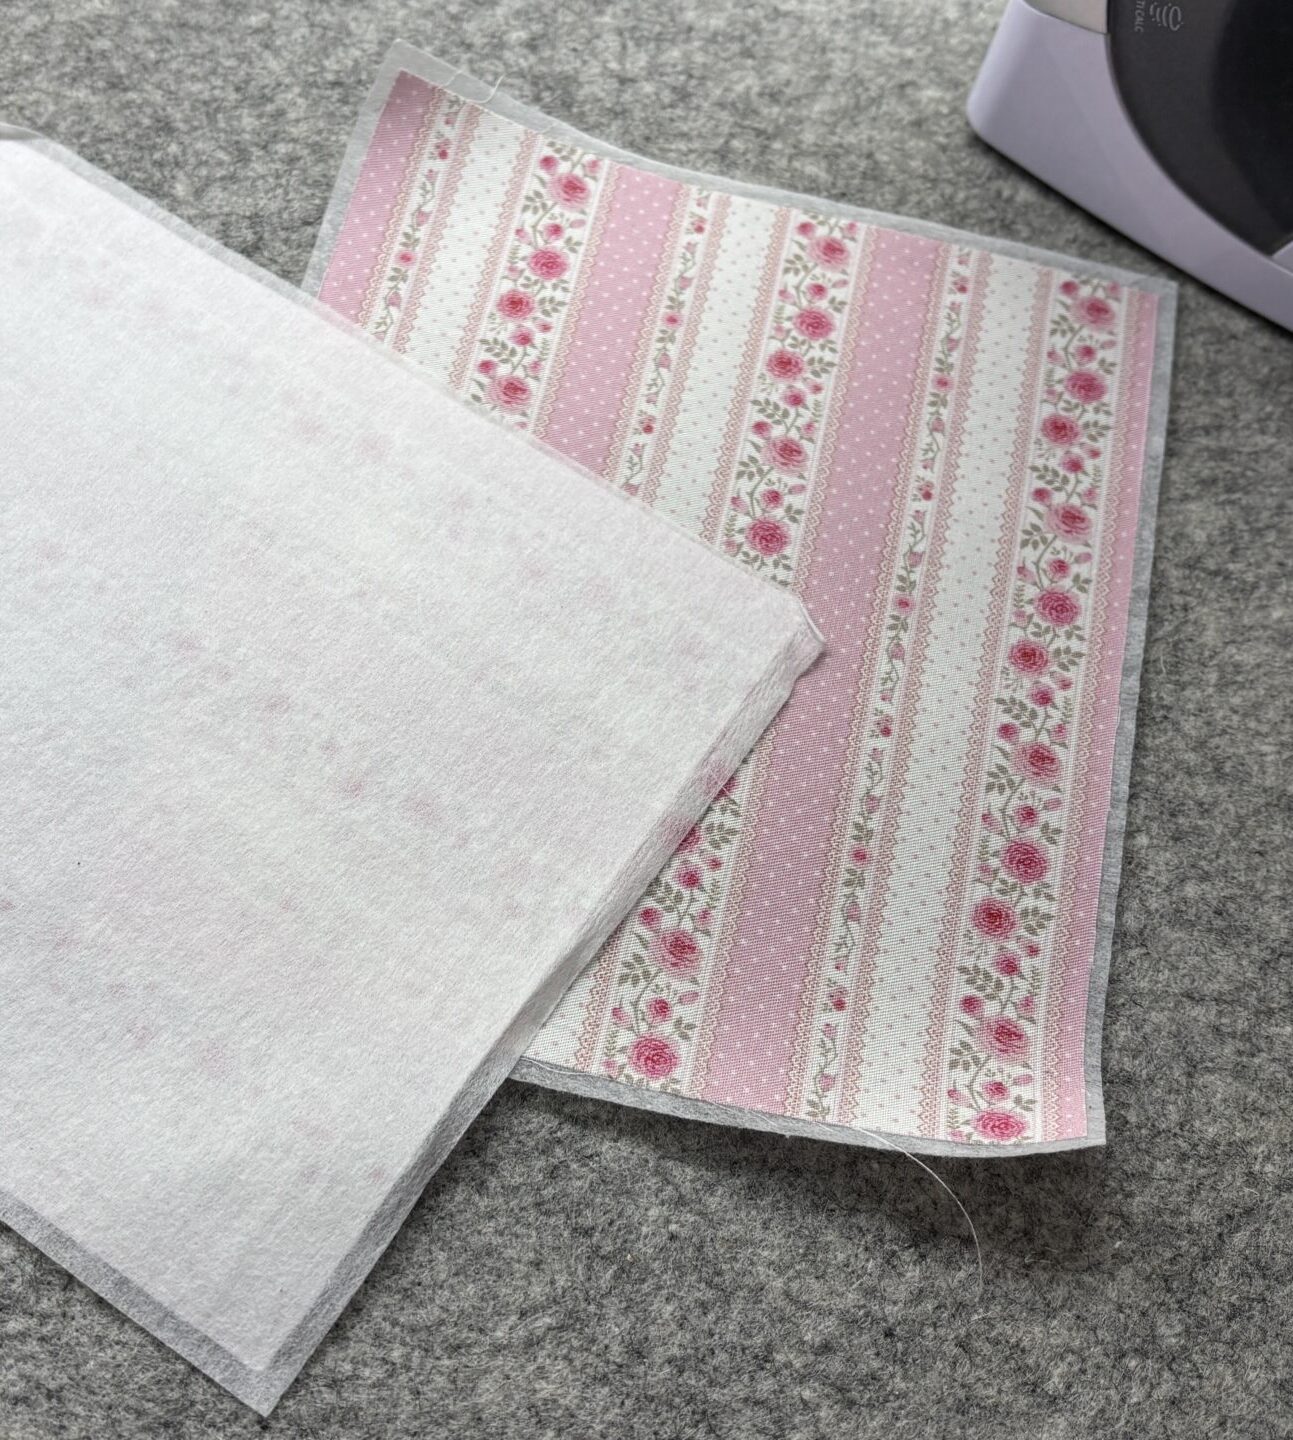
Fuse stabiliser to the wrong side of the two pocket outer pieces.
STEP 11
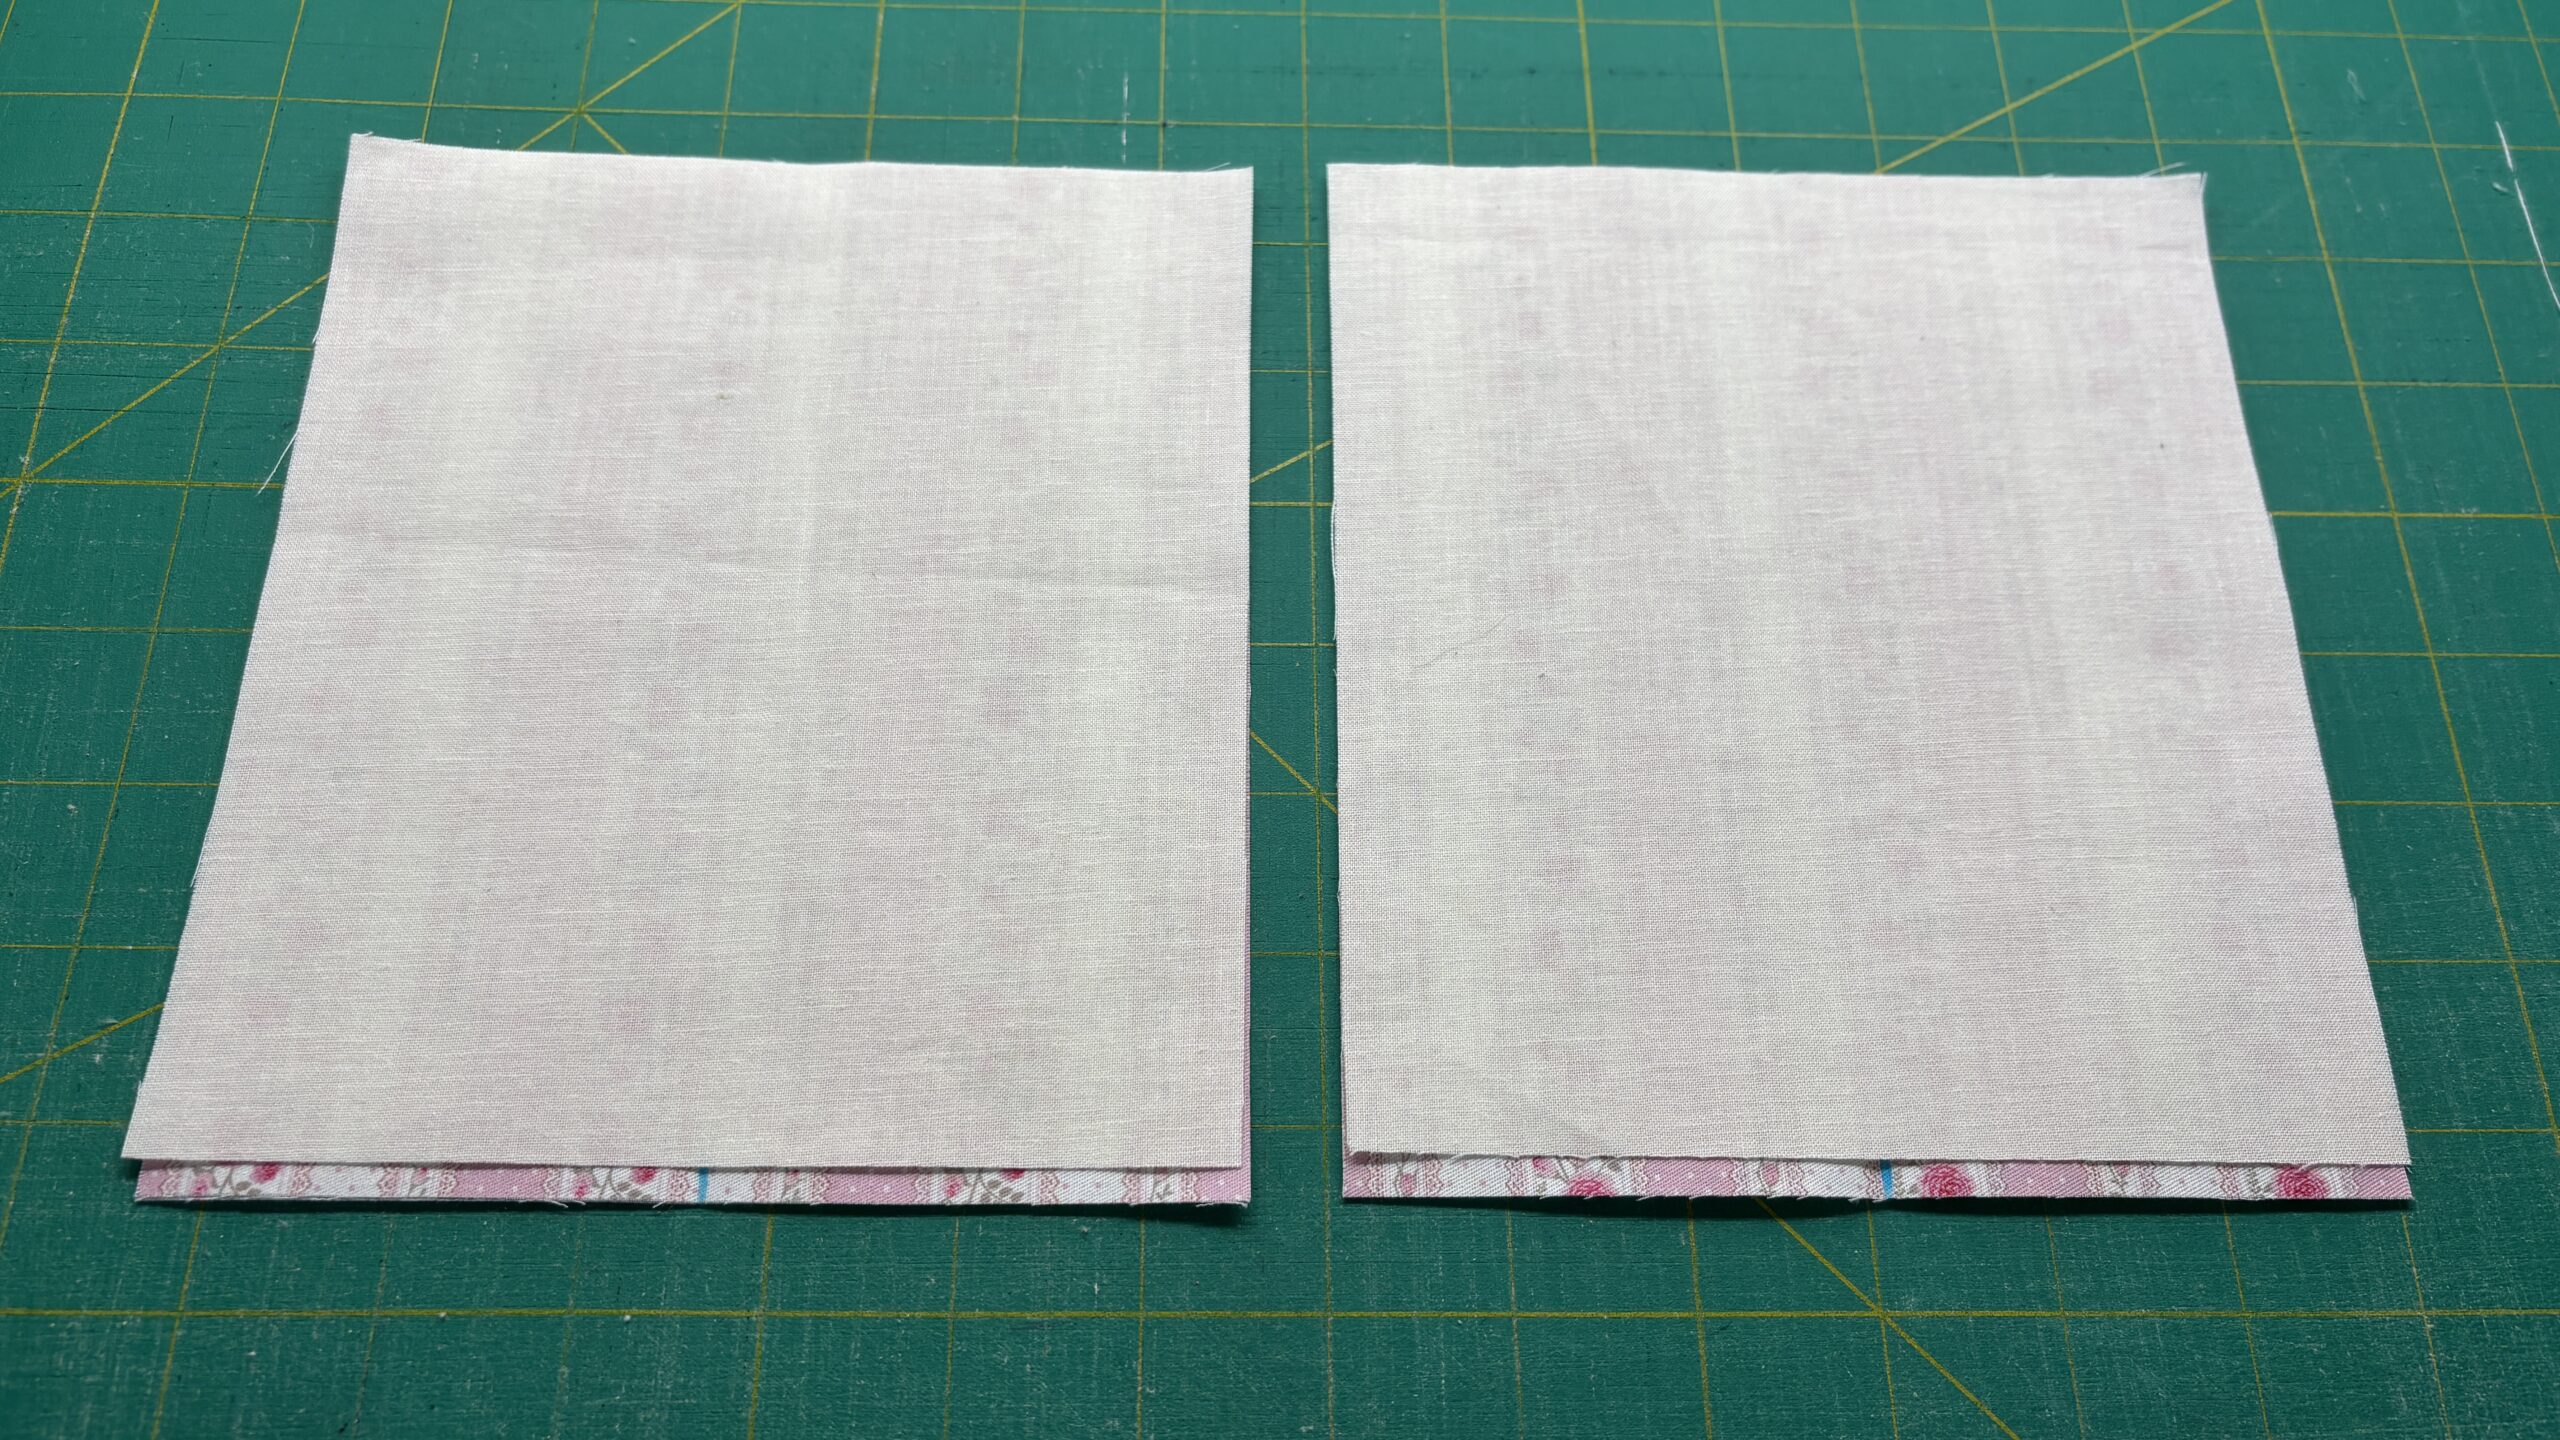
Place each pocket outer and pocket lining right sides together, matching the raw edges at the top. Sew with a ¼” seam.
STEP 12
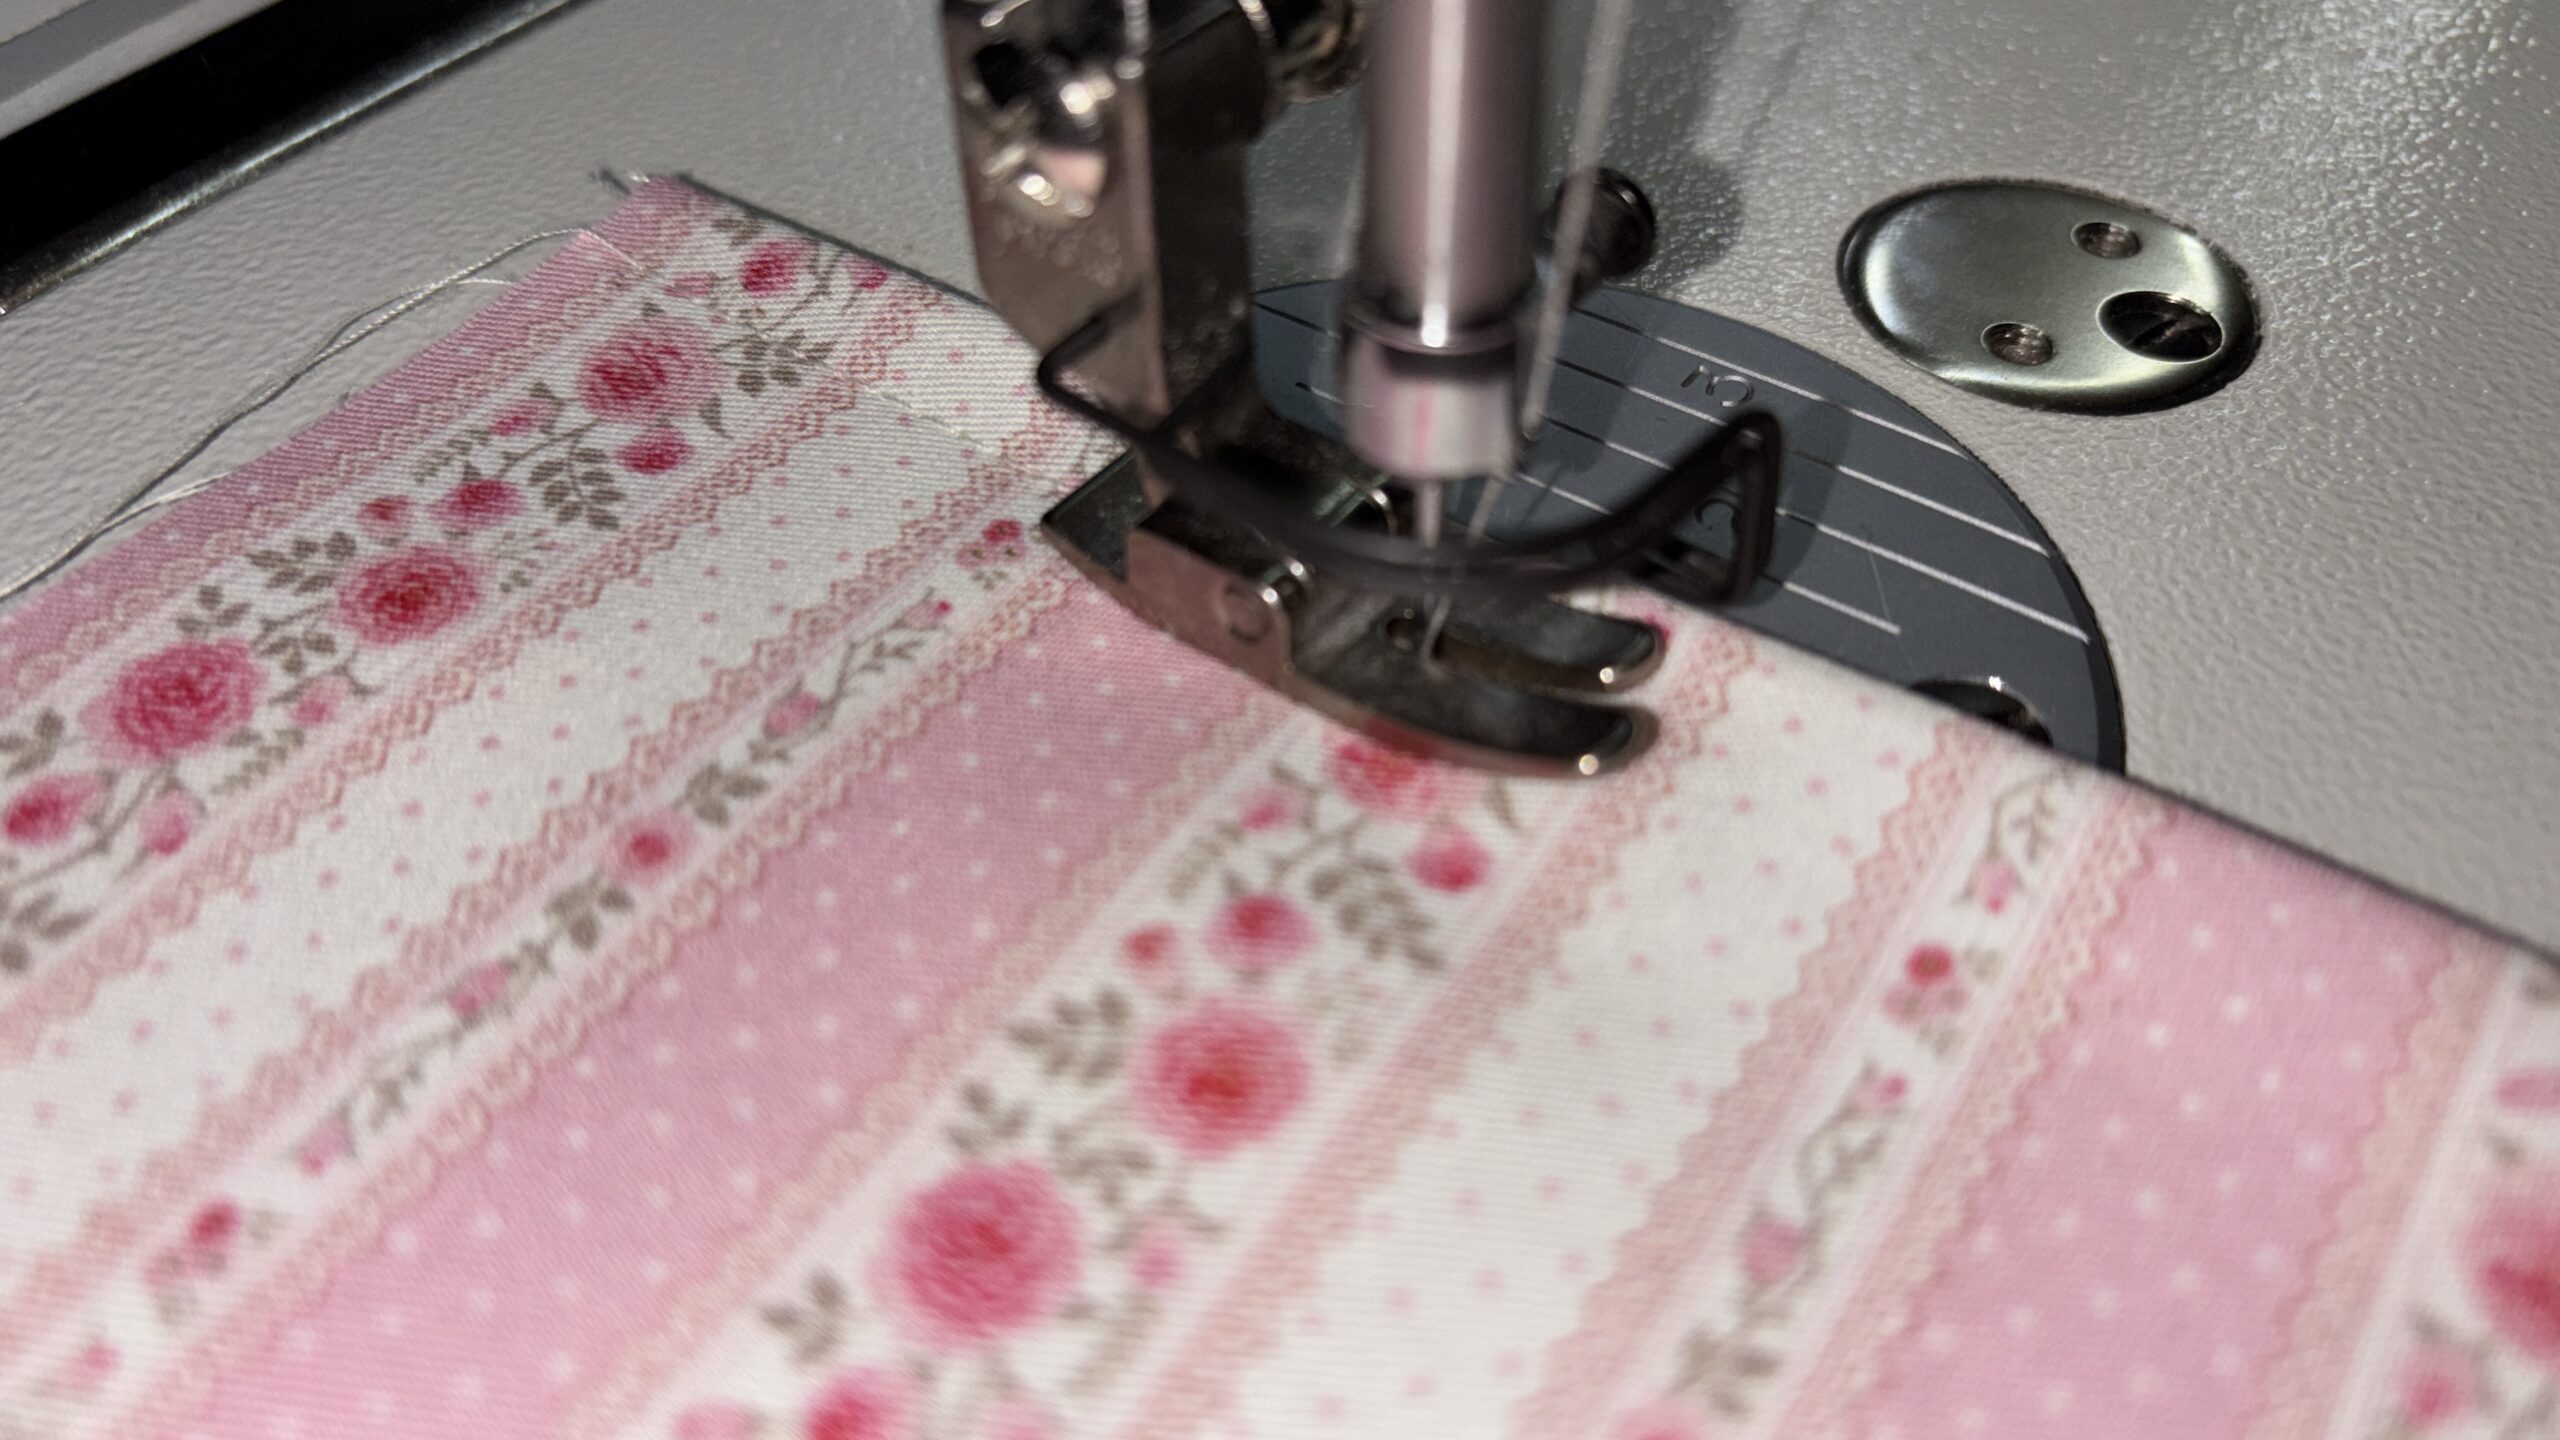
Fold back the lining fabric and line up the bottom raw edges. This will pull a bit of the exterior pocket fabric towards the inside of the pocket. Press and top stitch ¼” from the folded edge.
PART 4
Finish the pockets and handles
Baste the pockets, fold the handles and secure everything to the two upper panels.
STEP 13
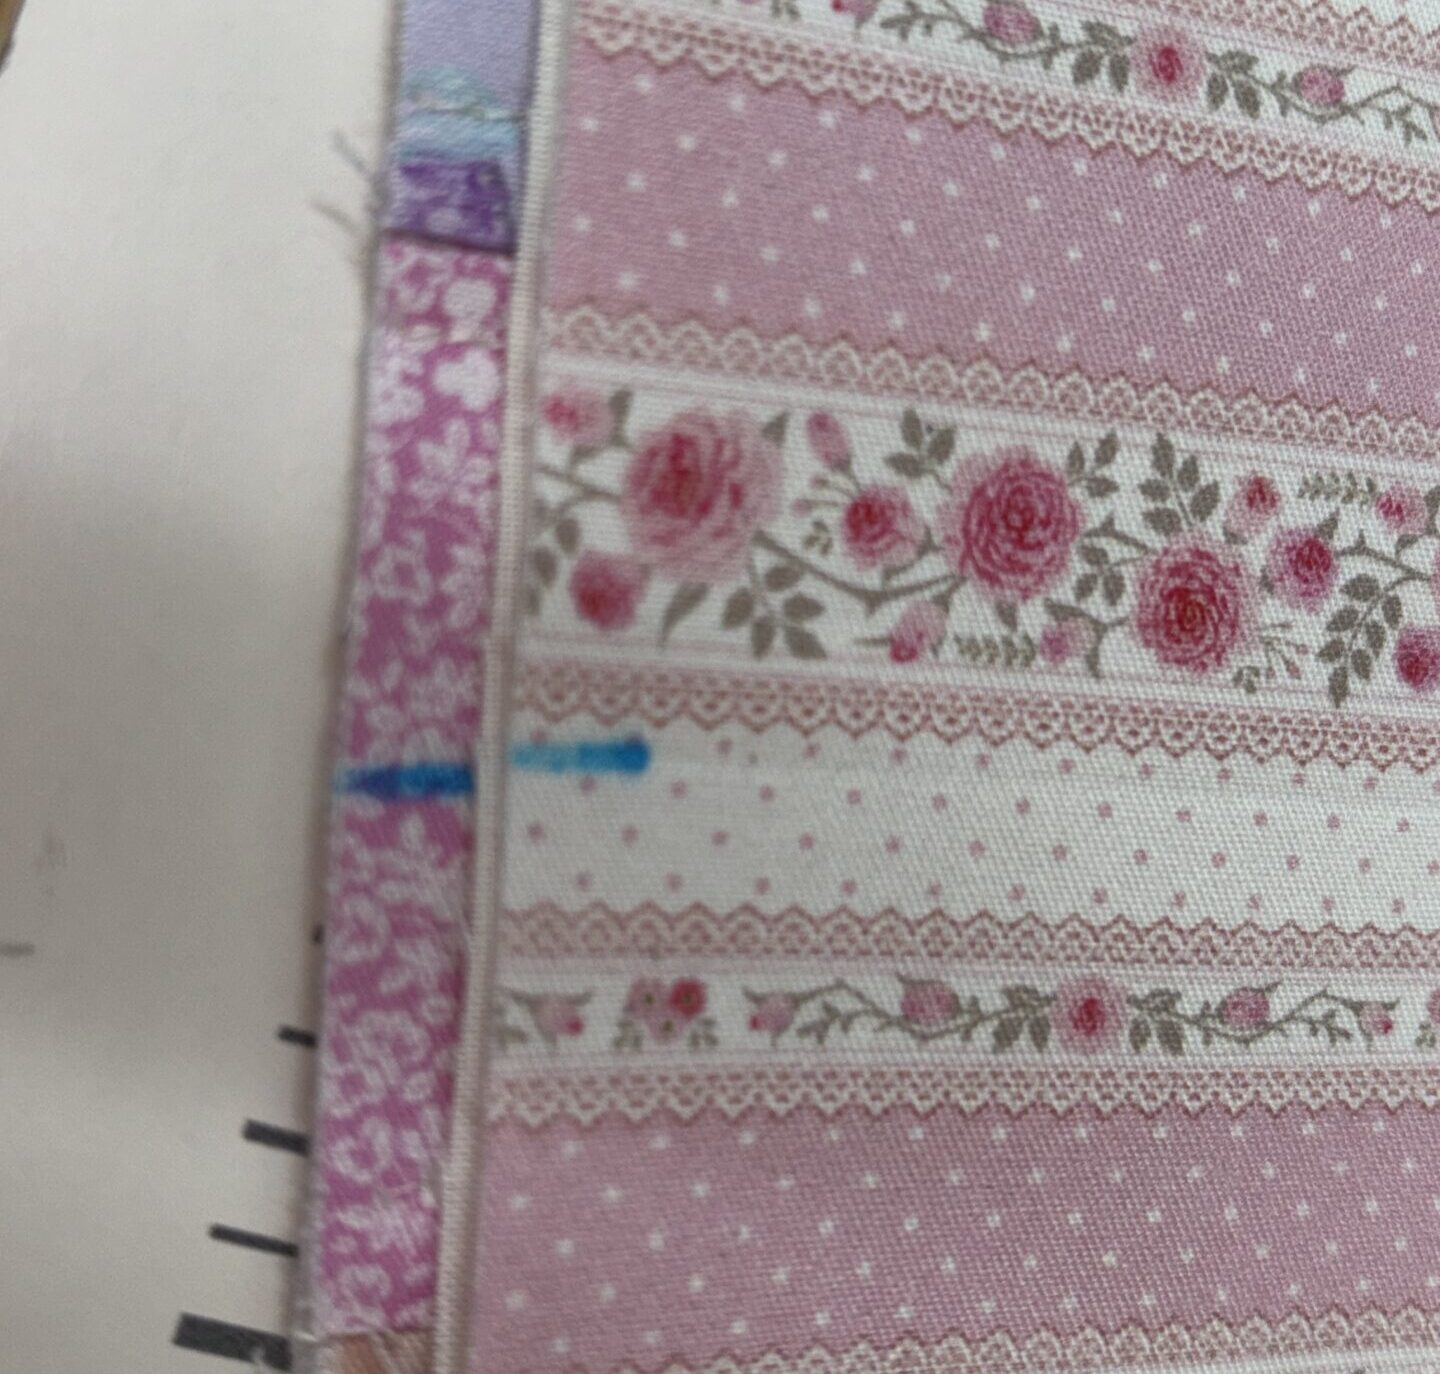
Fold each exterior panel piece and each pocket piece and mark the centers. Position one pocket on the bottom edge matching the center line of each exterior piece. Using a basting stitch, attach the pocket to the exterior strip sets on each side close to the edge.
STEP 14
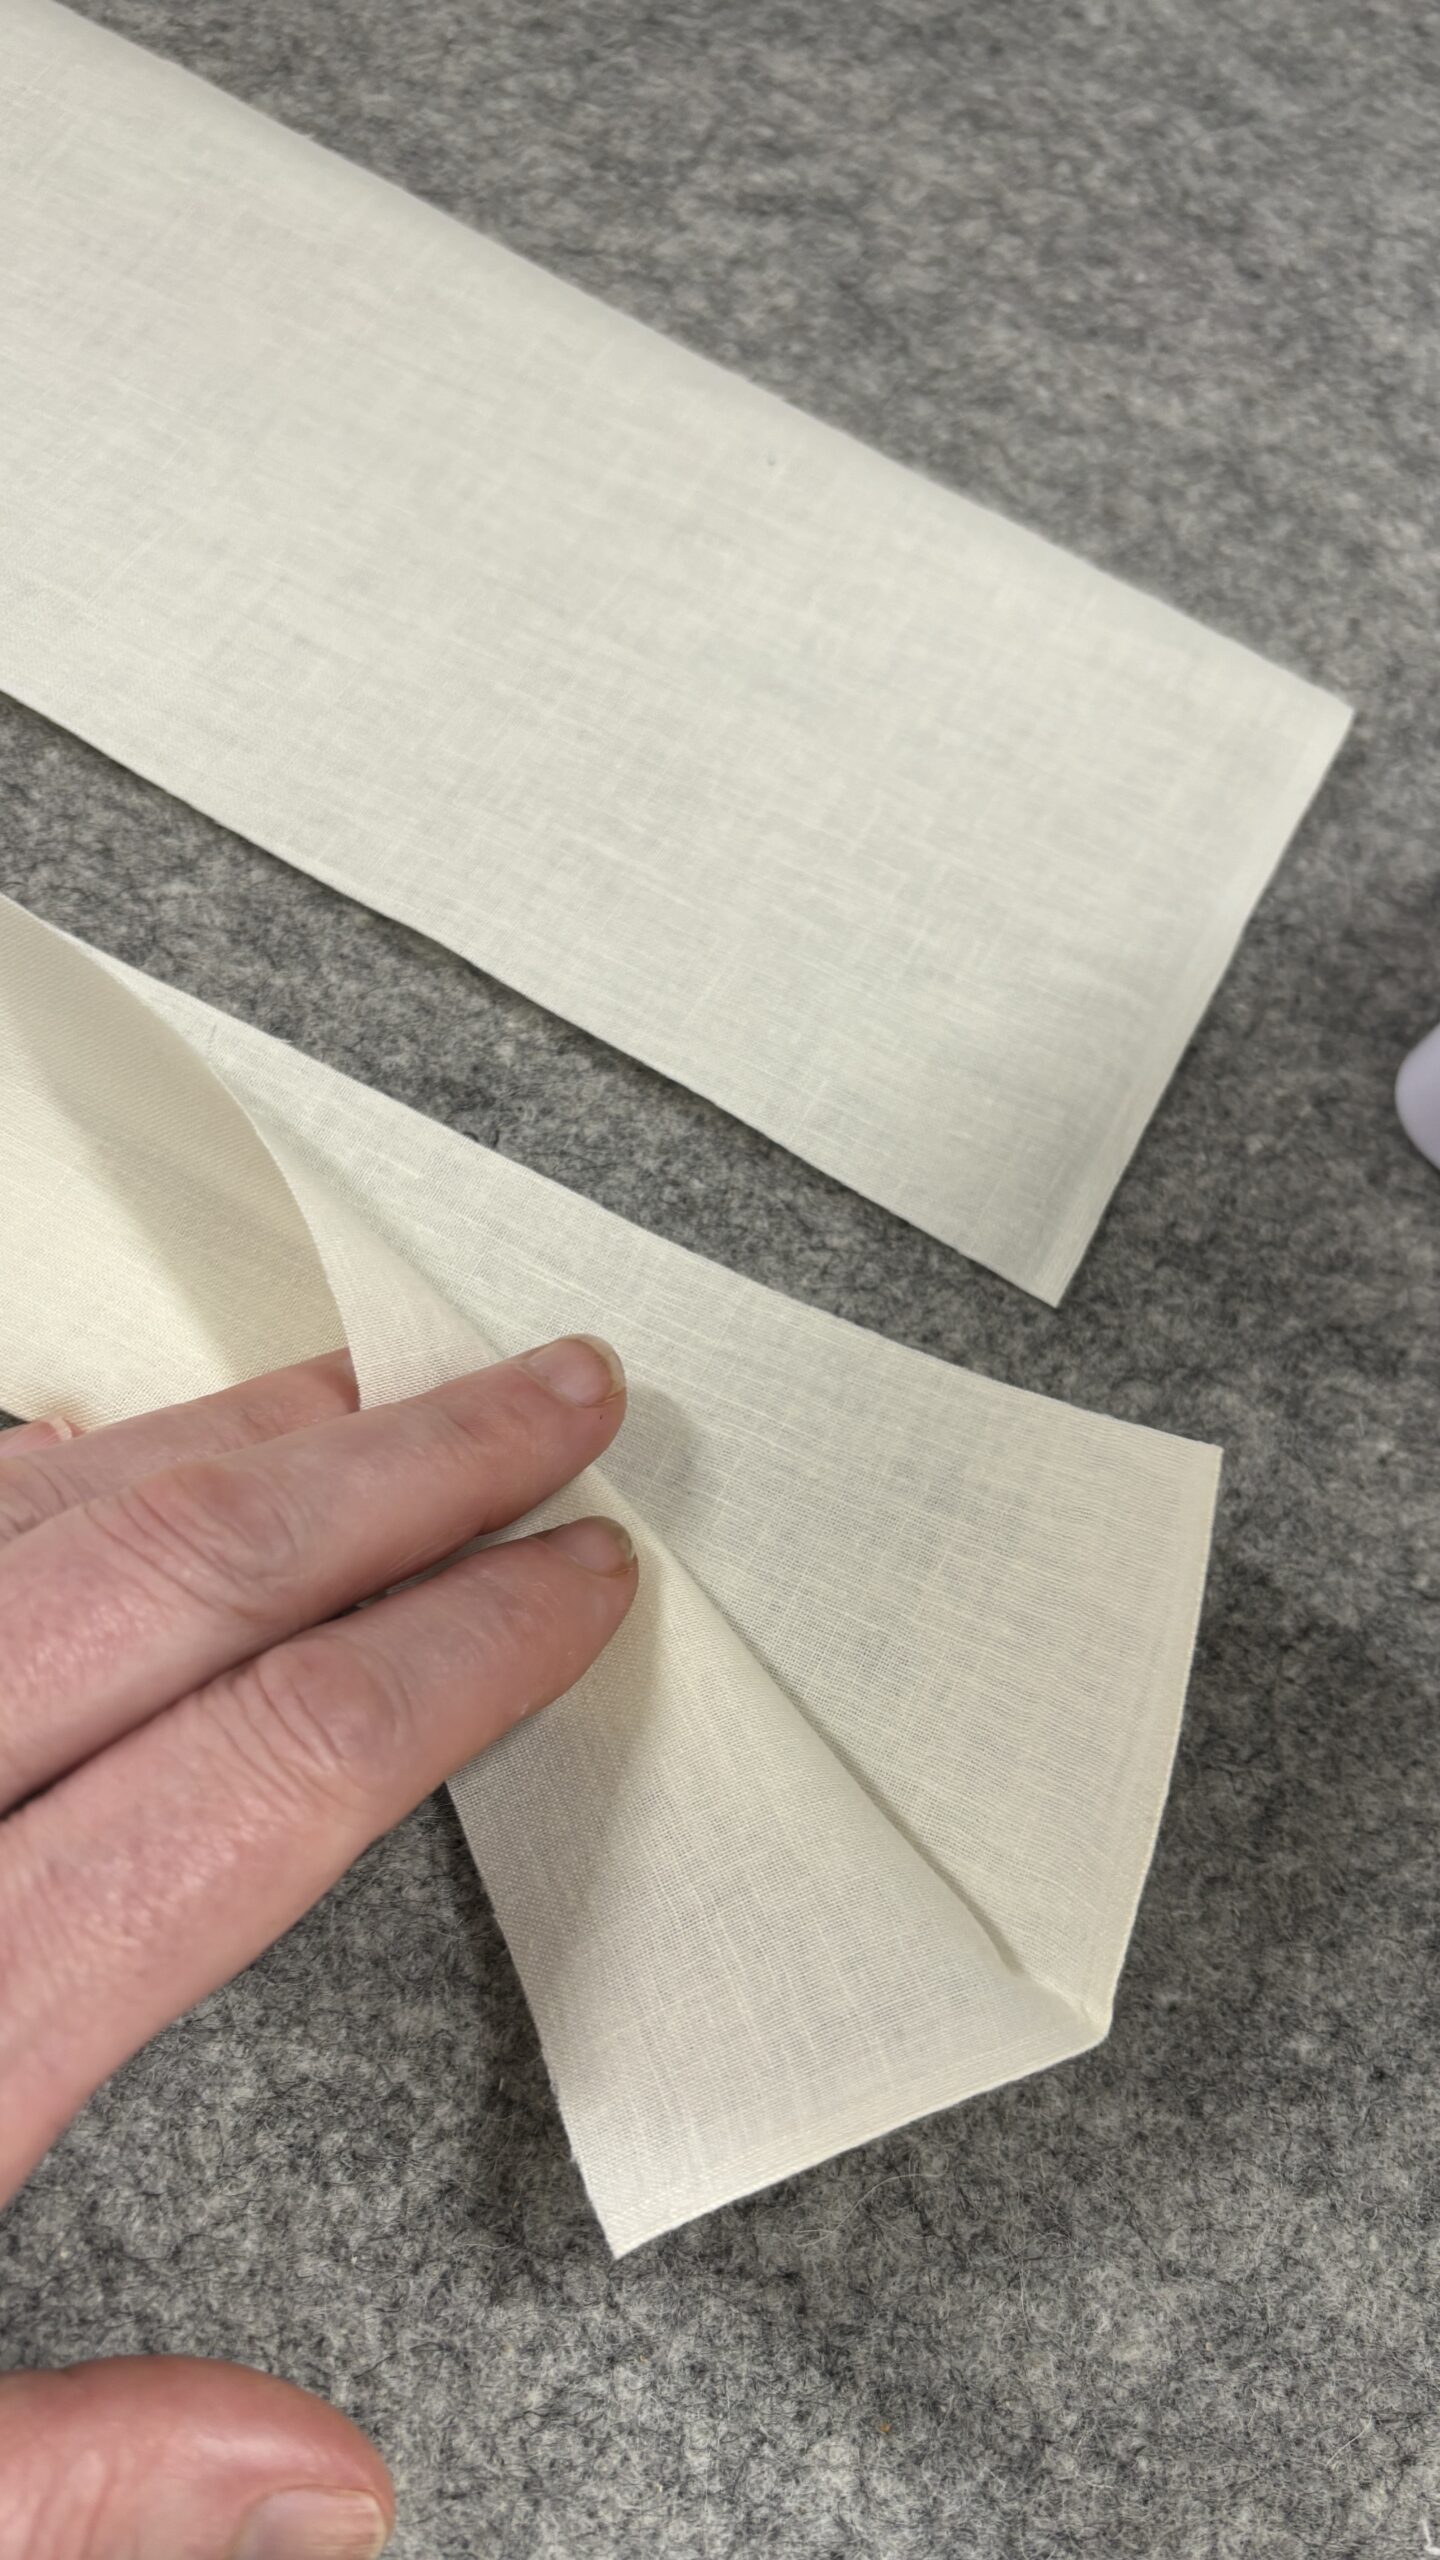
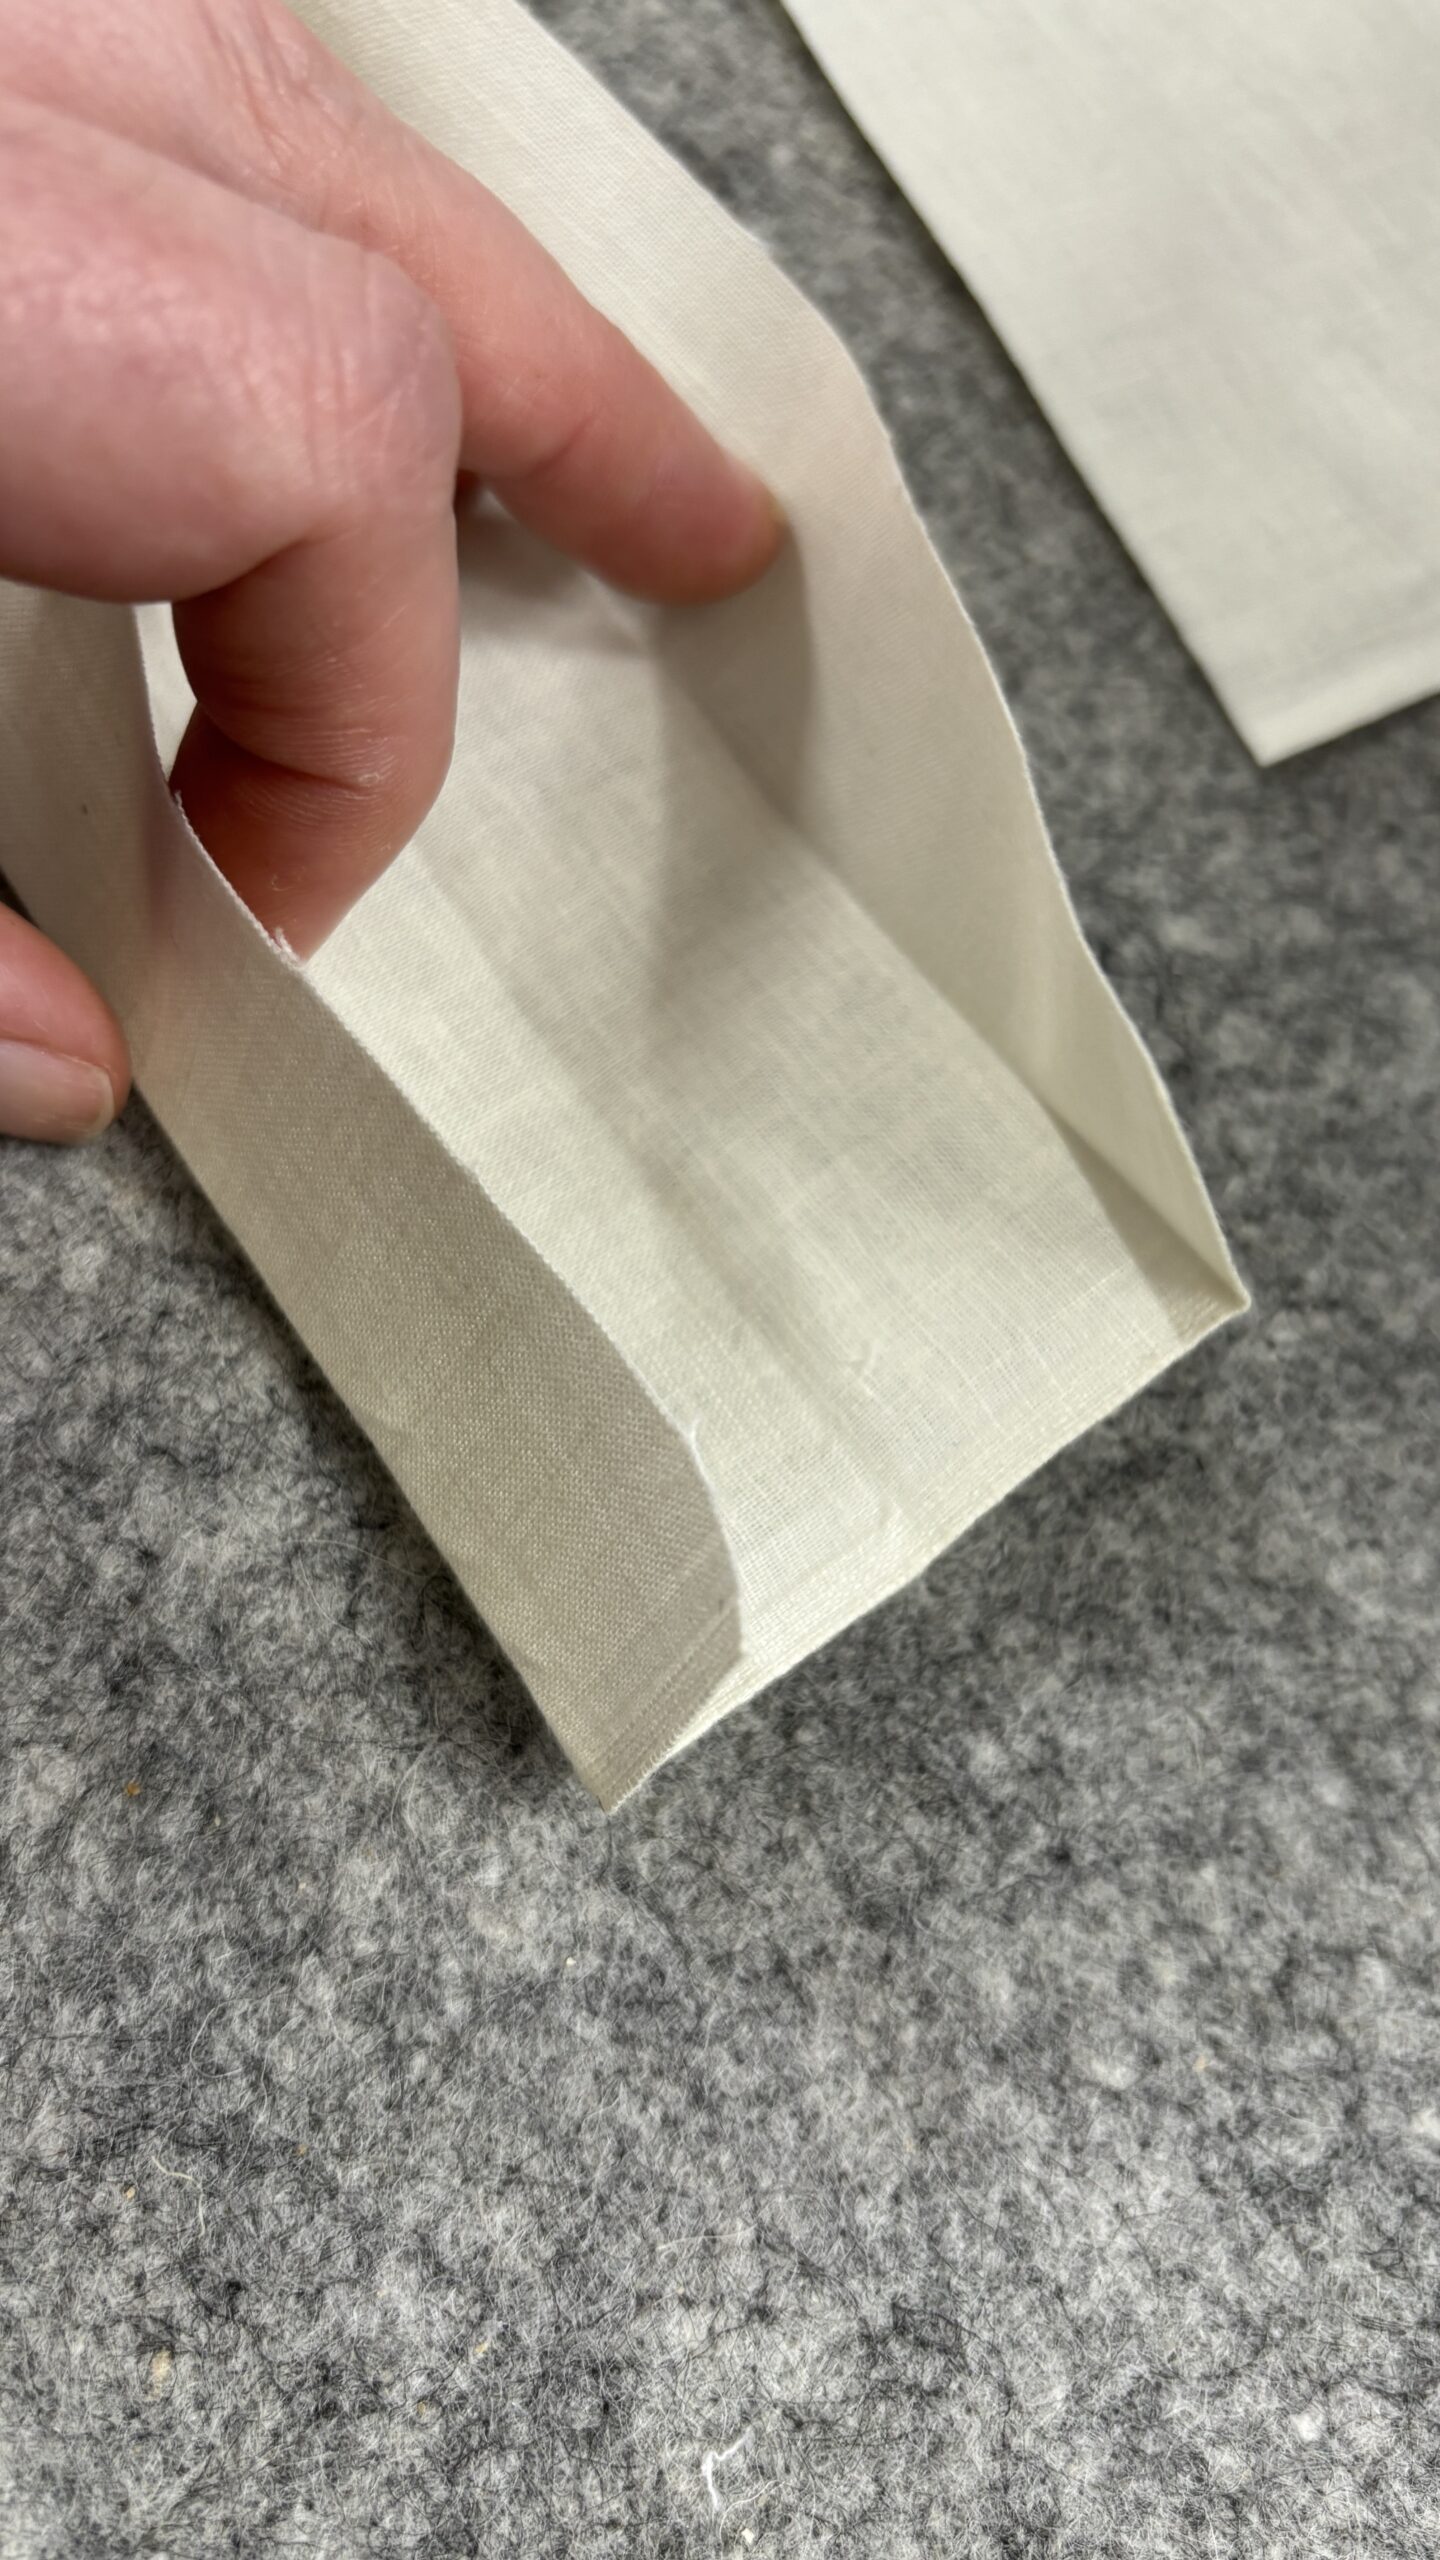
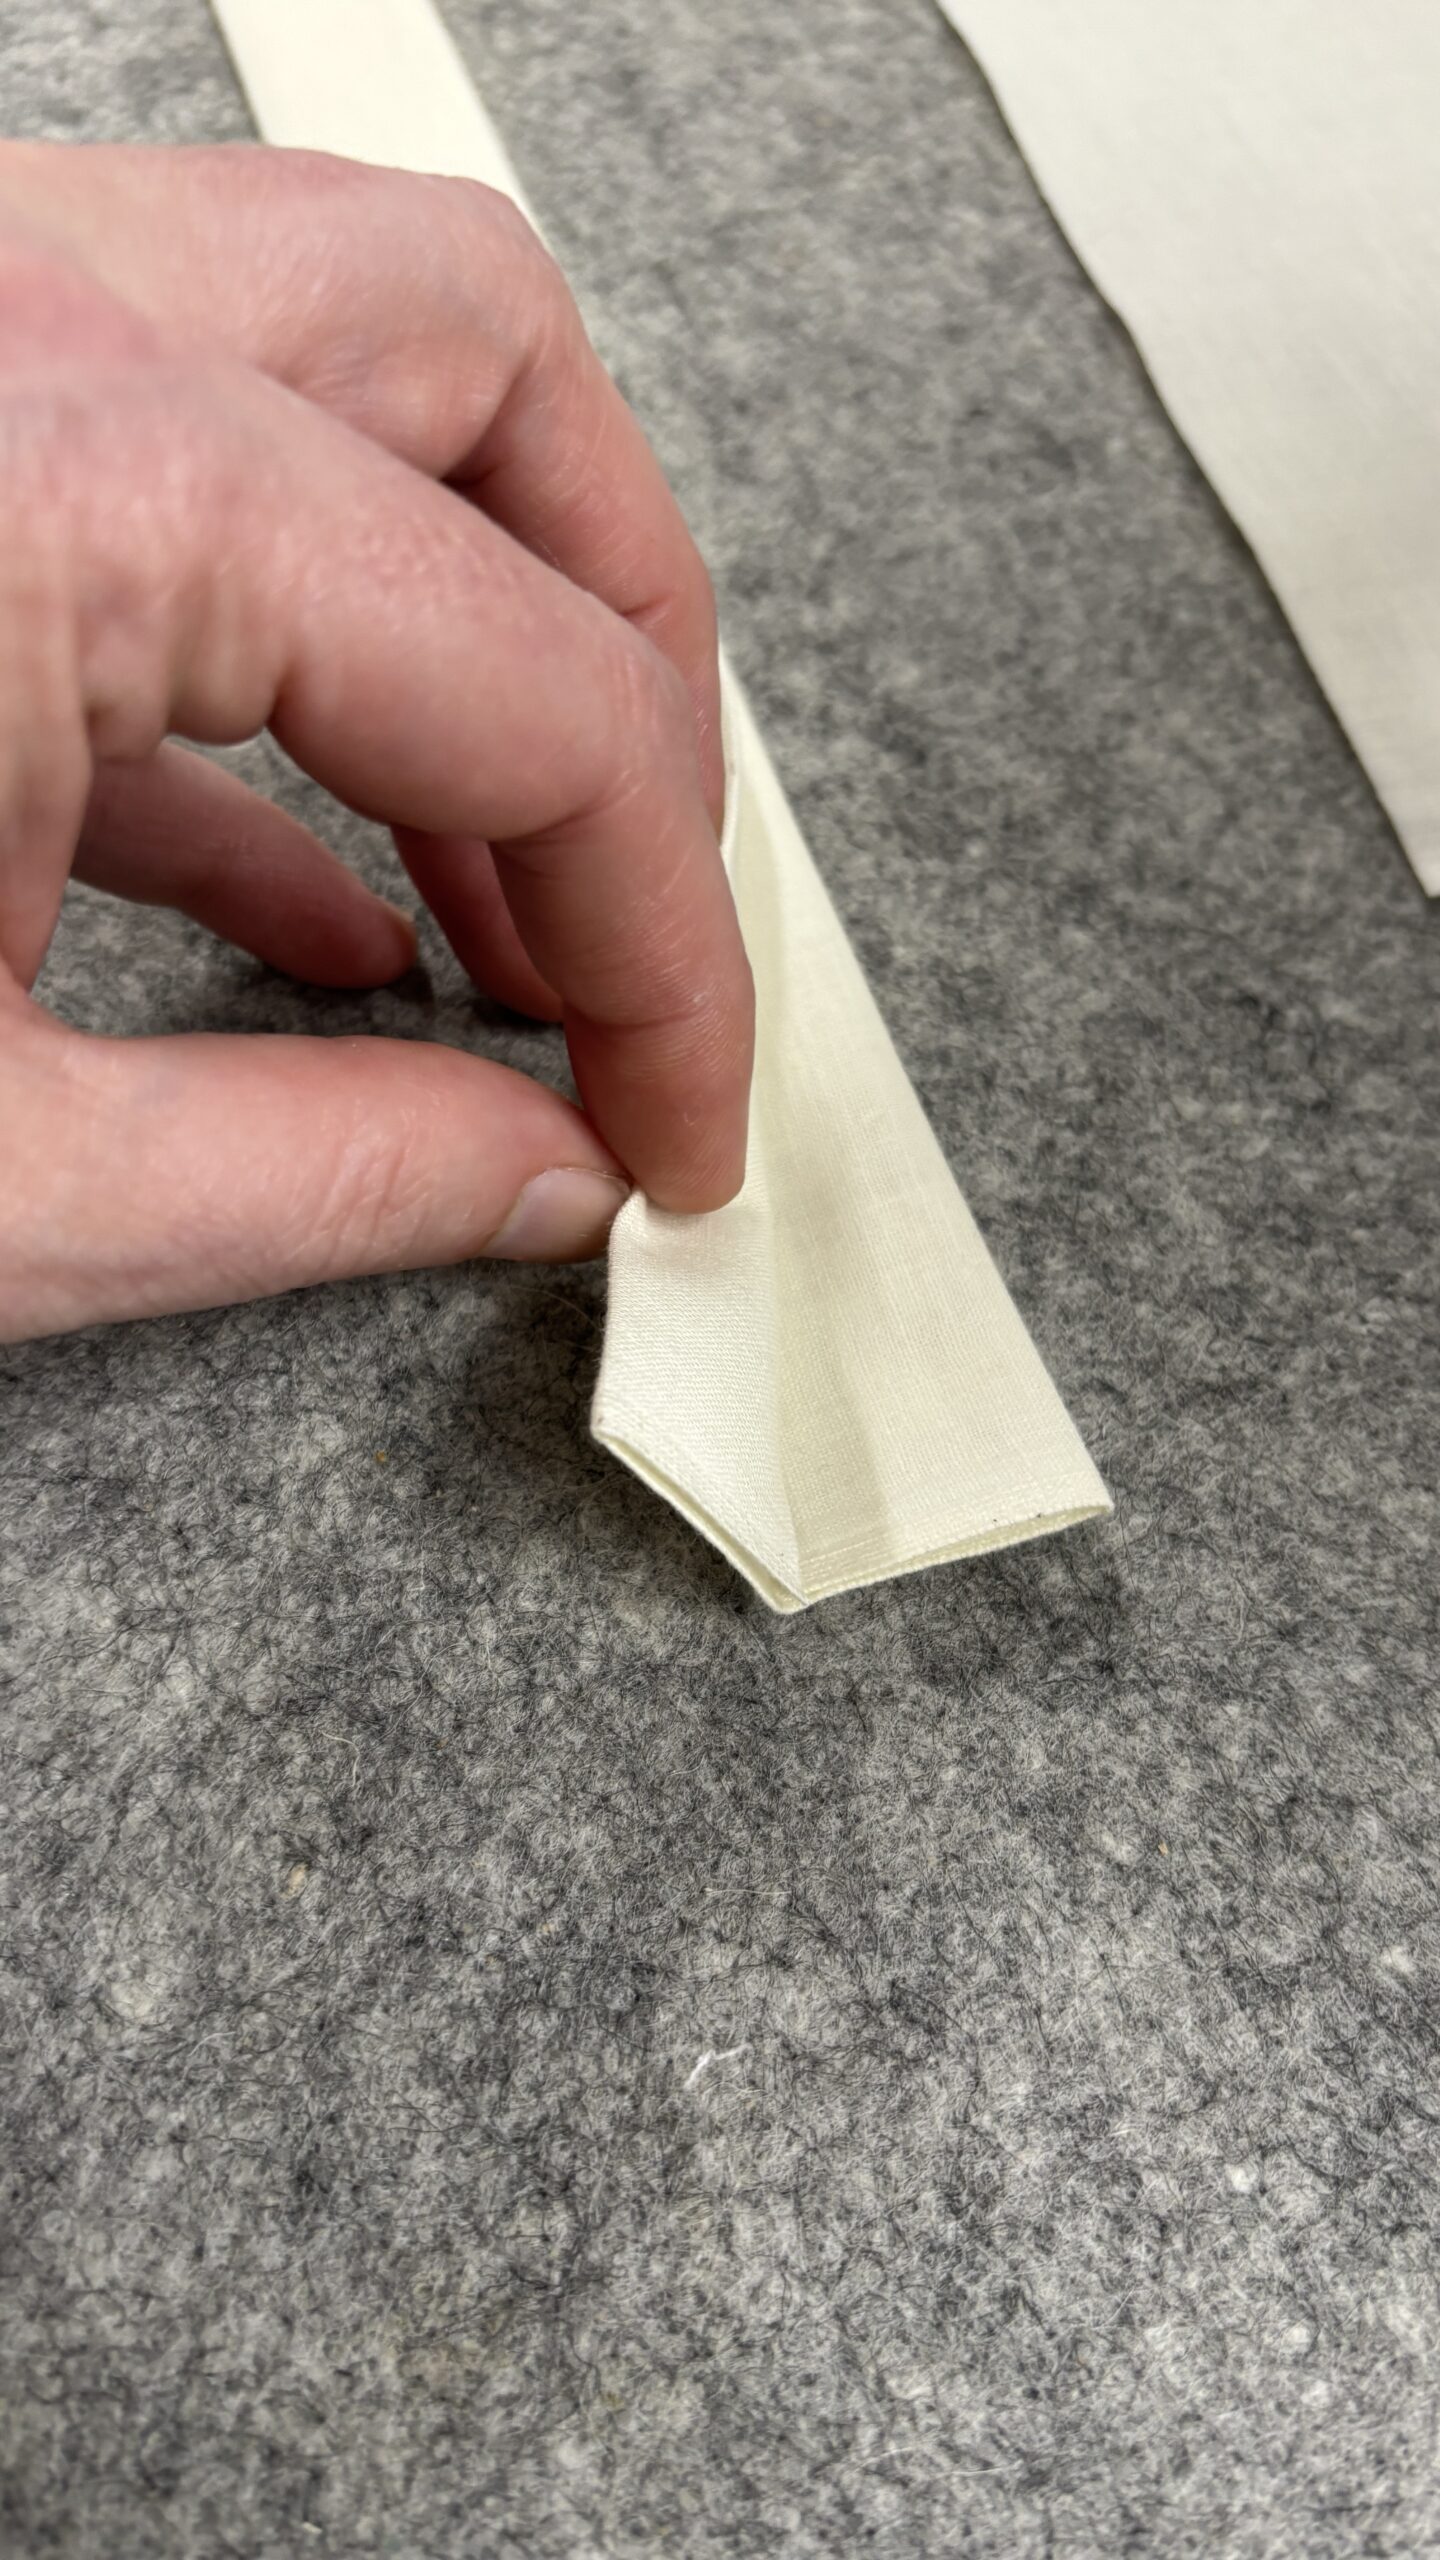
Prepare the two fabric handles. Fold each long handle strip lengthwise, bring the raw edges in towards the centre, then fold again to enclose the raw edges.
STEP 15
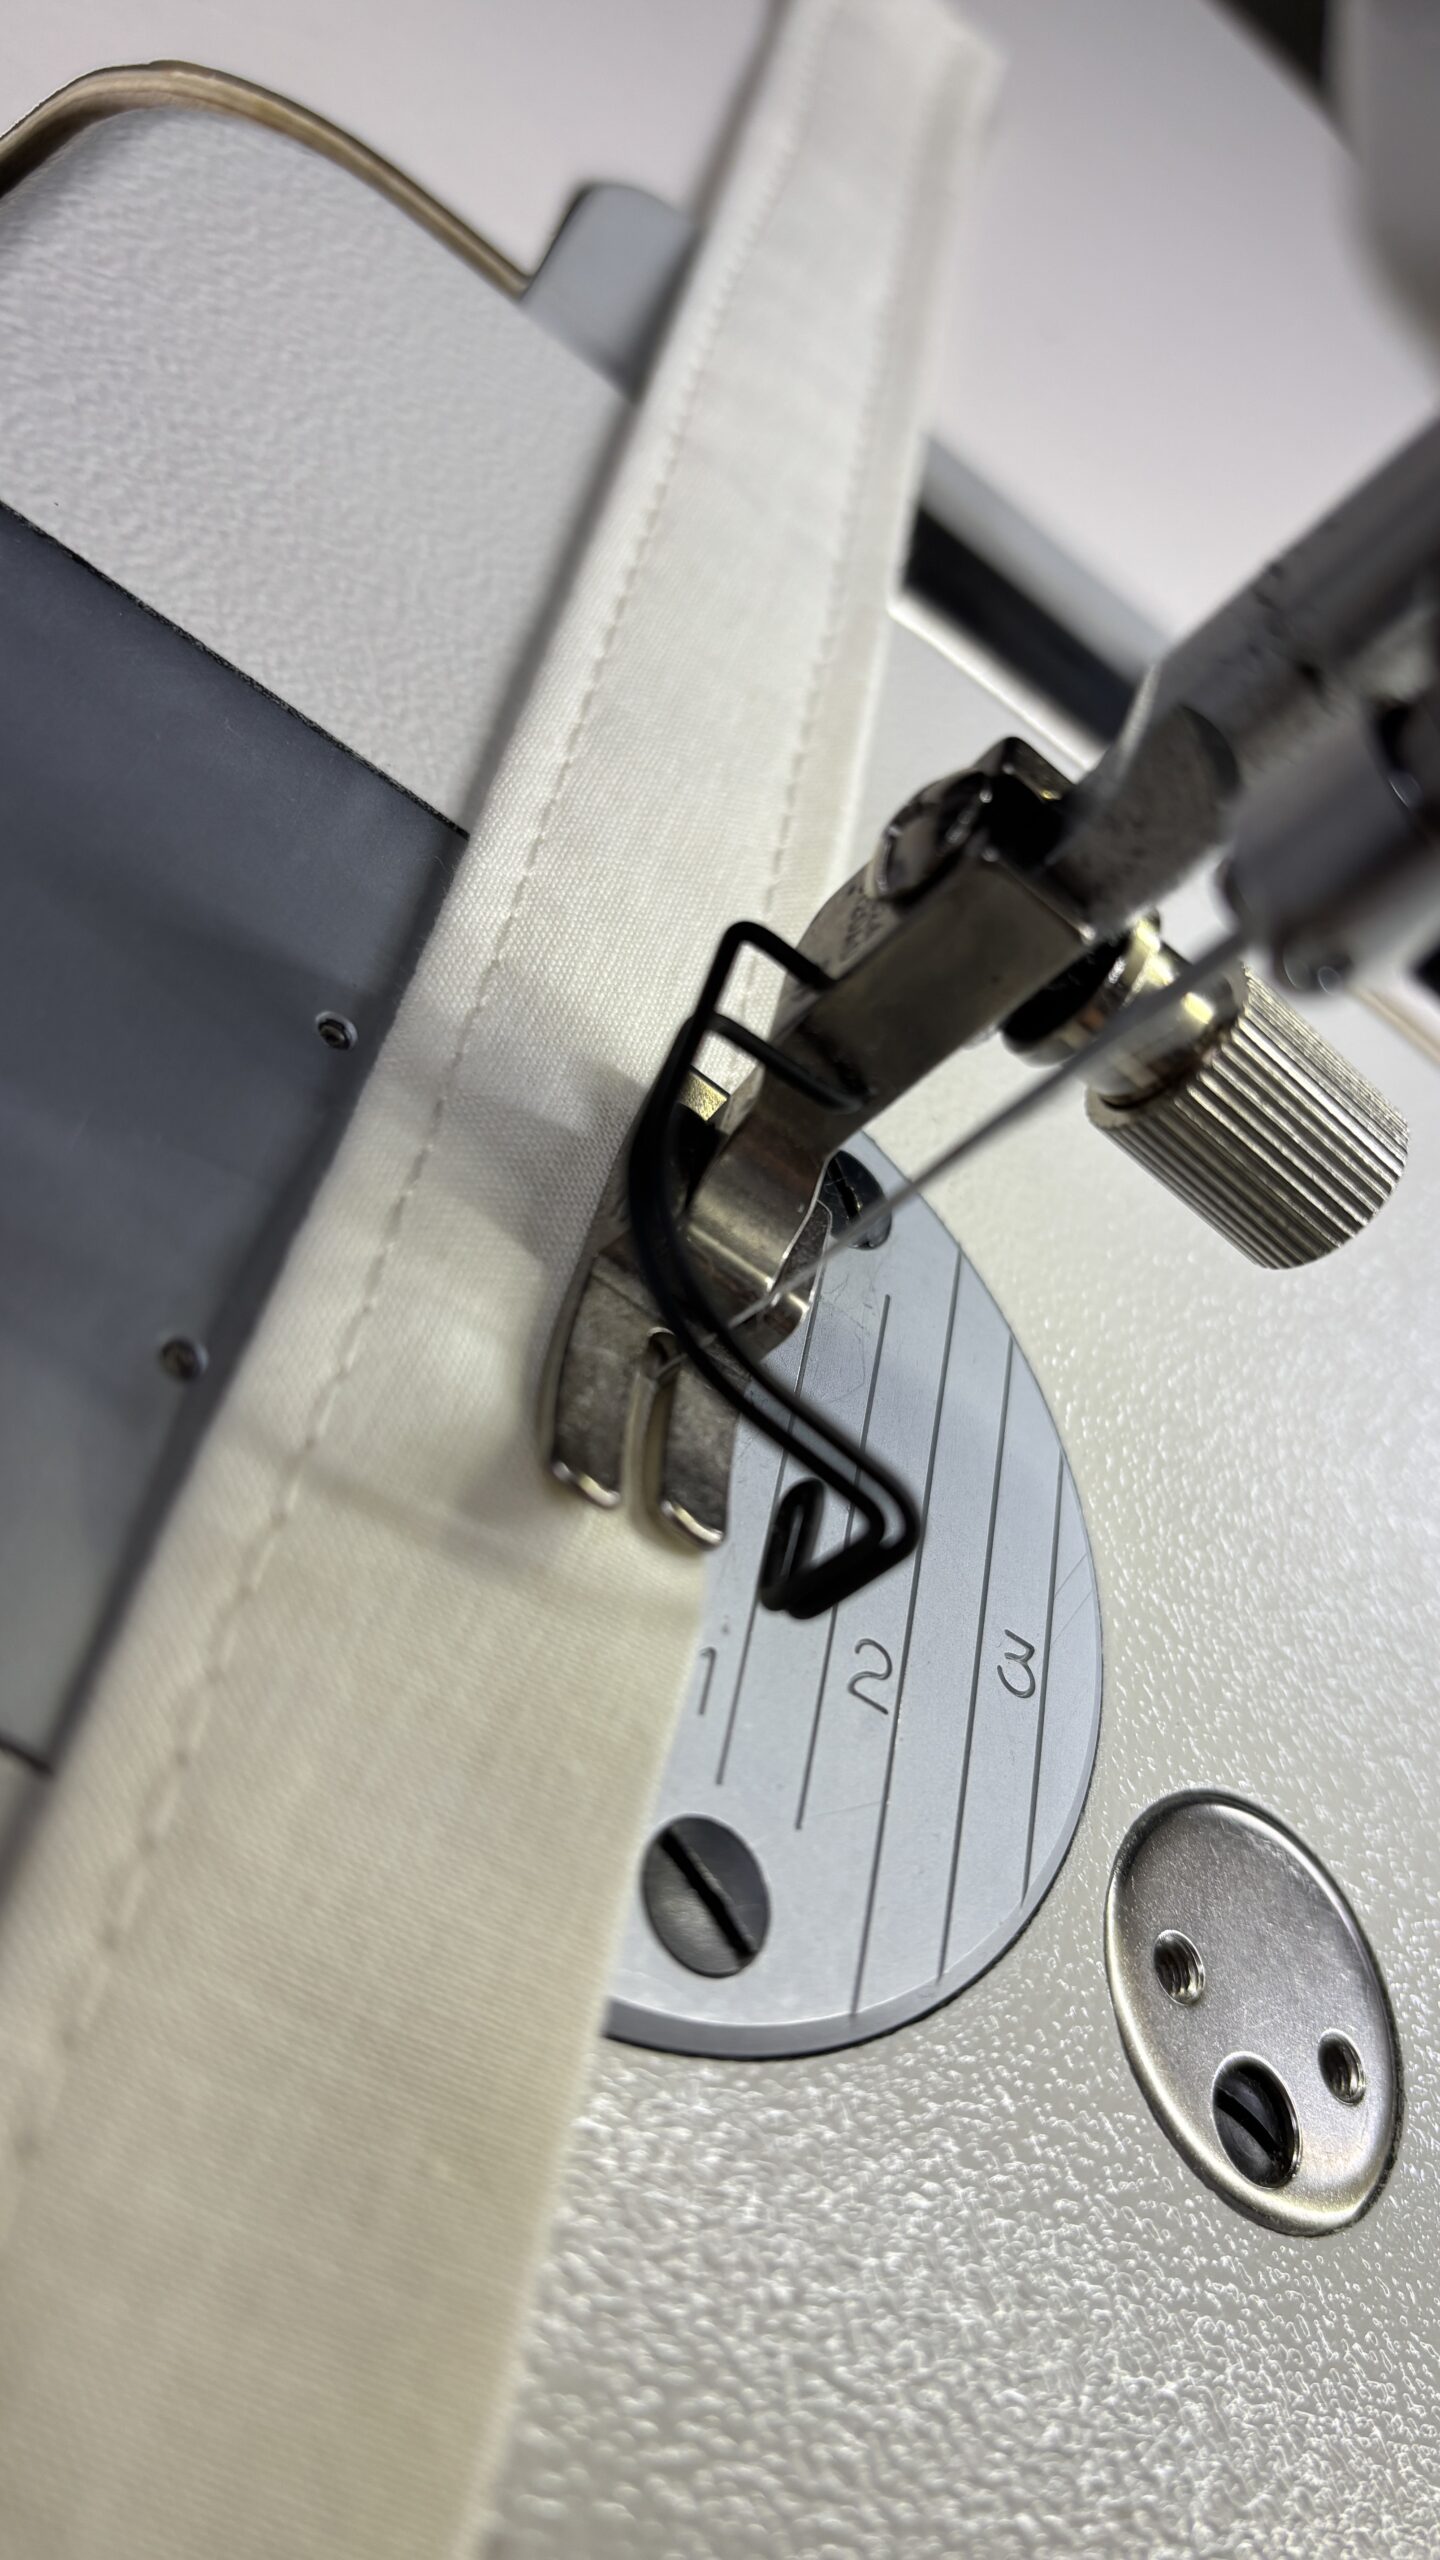
Topstitch along both long edges of each folded handle to hold the layers securely and give the handles a neat finish.
STEP 16
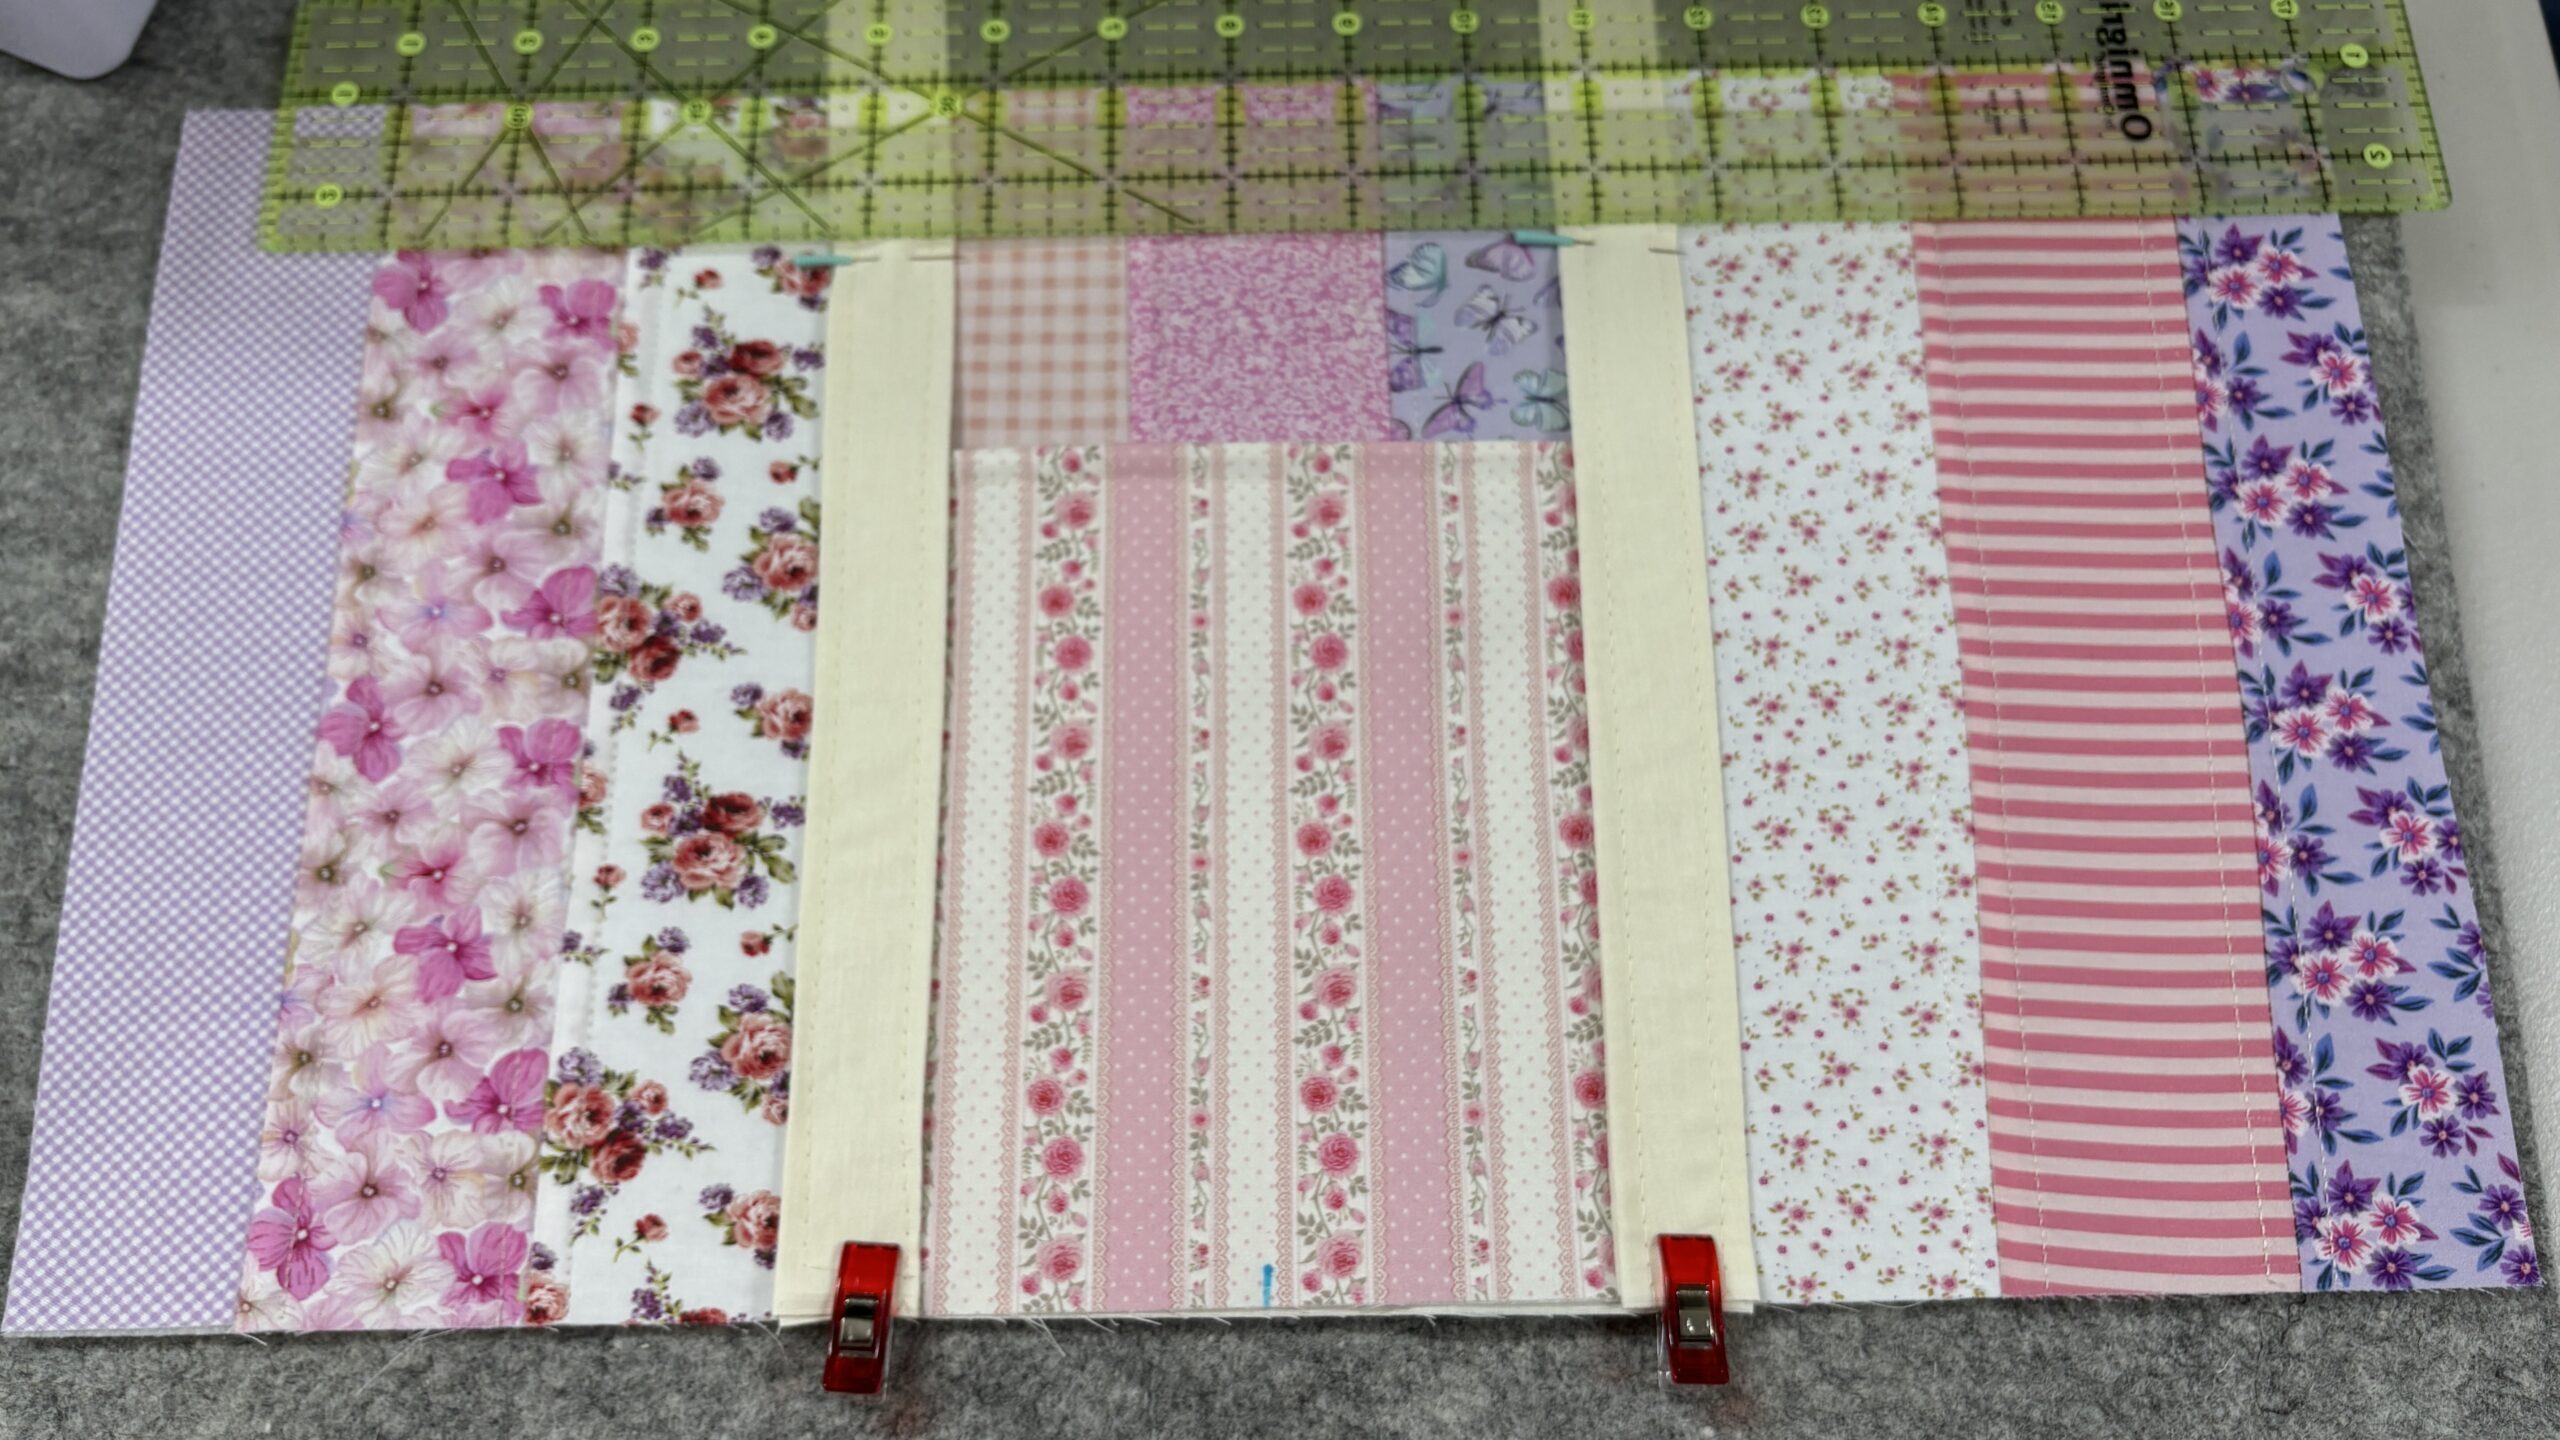
Position one handle on each upper exterior panel, keeping the handle untwisted. Place the strap evenly with the bottom of the panel and cover the basted edges of each pocket. Clip them in place.
Mark each handle leg 1 ½” from the top edge of the panel with a pin. Stitch the handles to the exterior panel up to the pin, then across the handle, and back down to the bottom again. Do this for all 4 handle legs.
PART 5
Join and shape the exterior
Attach the base, sew the sides and box the corners so the tote stops being a flat collection of good intentions.
STEP 17
Join one upper exterior panel to the long edge of the base rectangle, right sides together. Set together using a ⅜” seam. Do the same for the other exterior panel on the opposite side of the base fabric. The base exterior will now be one continuous piece. Press the joining seams open.
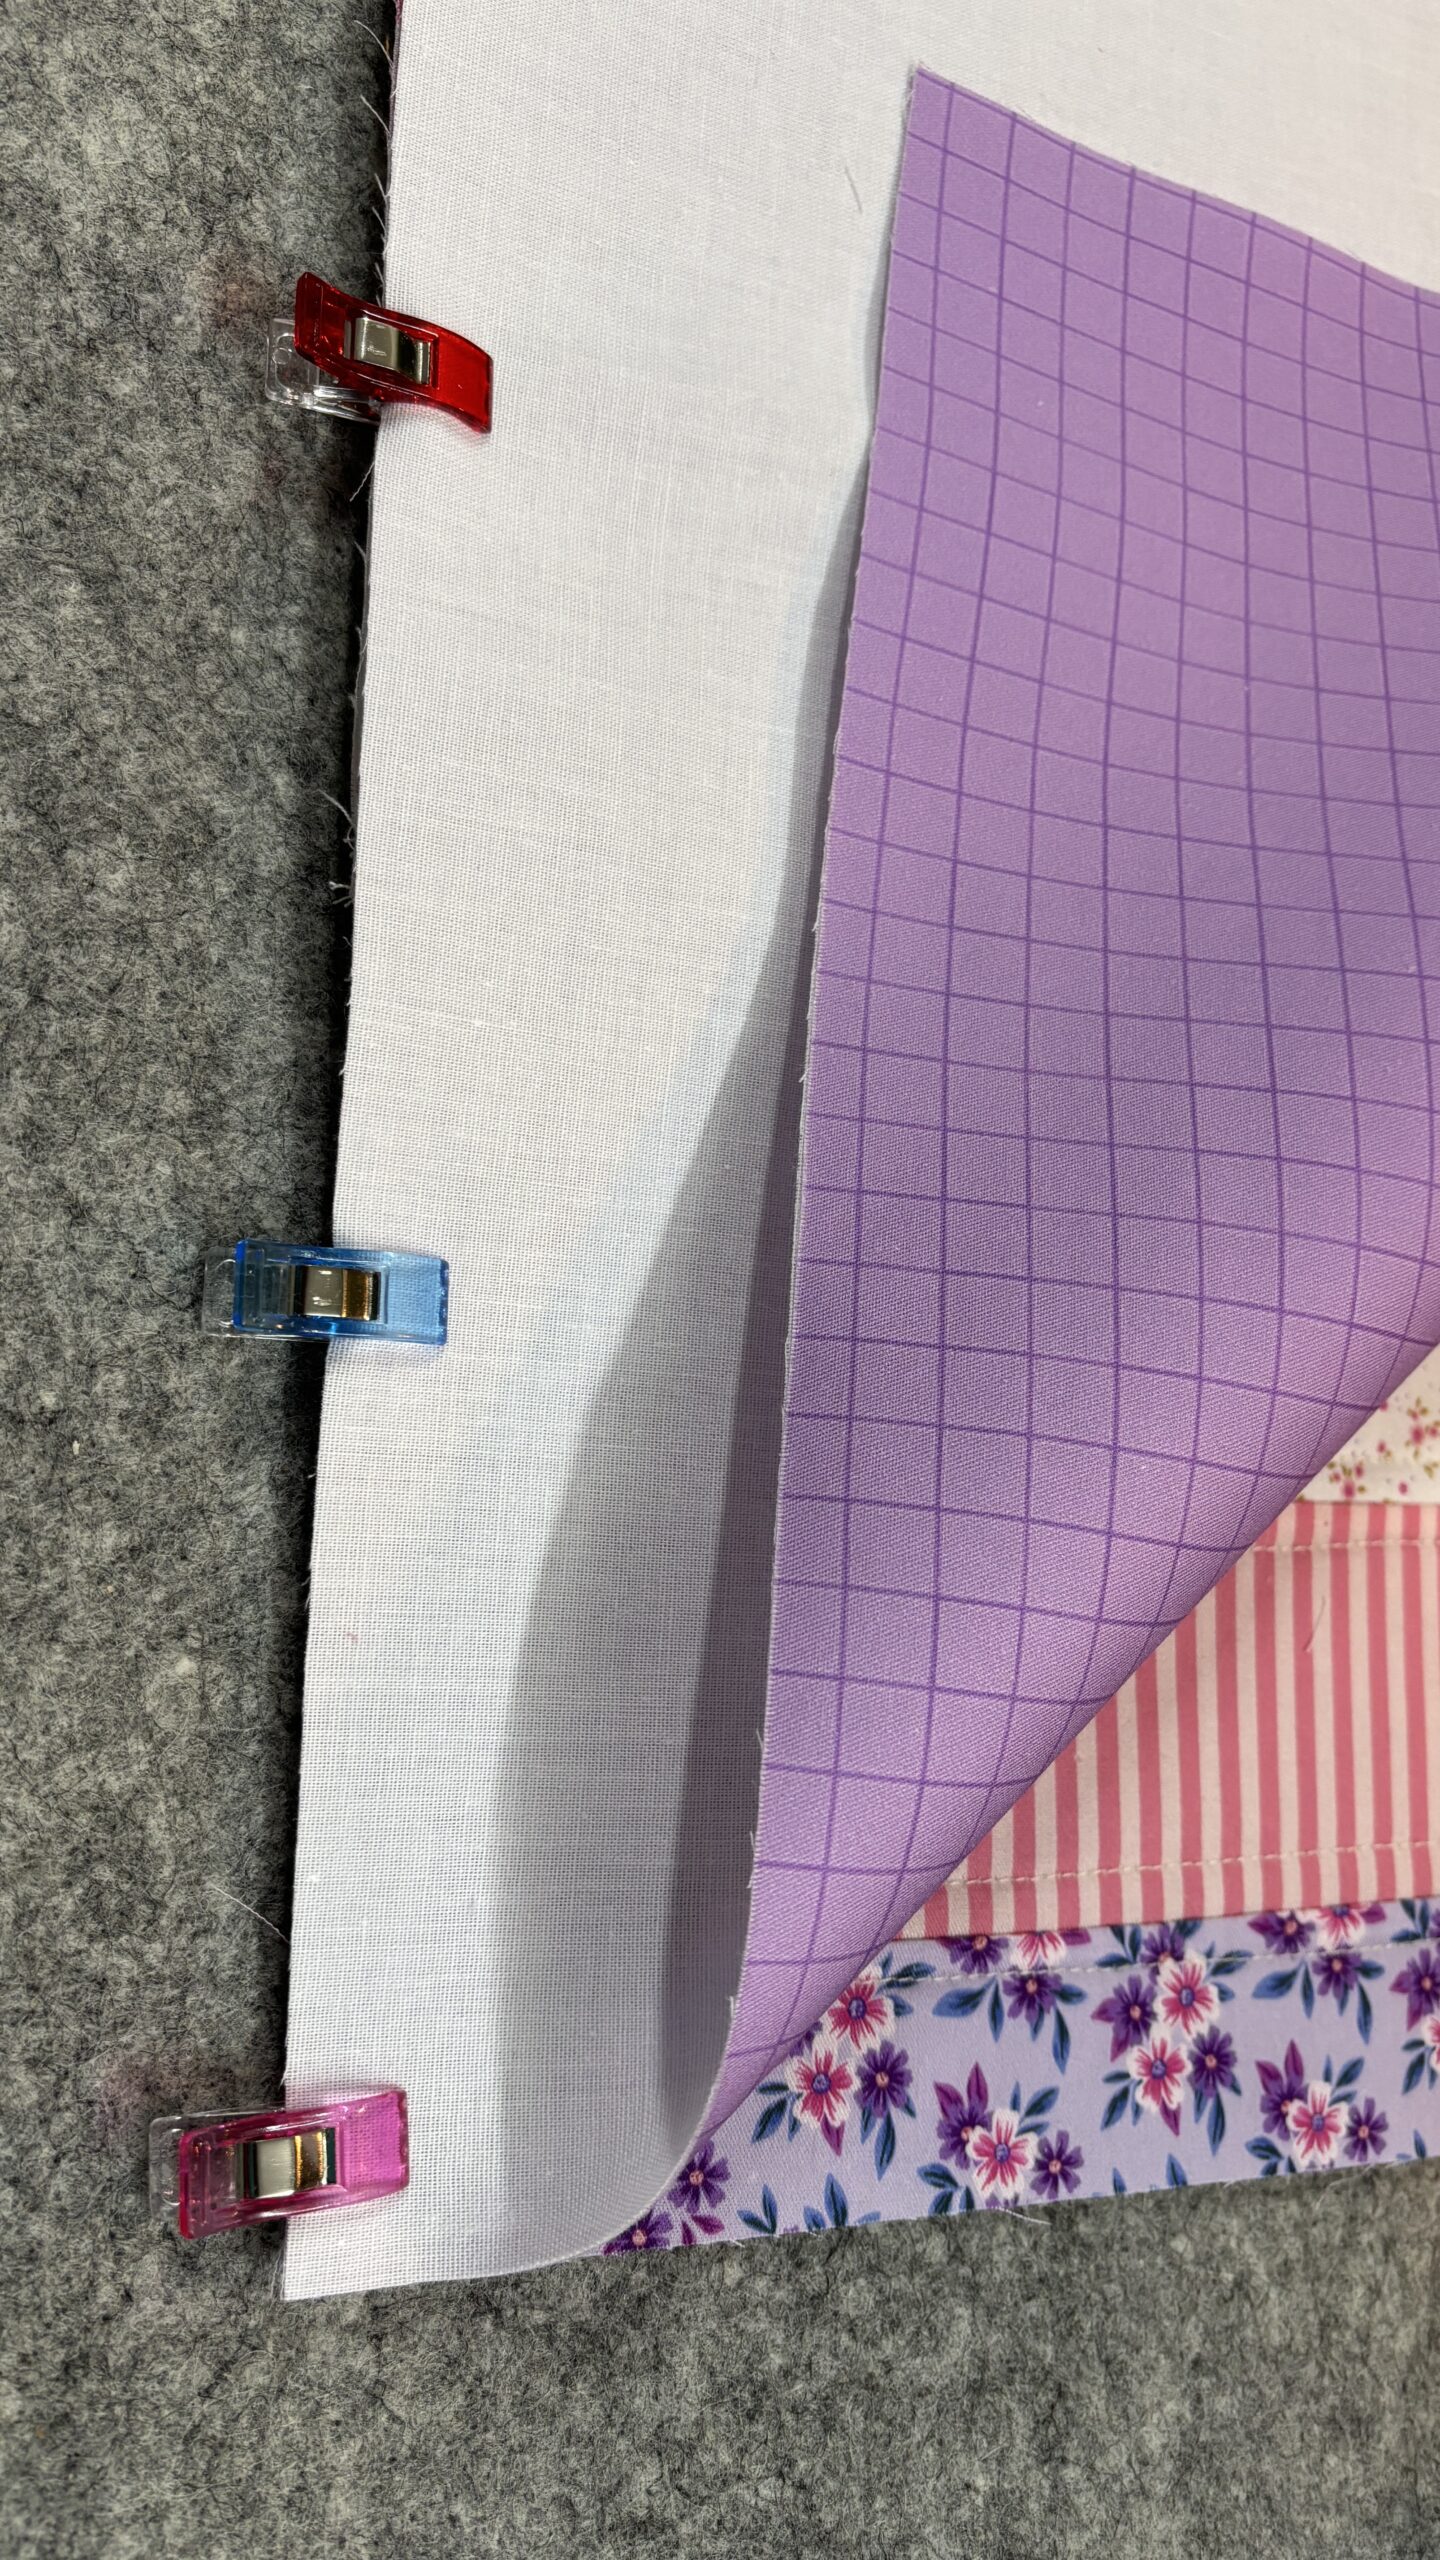
STEP 18
Top stitch ¼” along both sides of the joining seam.
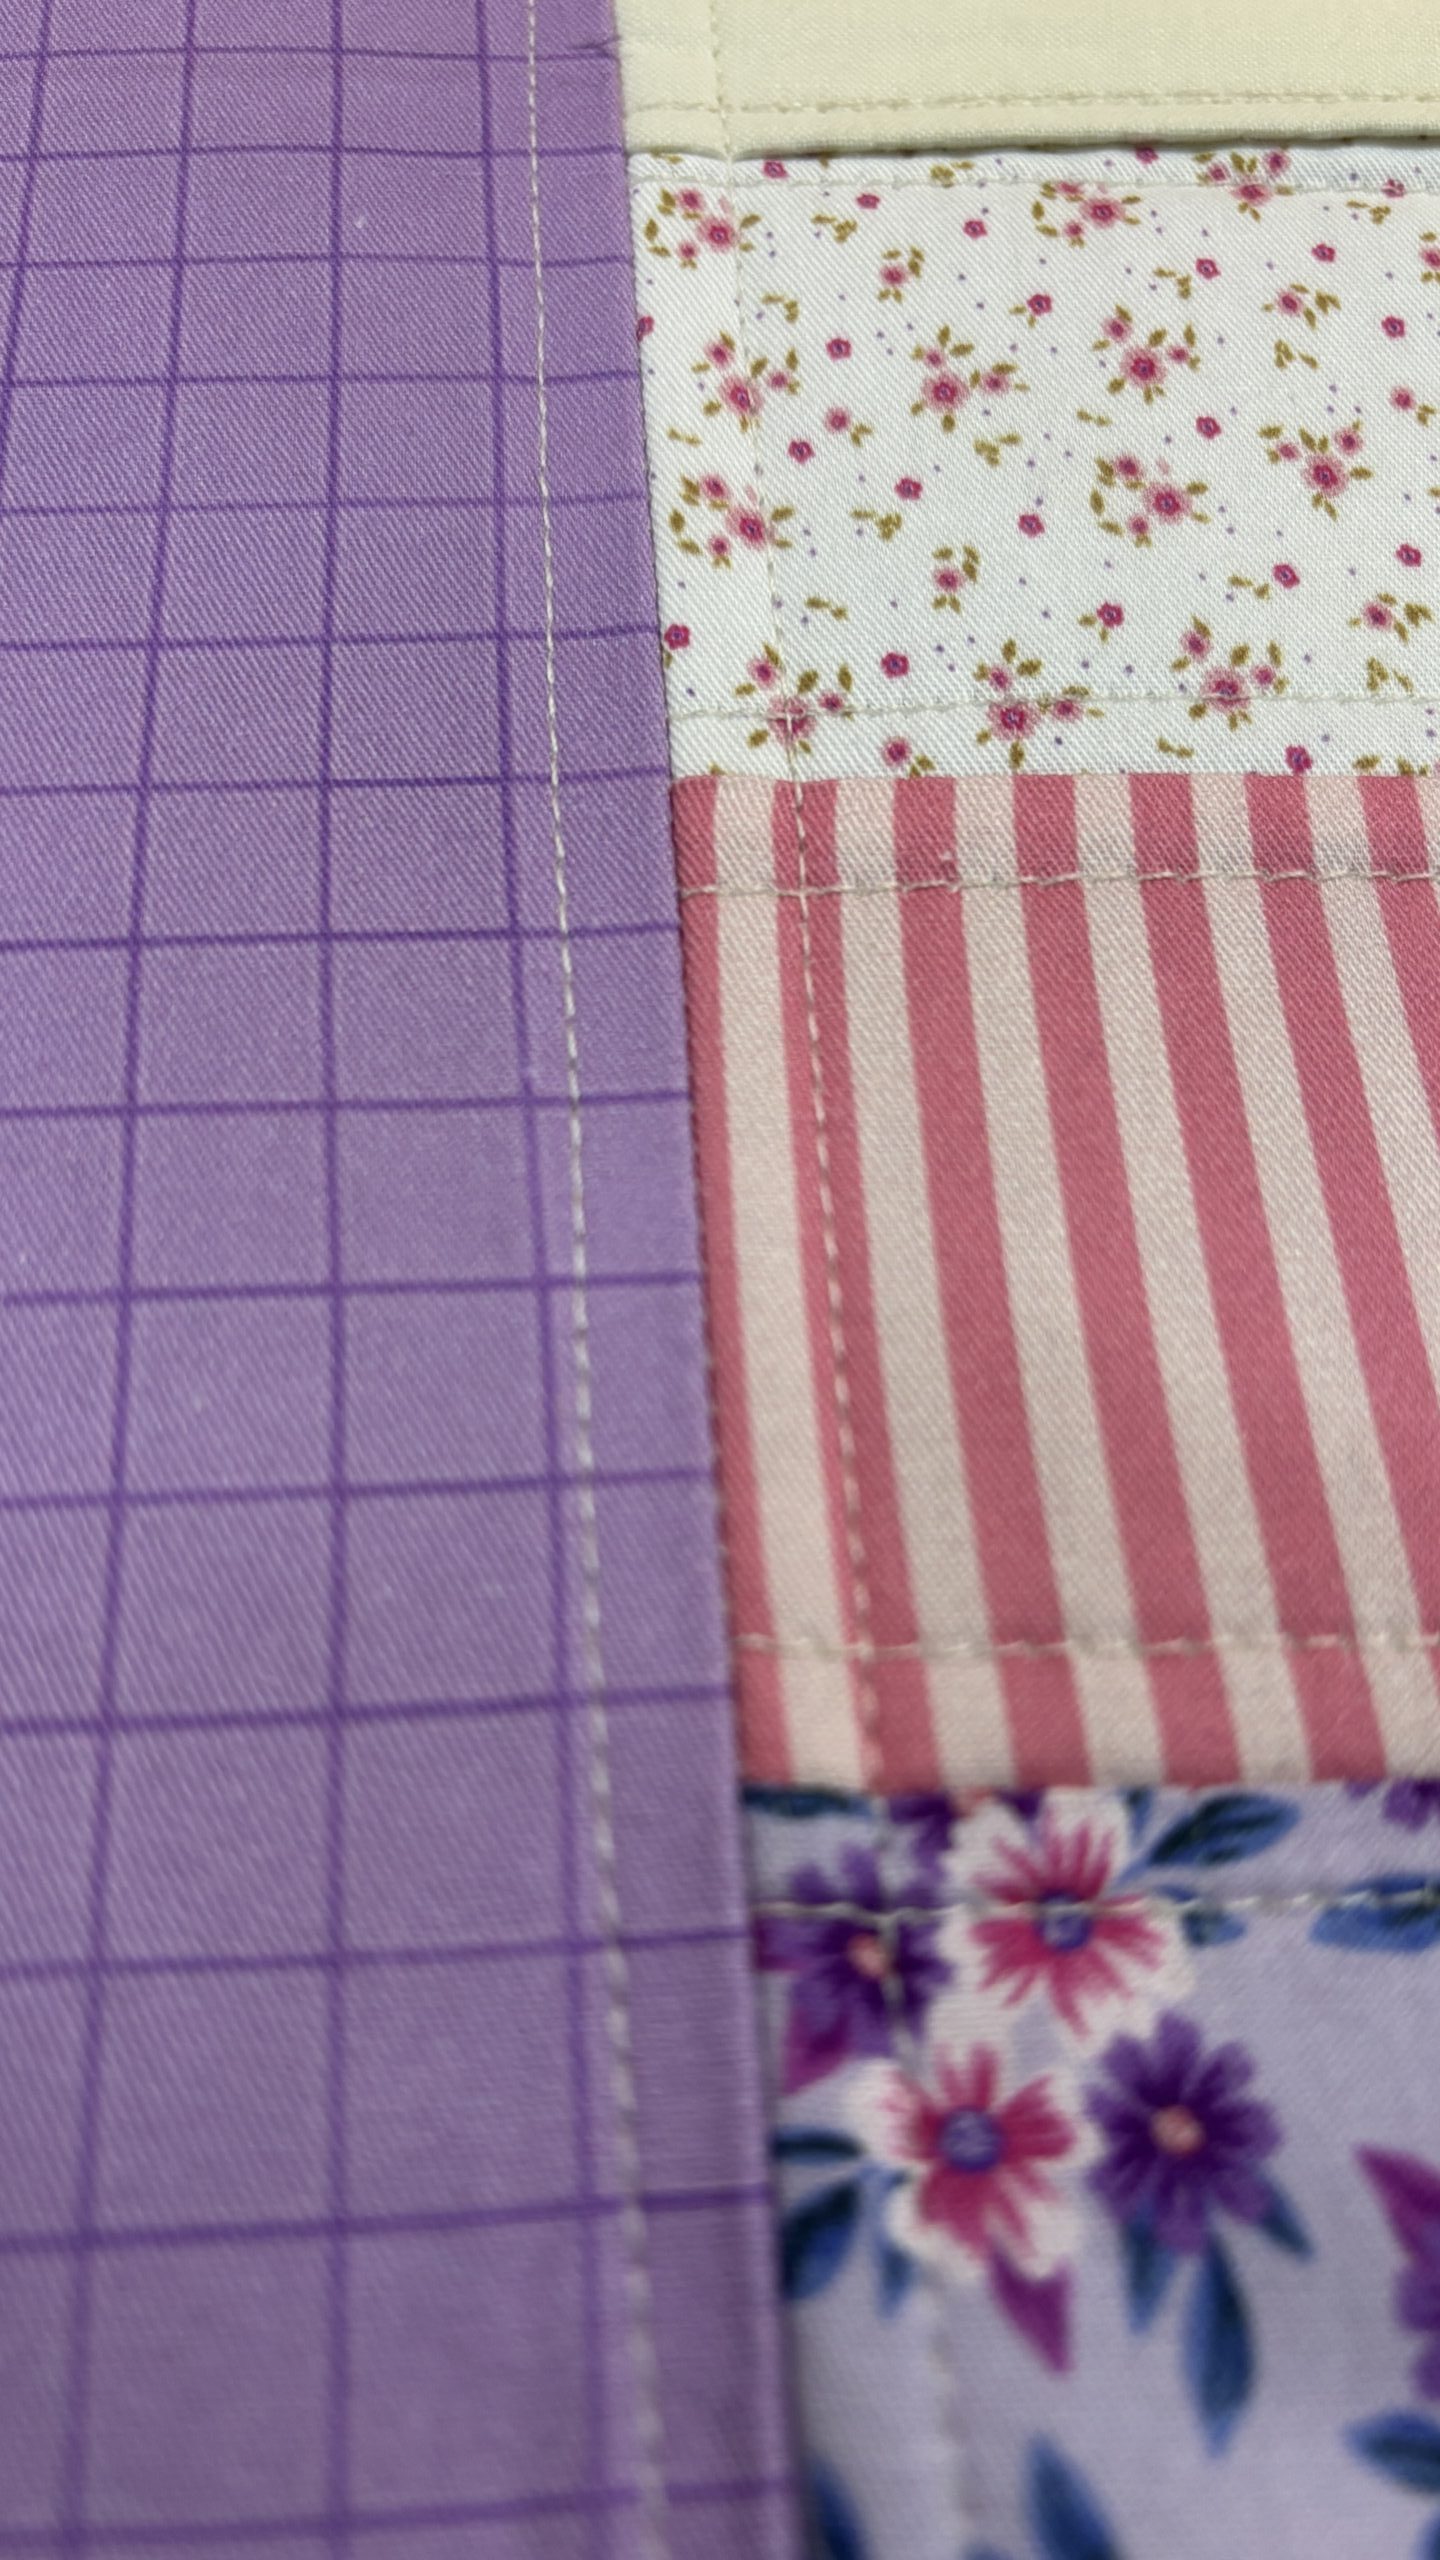
STEP 19
Fold your exterior panel in half, lining up your top edges. Clip in place and sew down both sides using a ⅜” seam.
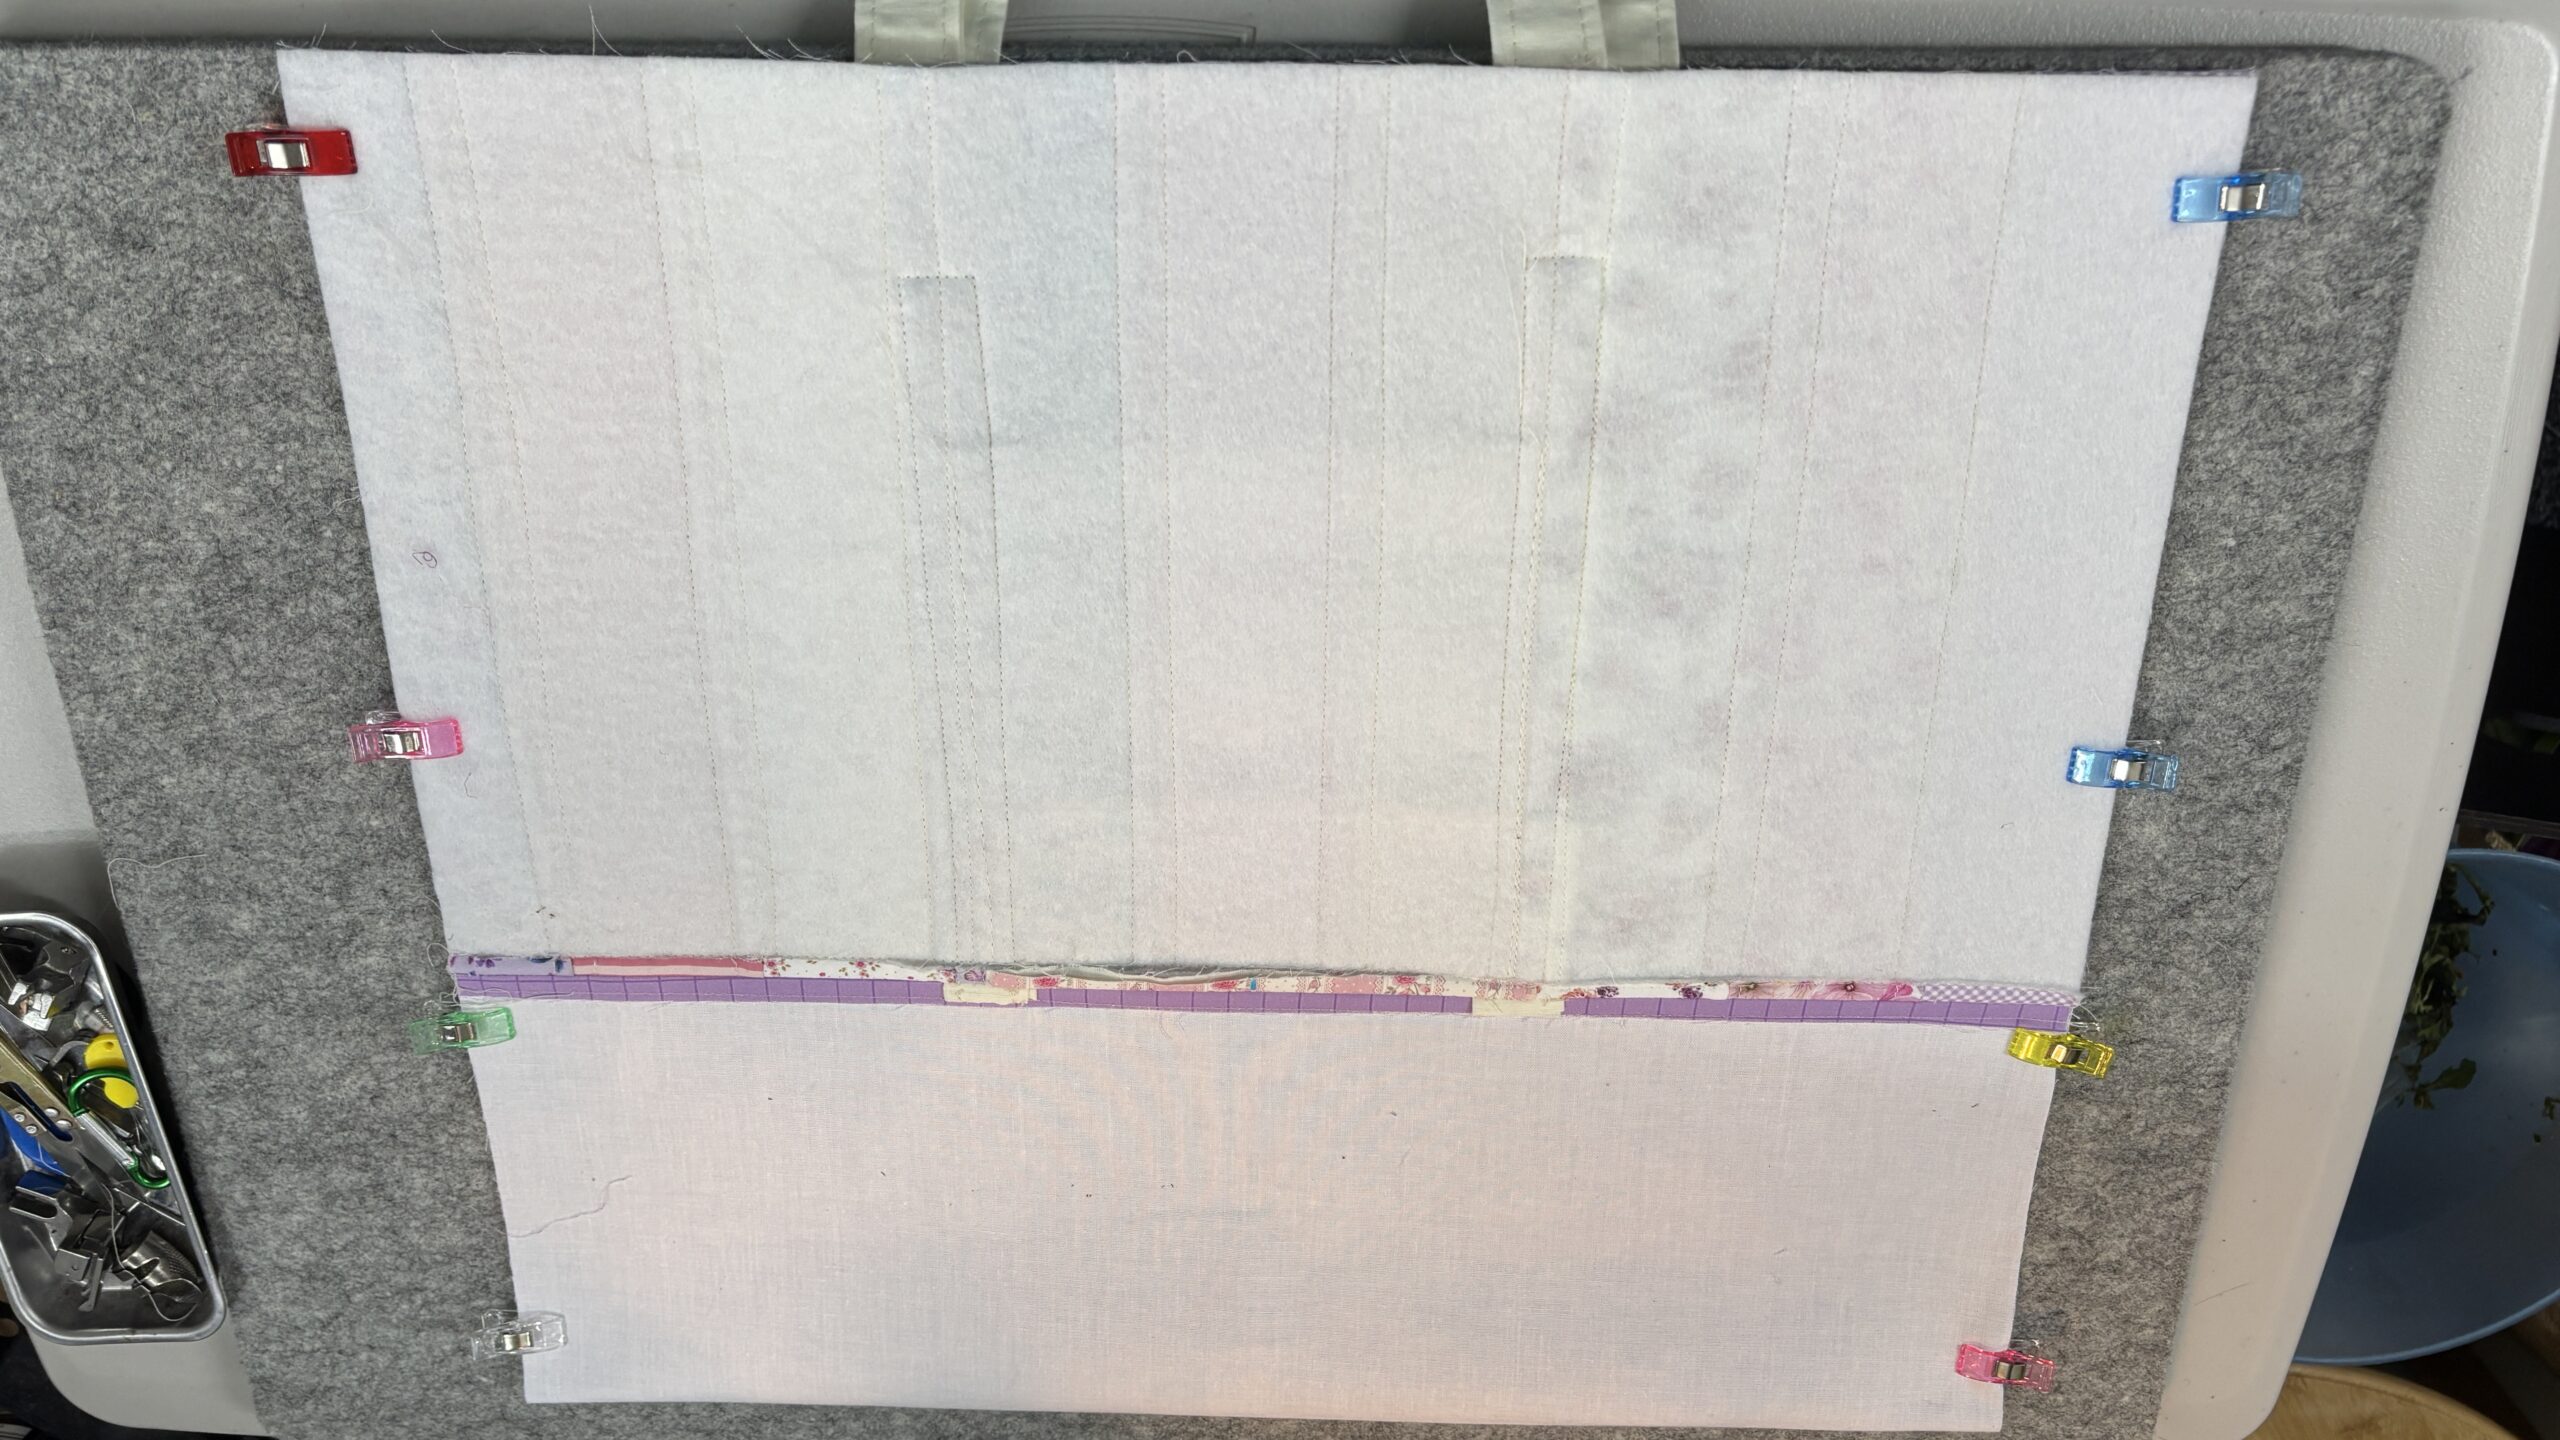
STEP 20
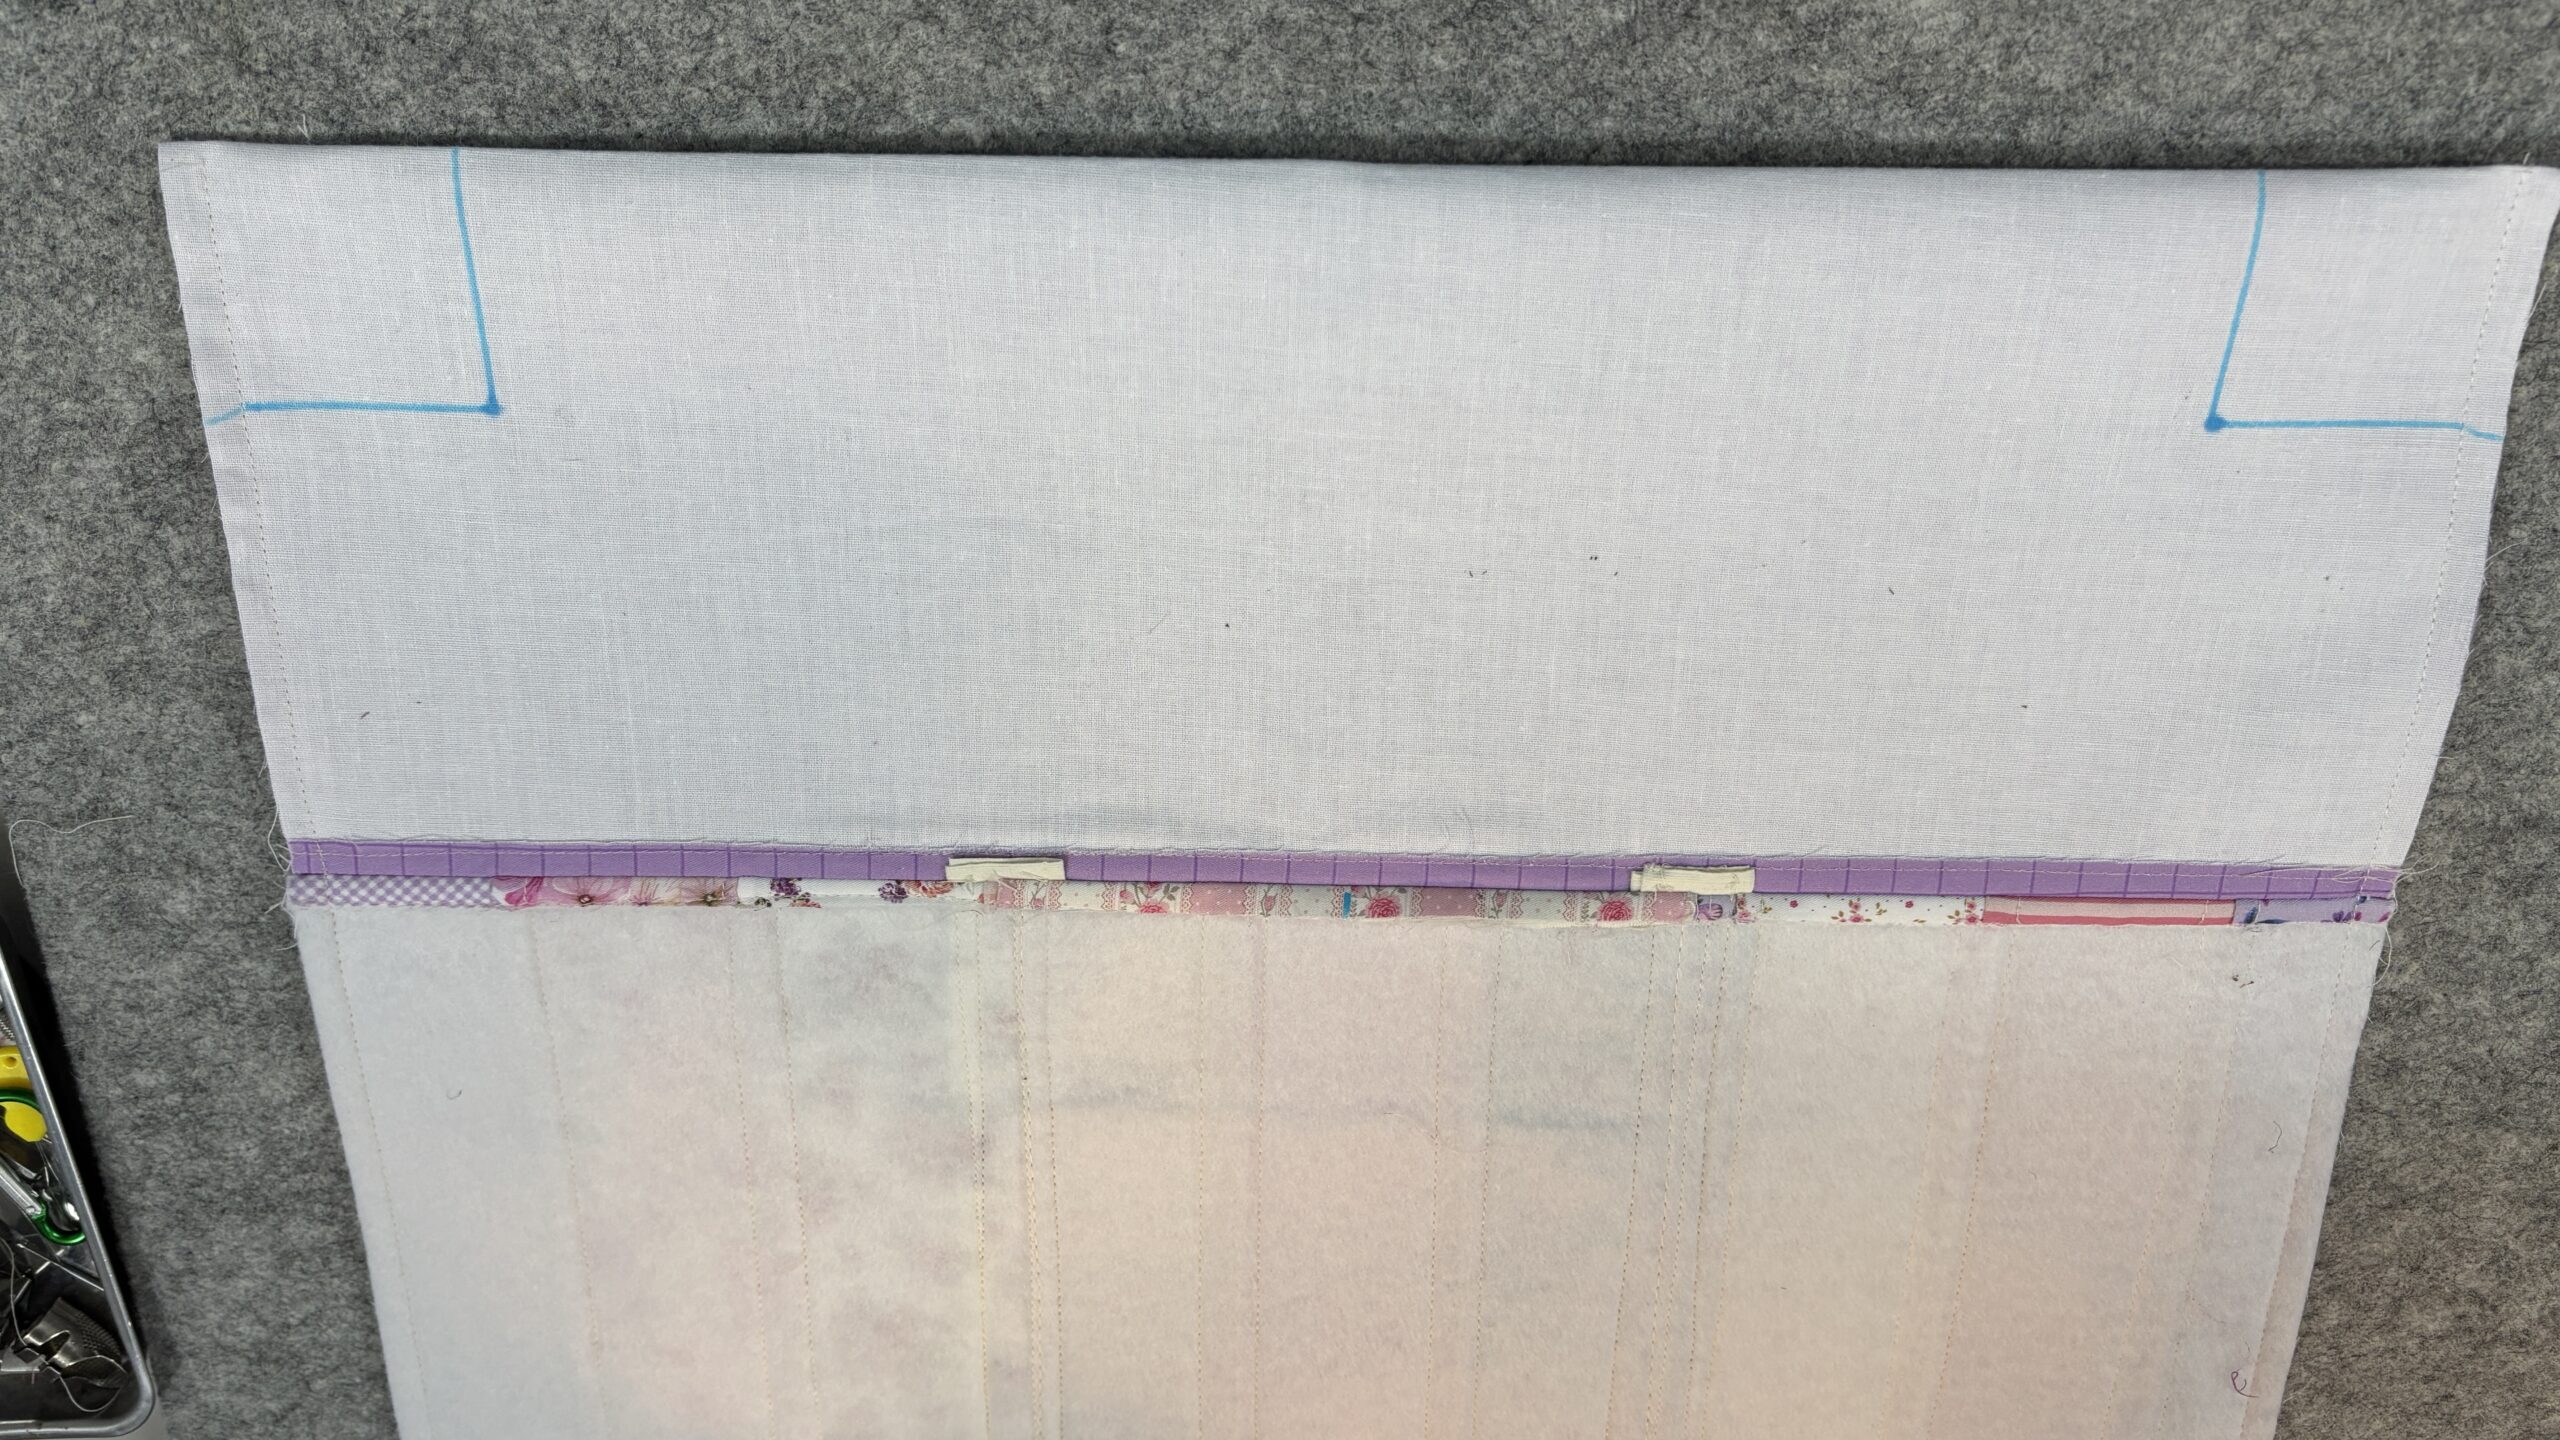
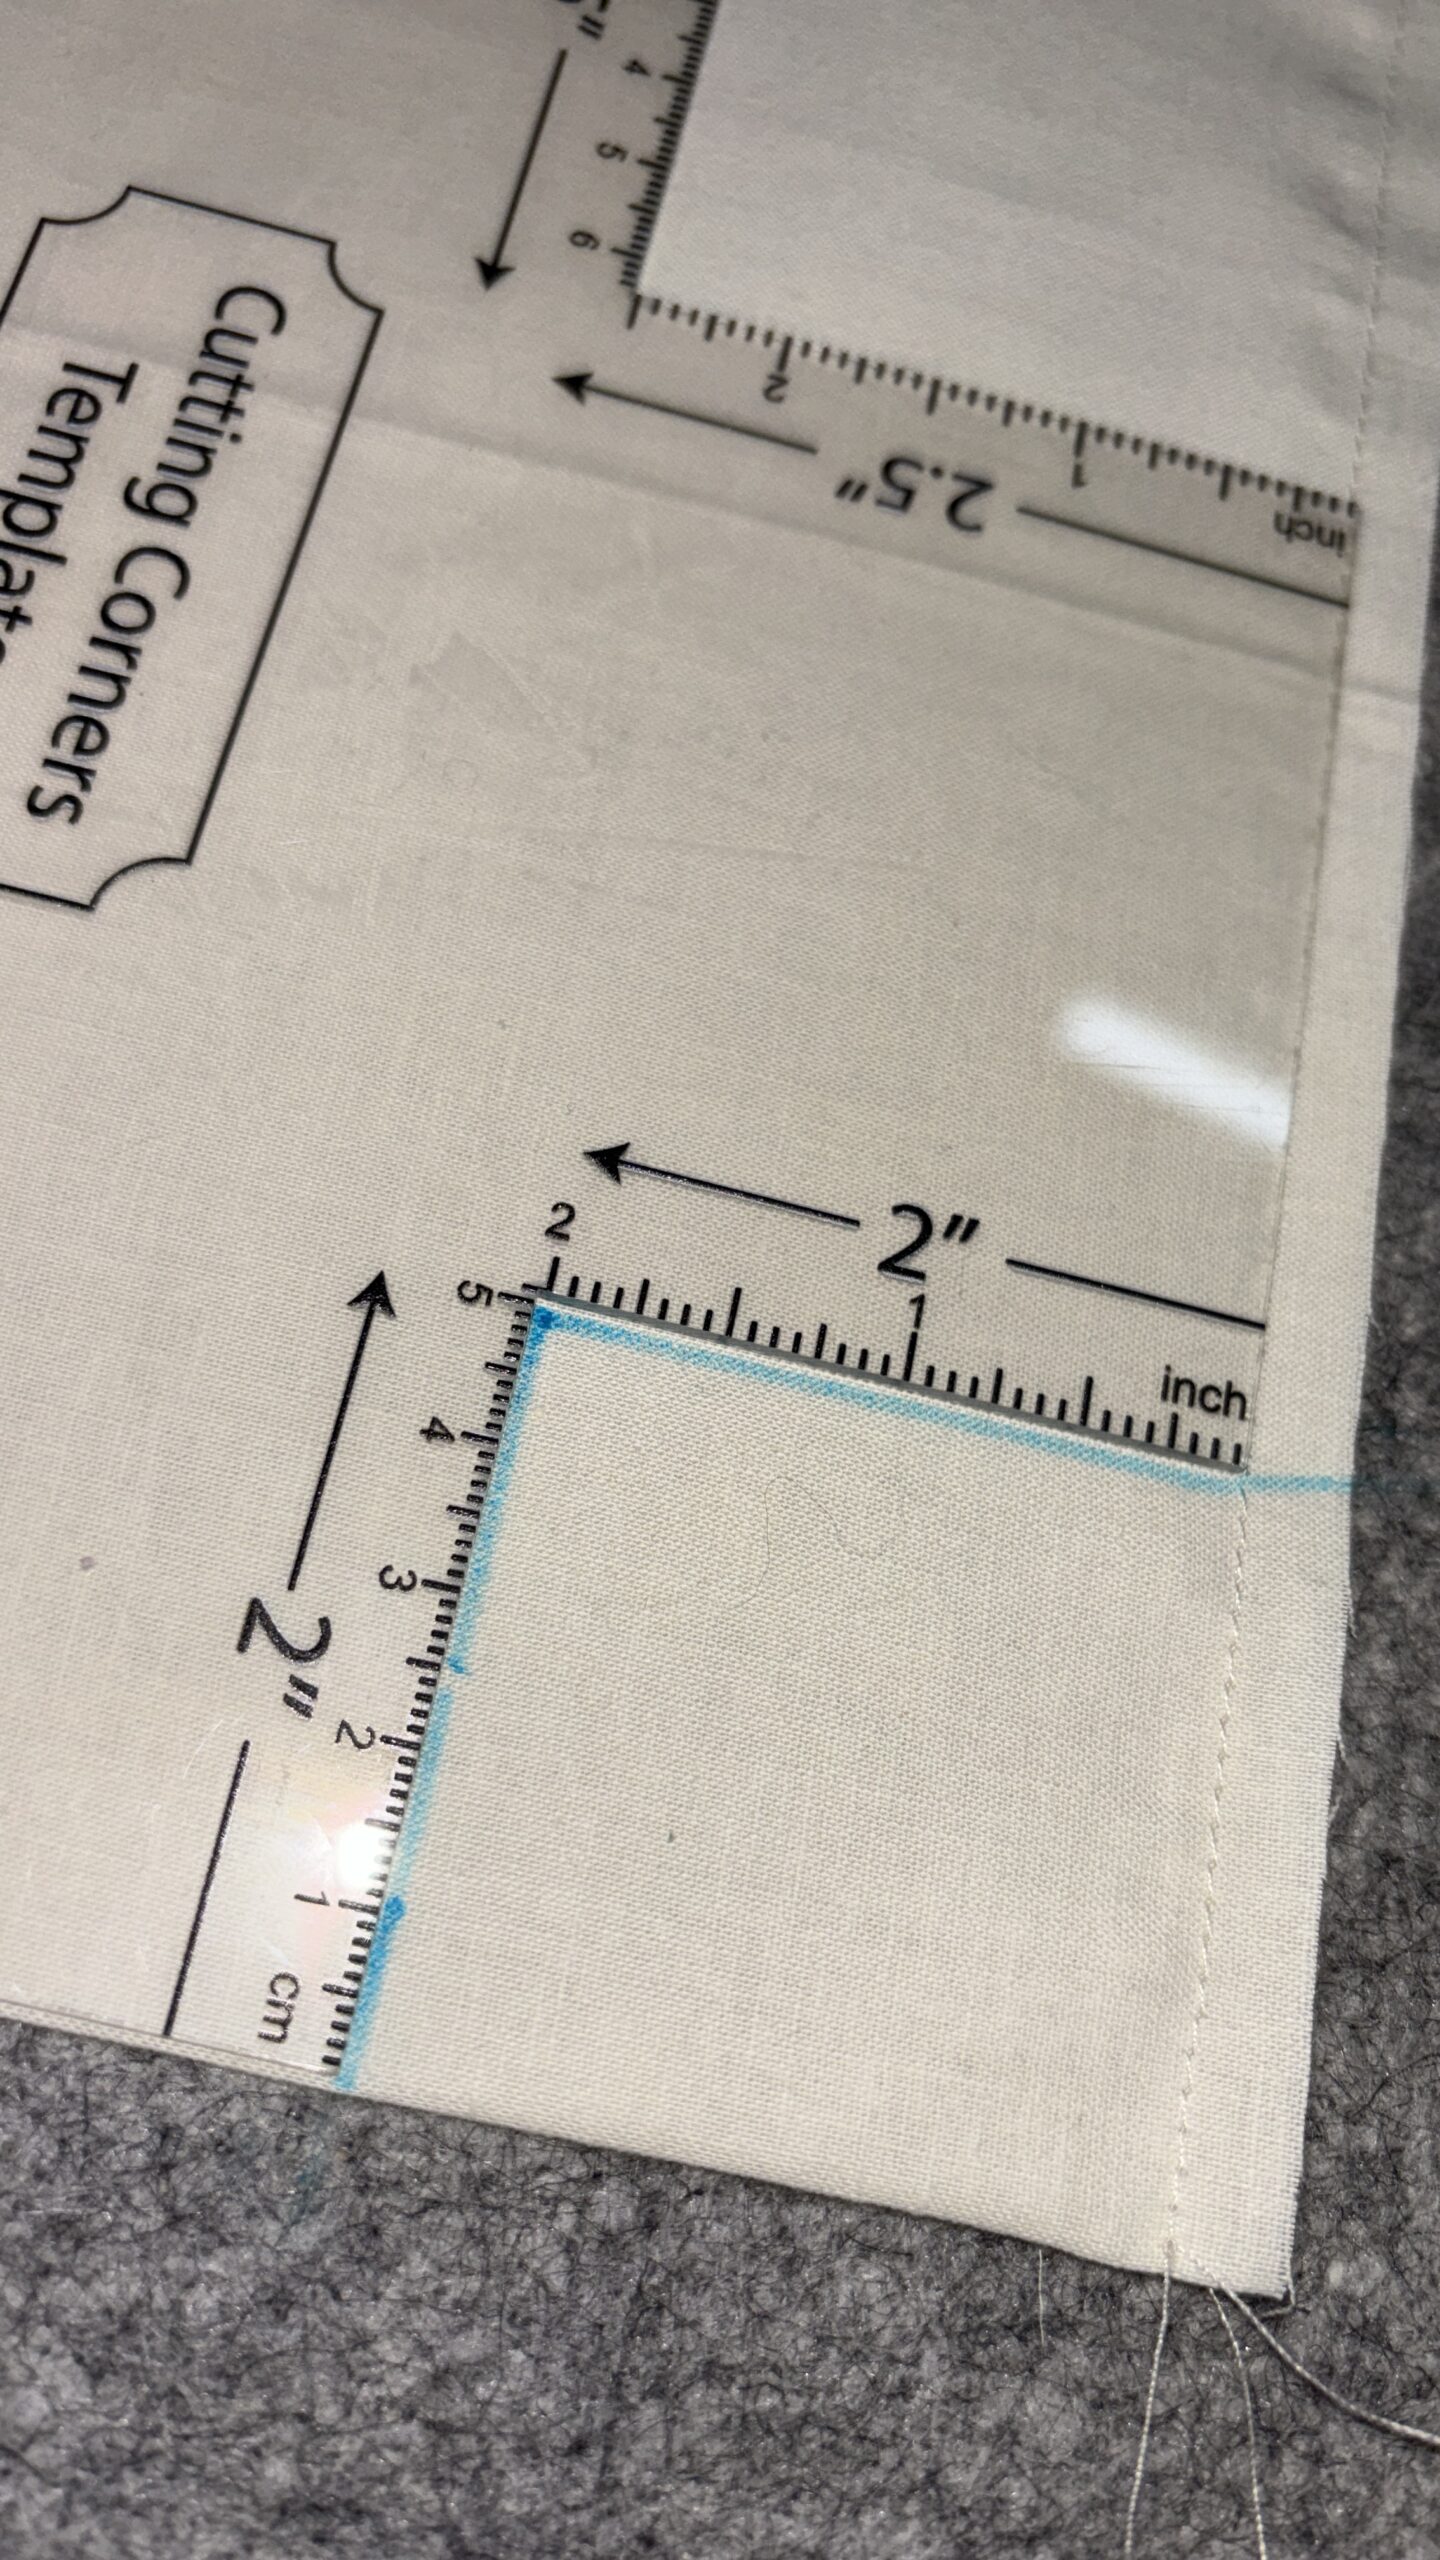
Fold the exterior unit right sides together and sew the side seams. At each lower corner, mark the box-corners depth 2 inches from the folded edge and 2 inches from your seam line.
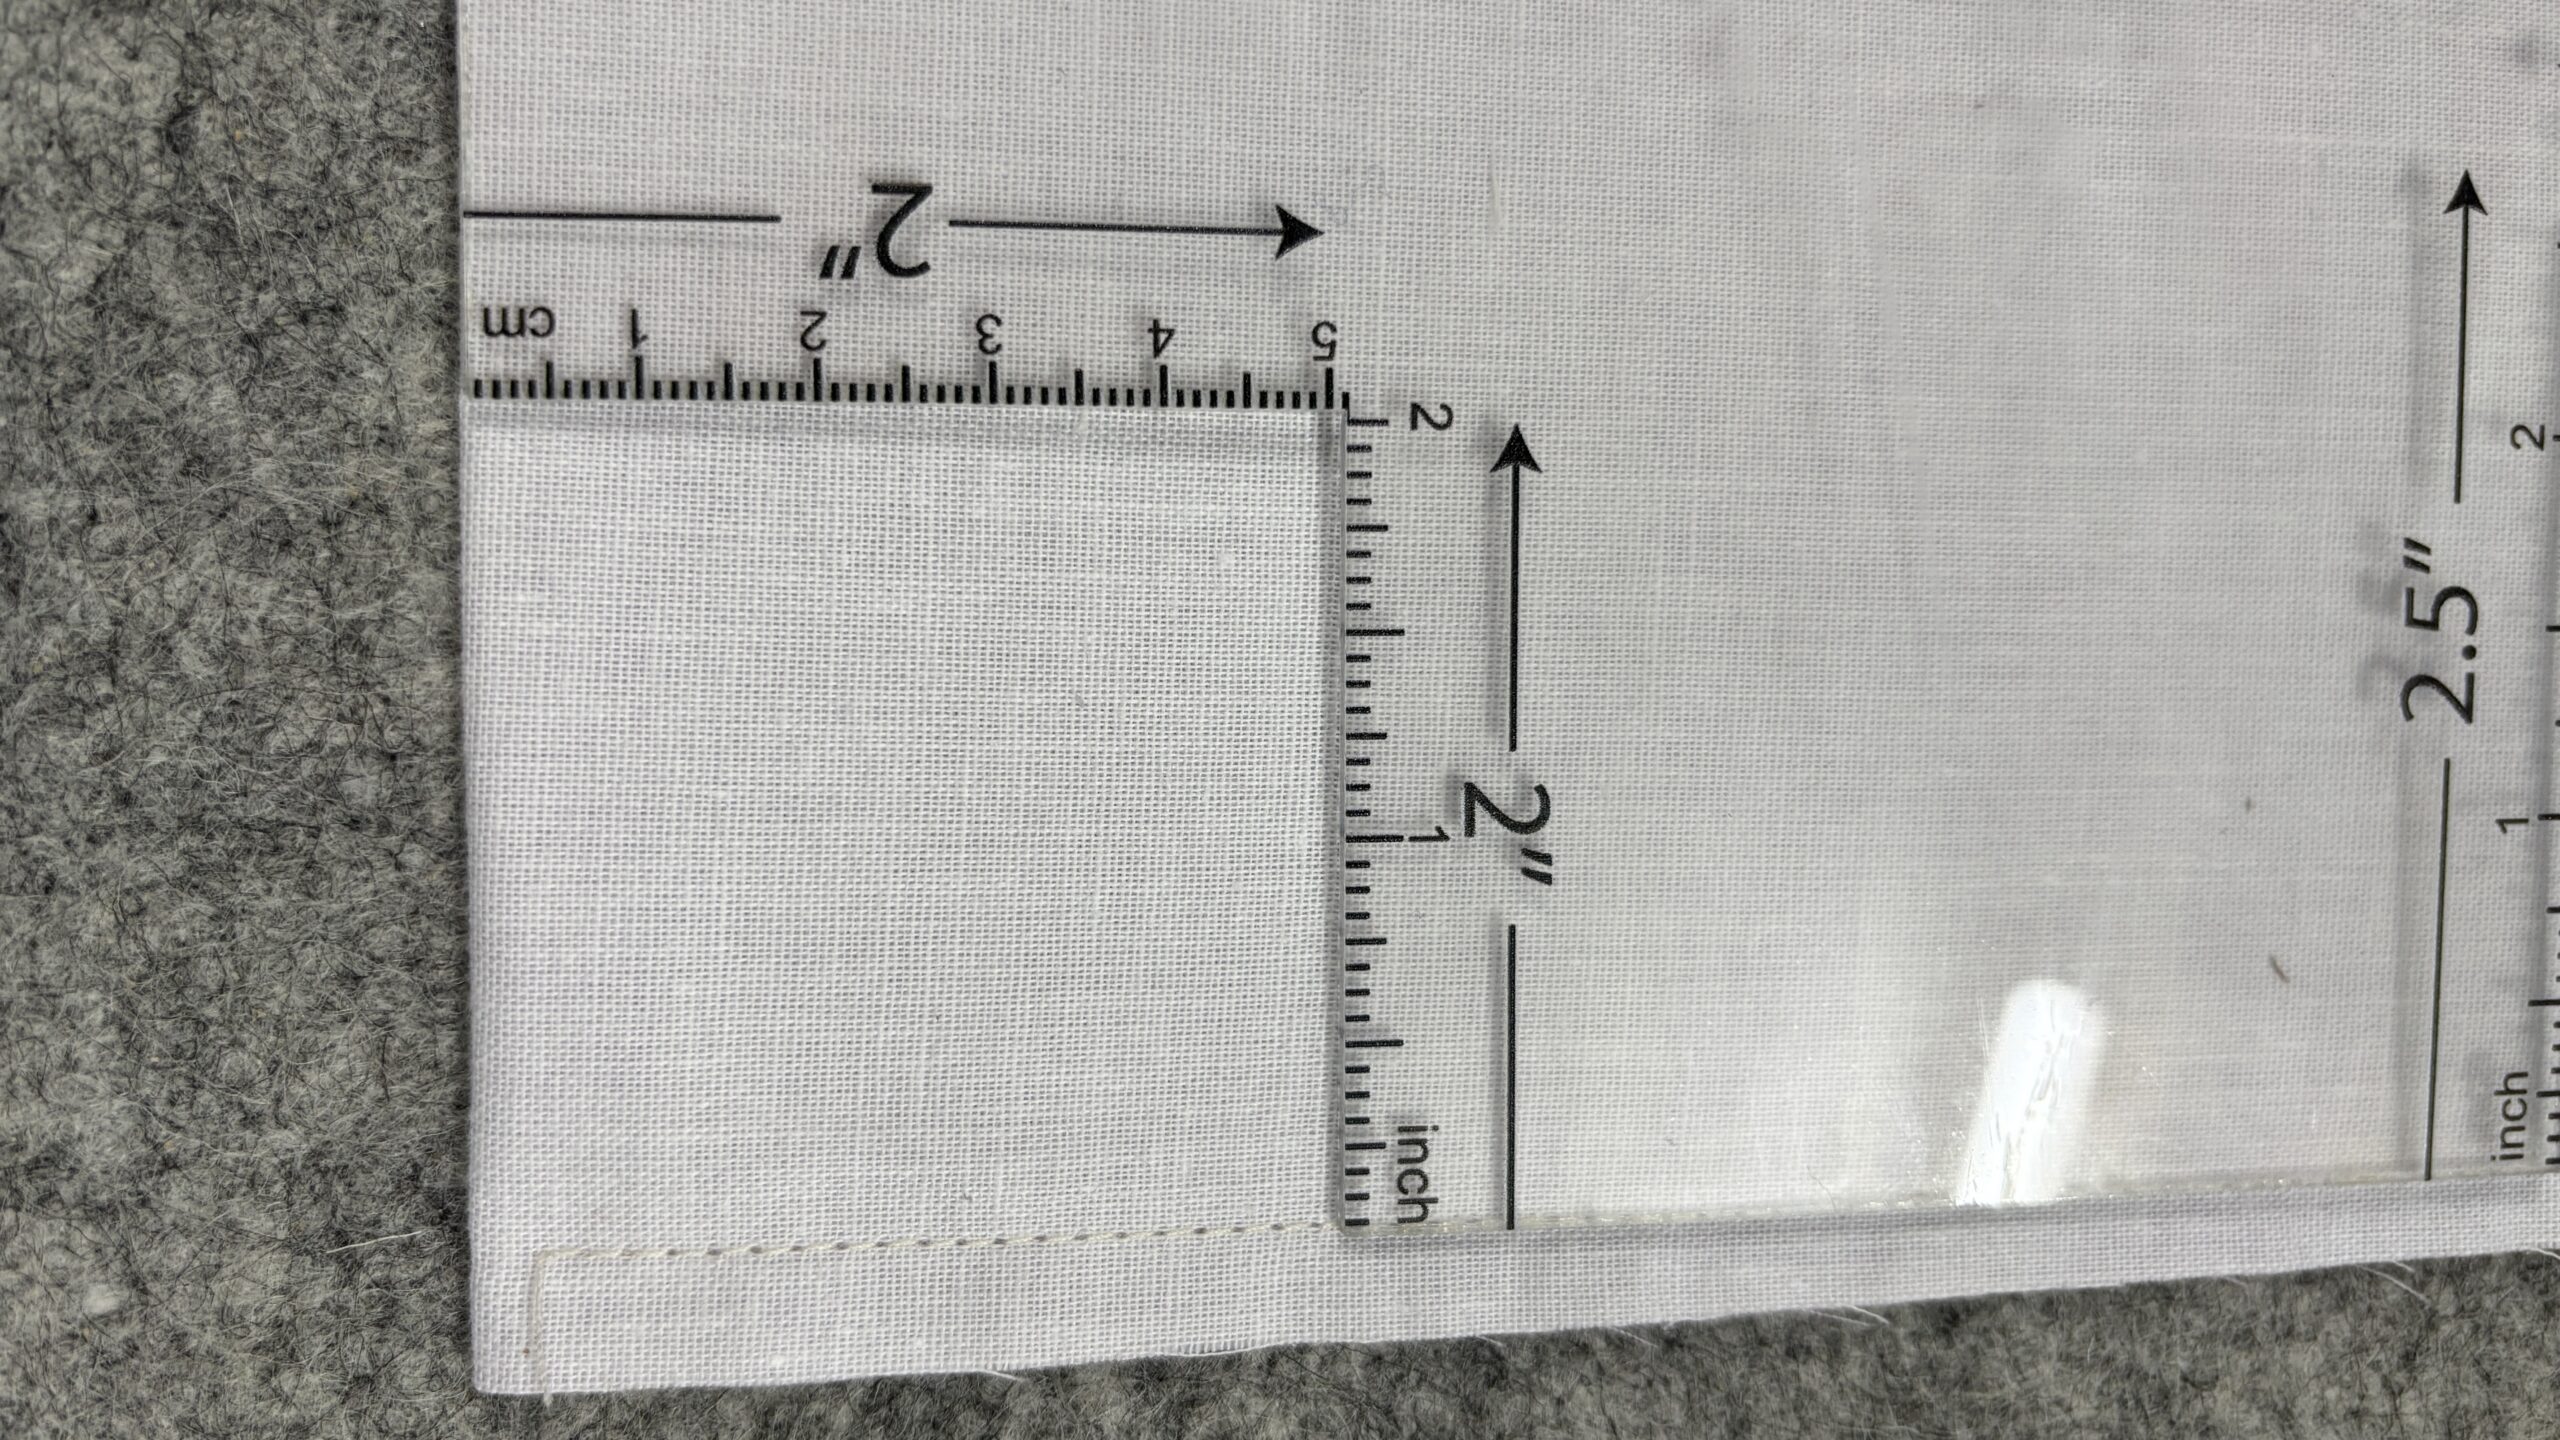
STEP 21
Mark both lower corners clearly before cutting with scissors.
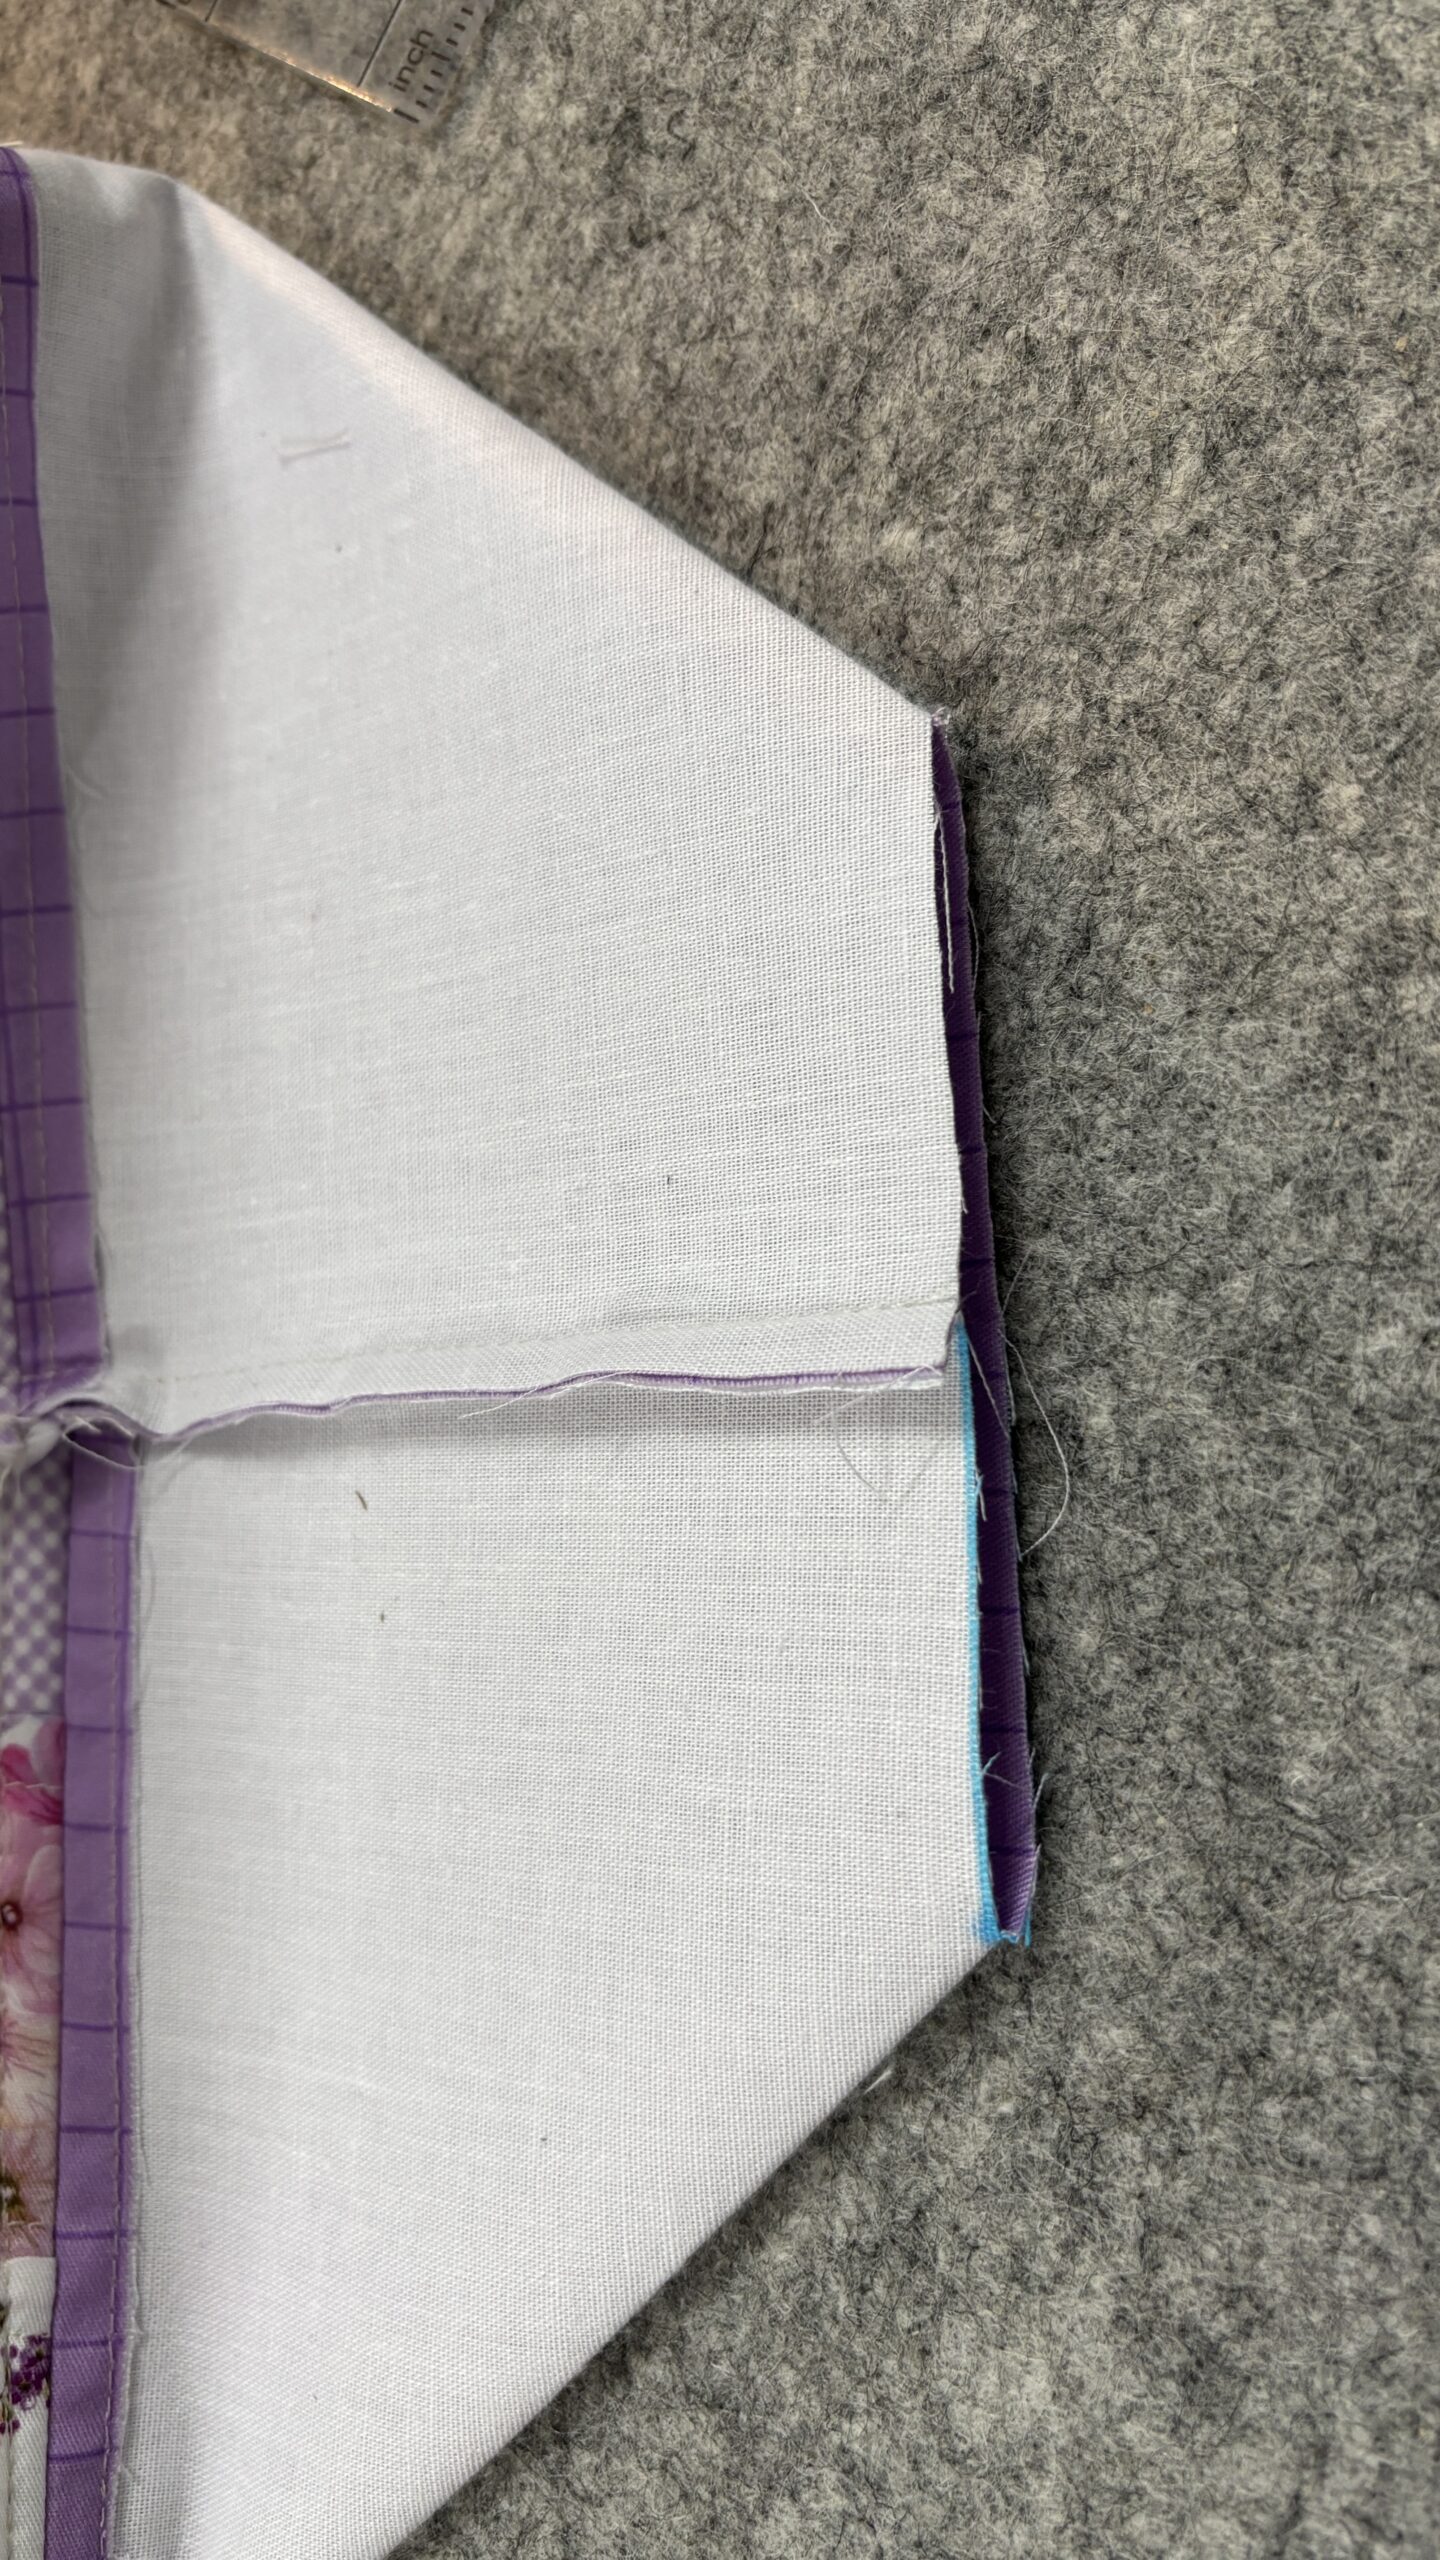
STEP 22
Open each cut-out corner and match the side seam to the base fold. Clip securely and sew straight across the corner. Repeat for the other corner.
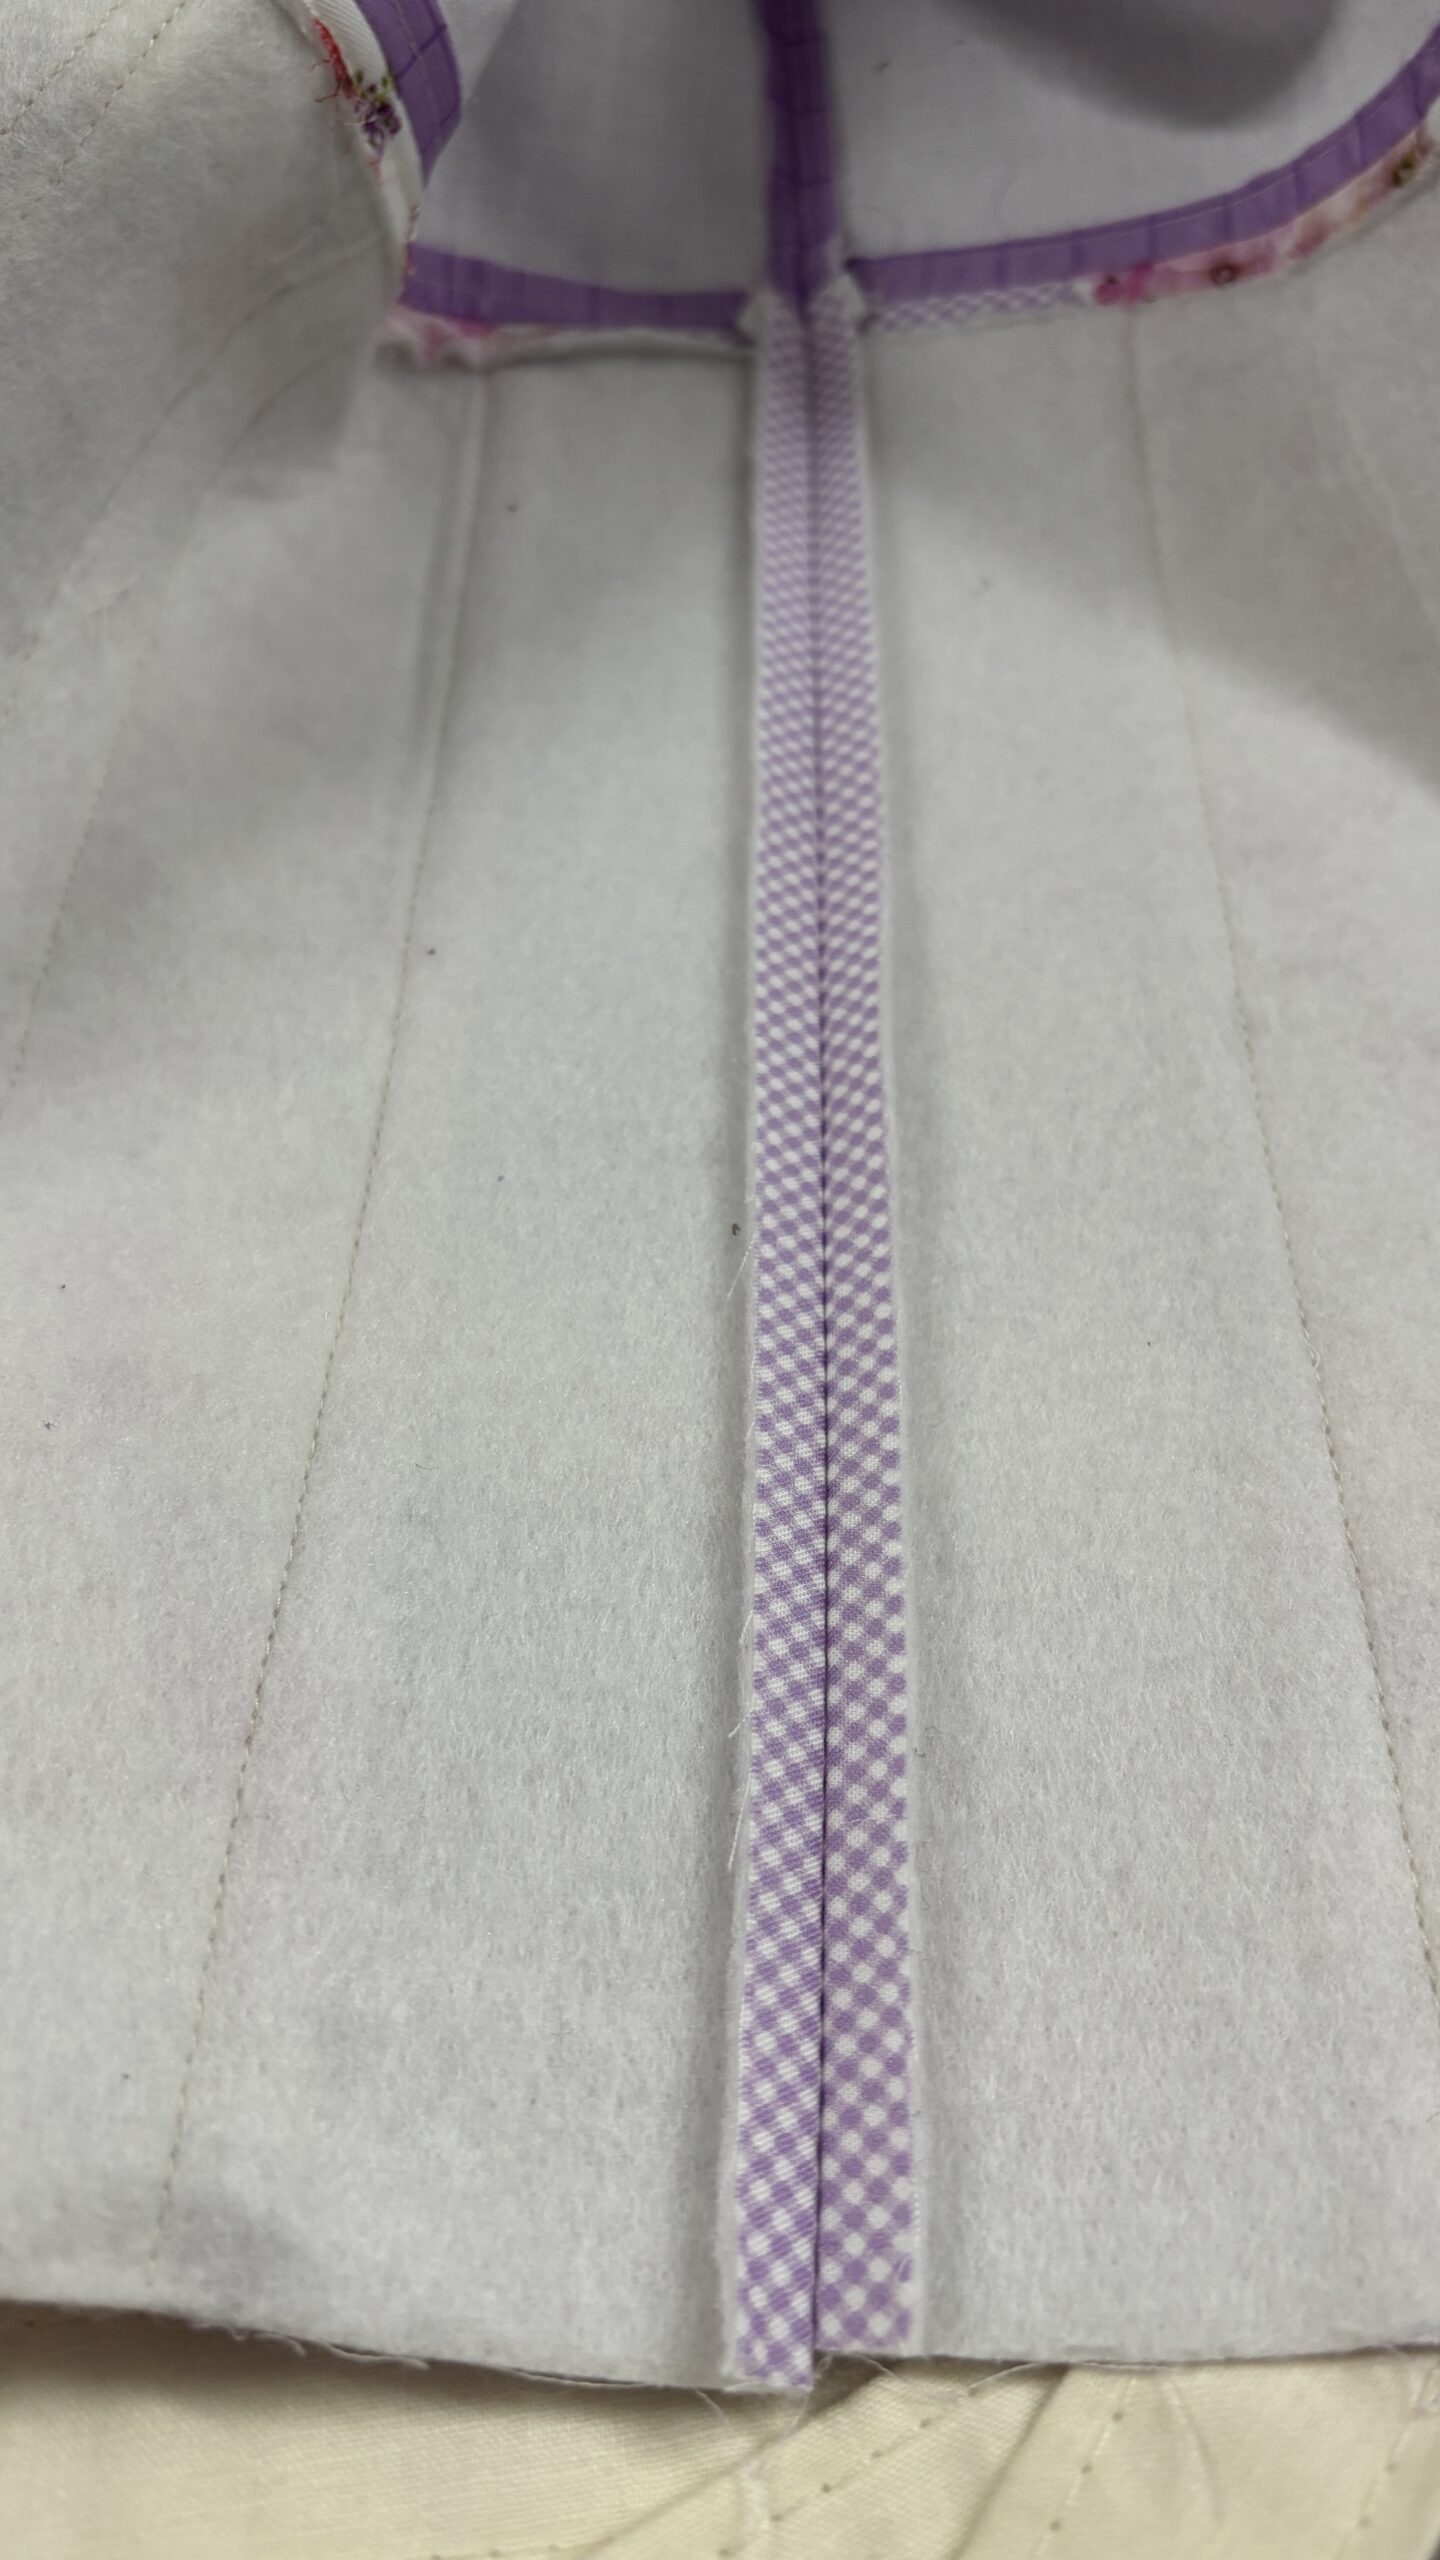
STEP 23
Press all of your seams open.
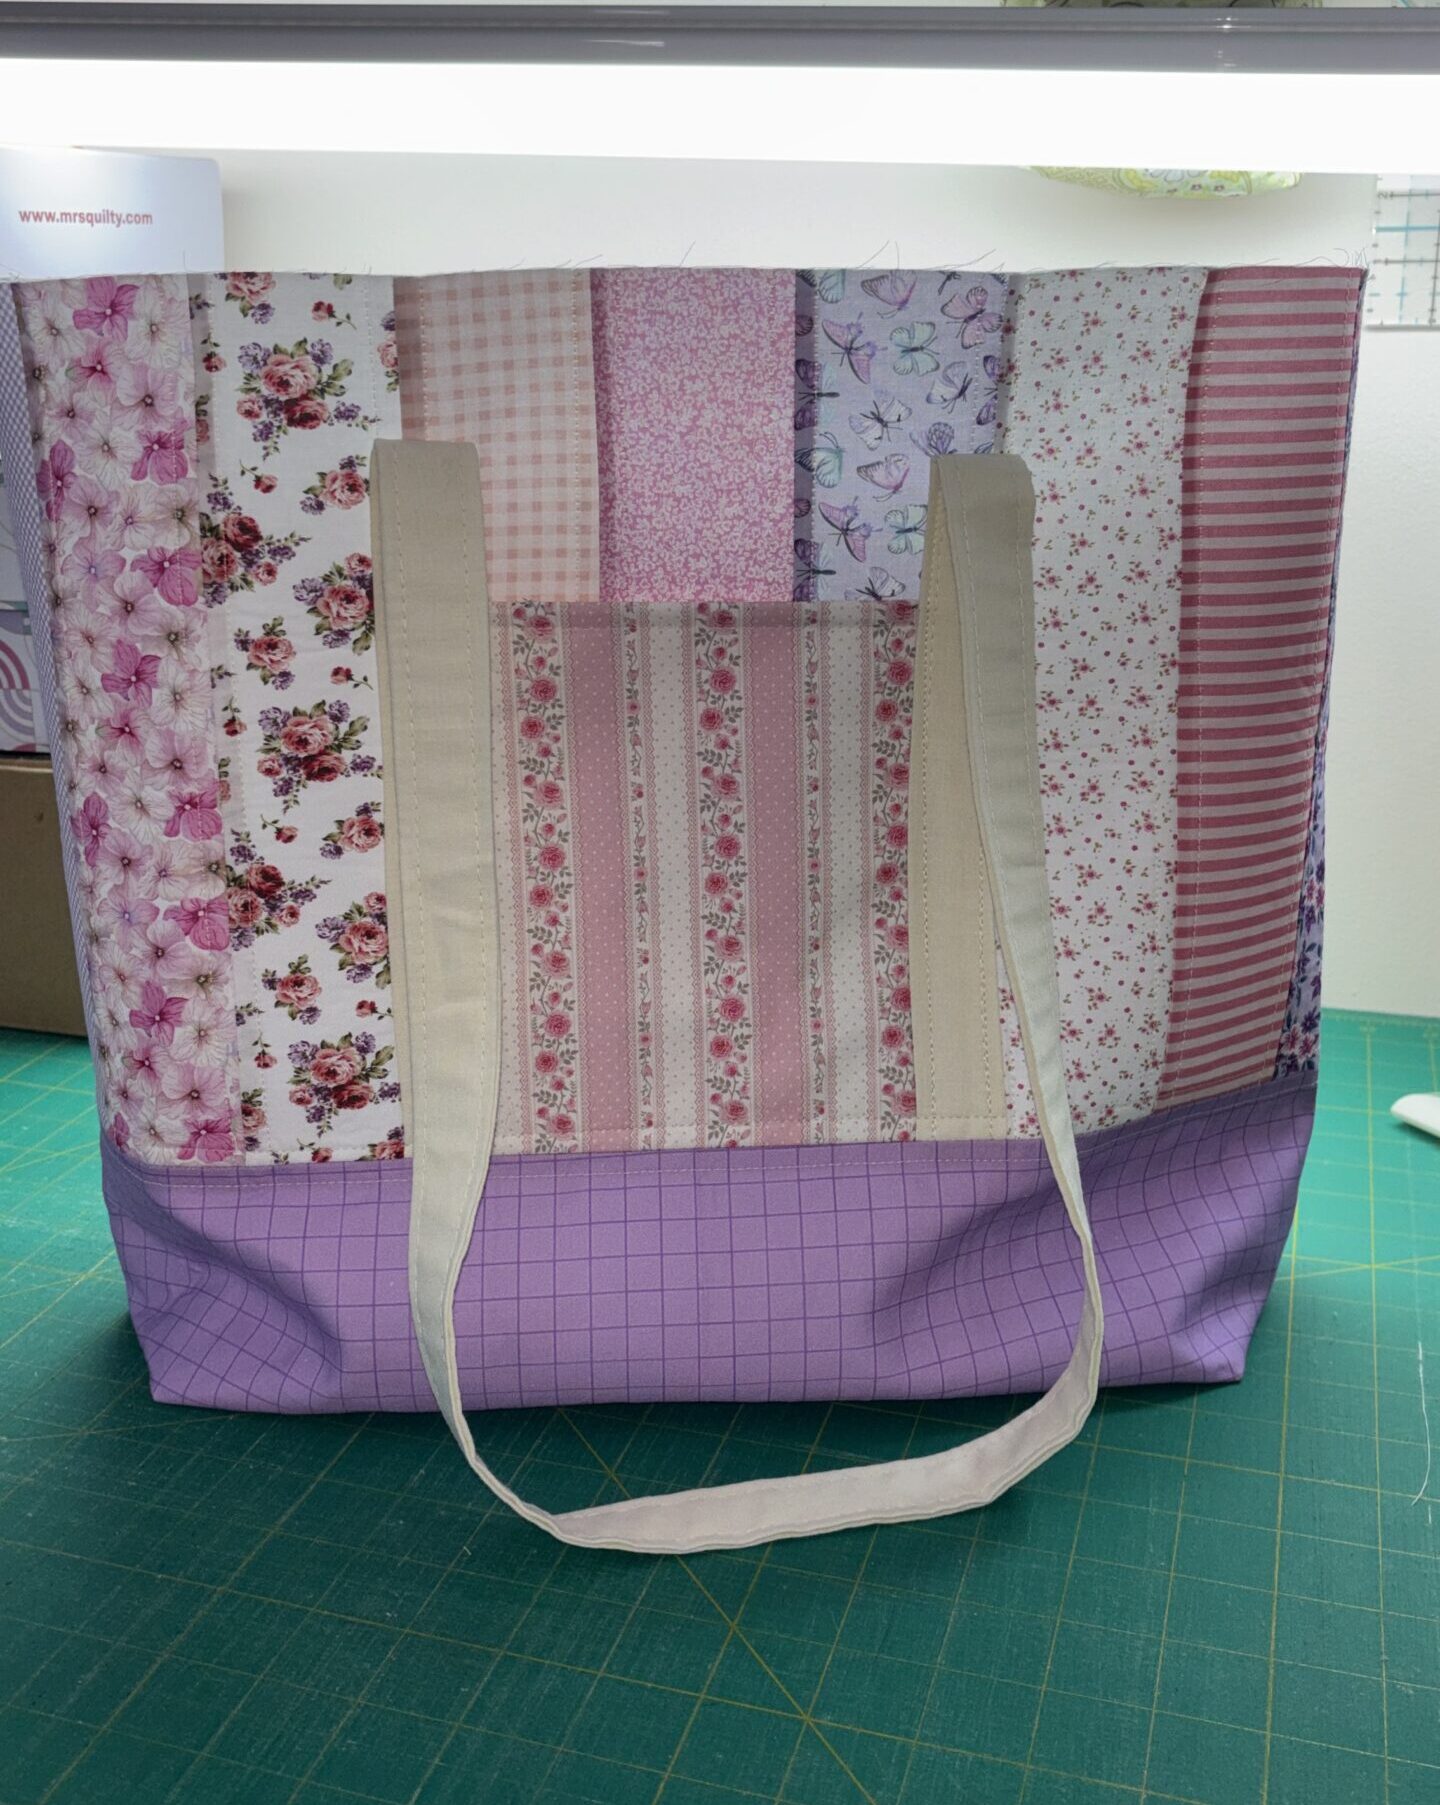
STEP 24
Turn the exterior right side out and check the finished shape. Make sure both pockets open correctly, the handles are untwisted and the boxed corners sit evenly.
PART 6
Make the lining and finish the tote
Build the lining, join it to the exterior, turn the whole lot through and give the top edge its final stitch.
STEP 25
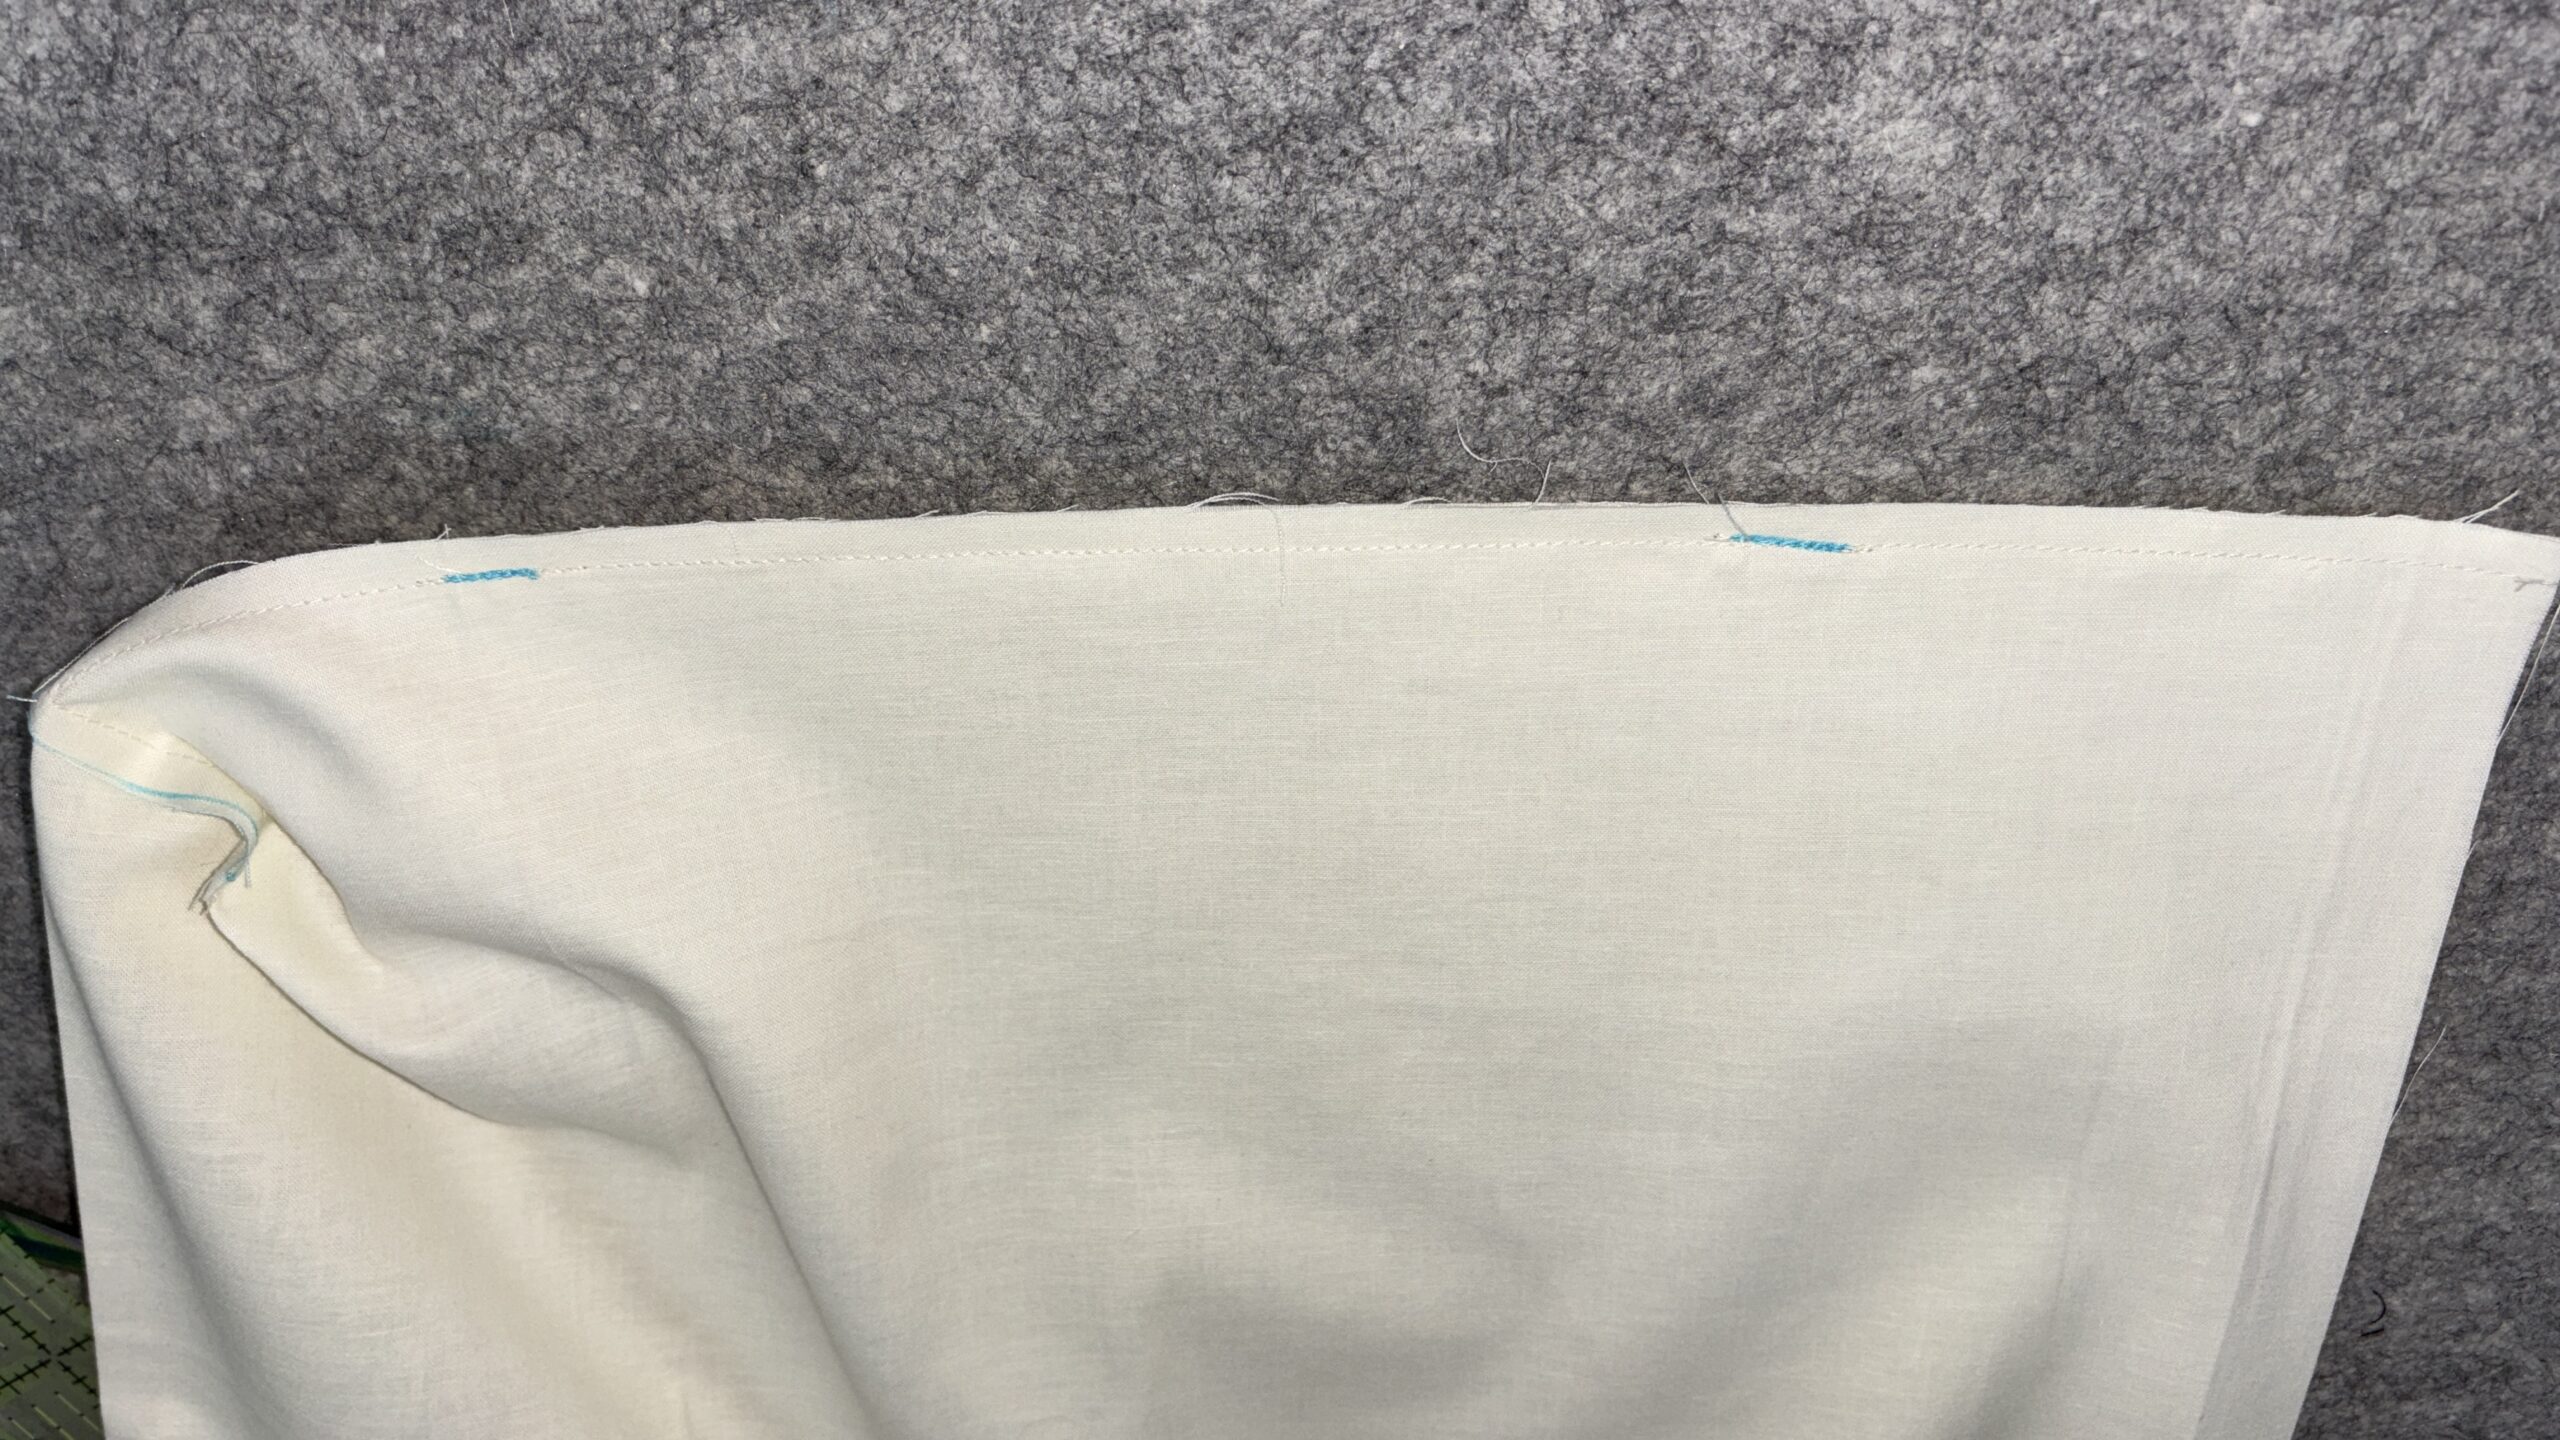
Follow the same instructions for the lining piece. Fold it in half with right sides together, match the side edges and clip them. Sew the two side seams, leaving a marked turning gap in one side seam.
STEP 26
Mark and cut the matching box-corner squares from the folded lining the same way we did for the exterior.
STEP 27
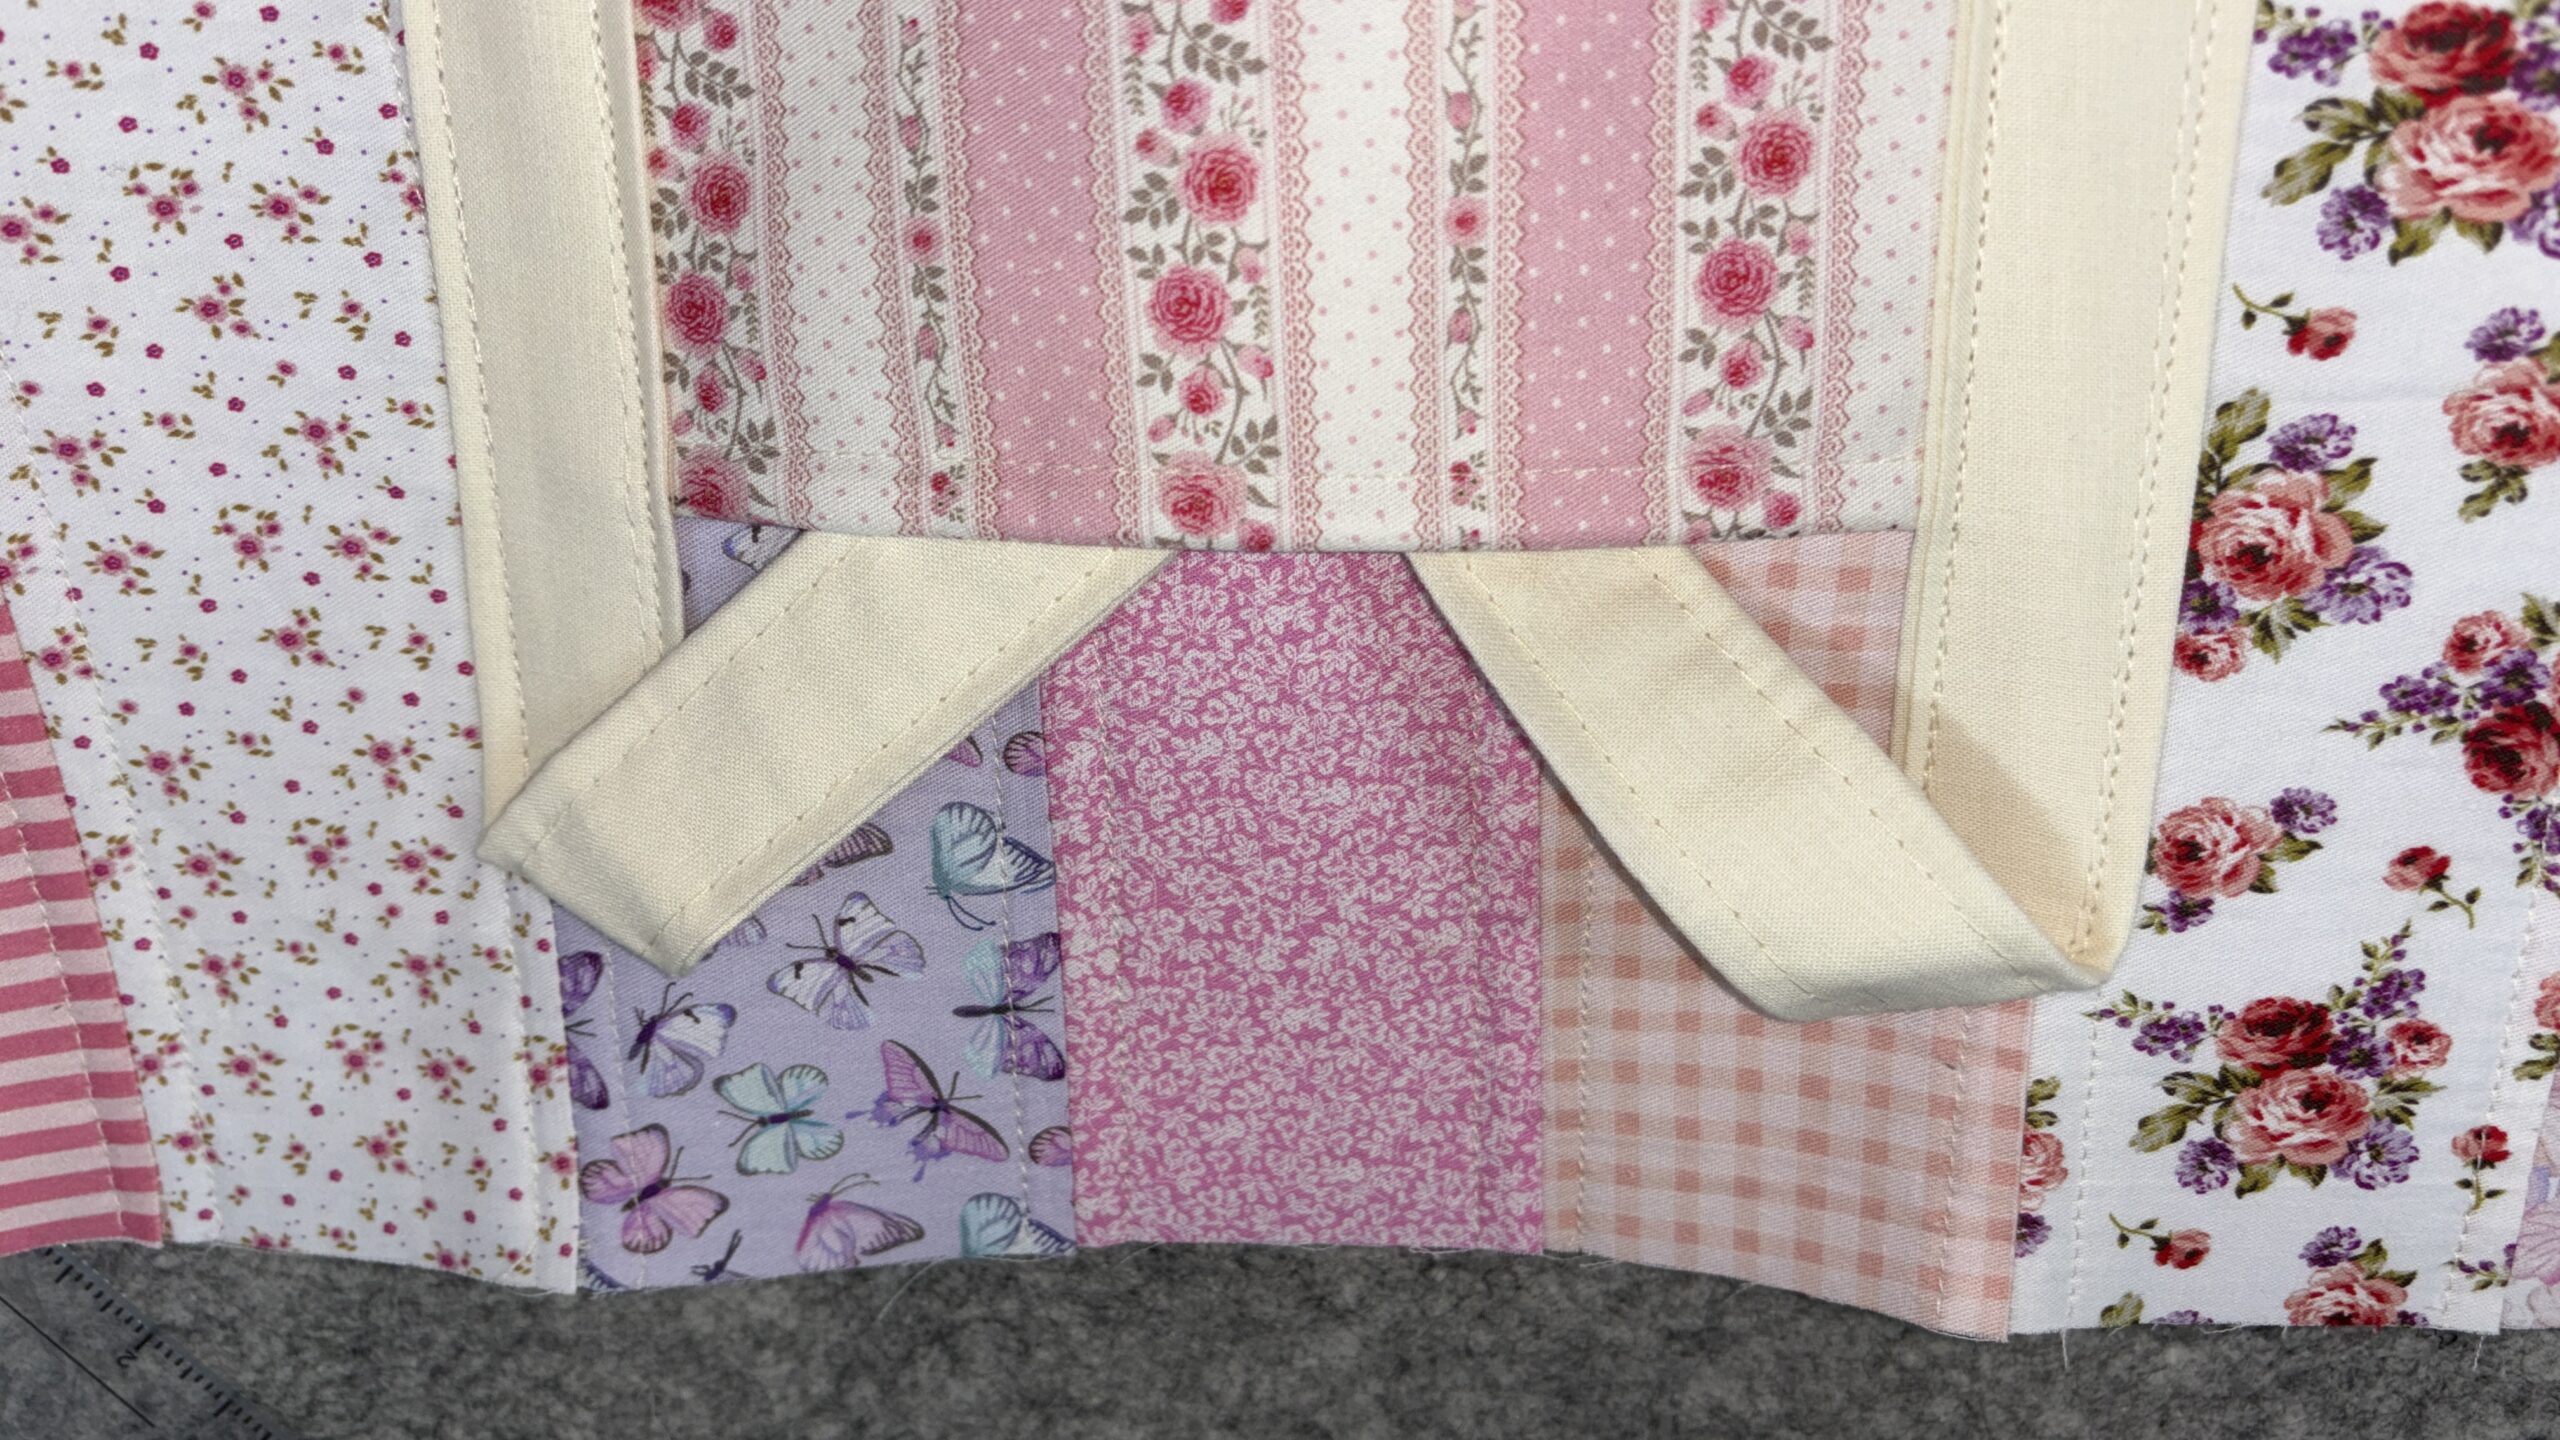
Tuck your straps into the exterior pockets to keep them from getting in the way.
STEP 28
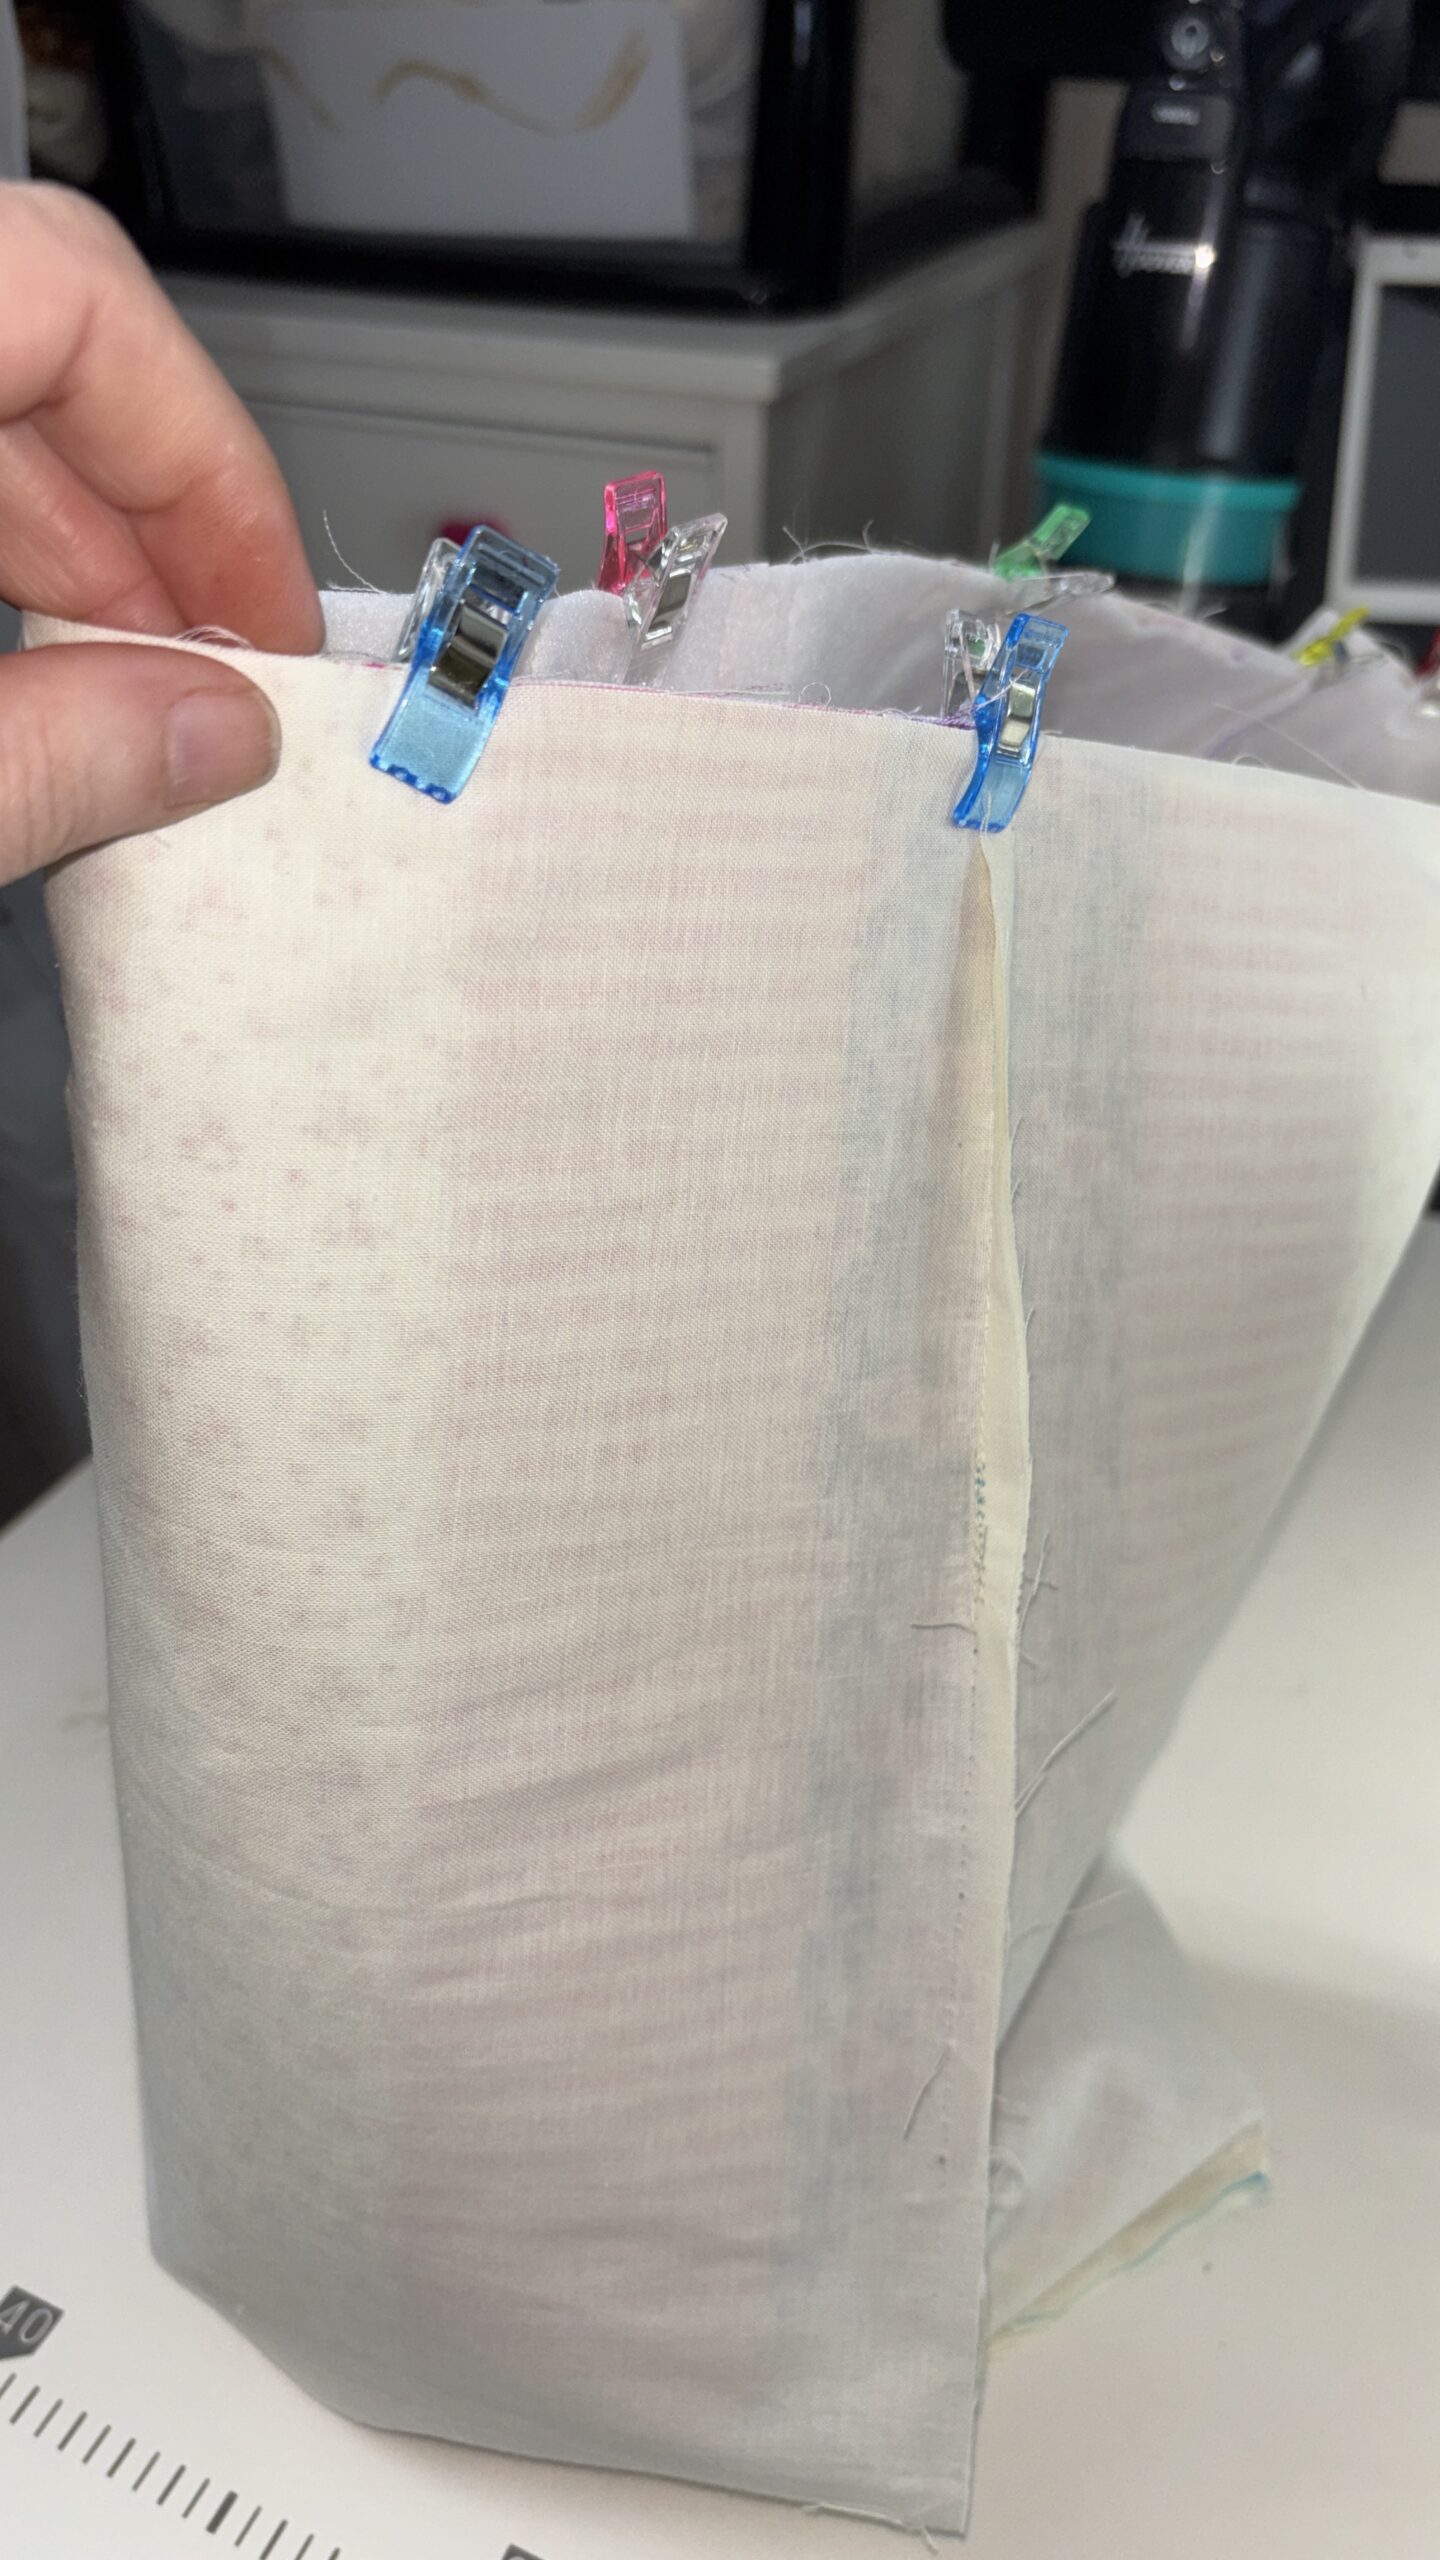
Place your completed exterior inside your completed lining, rights sides together. The wrong side of your lining should be showing on the outside of the bag now. Line up your side seams and clip the top edges and sew using a ⅜” seam.
STEP 29
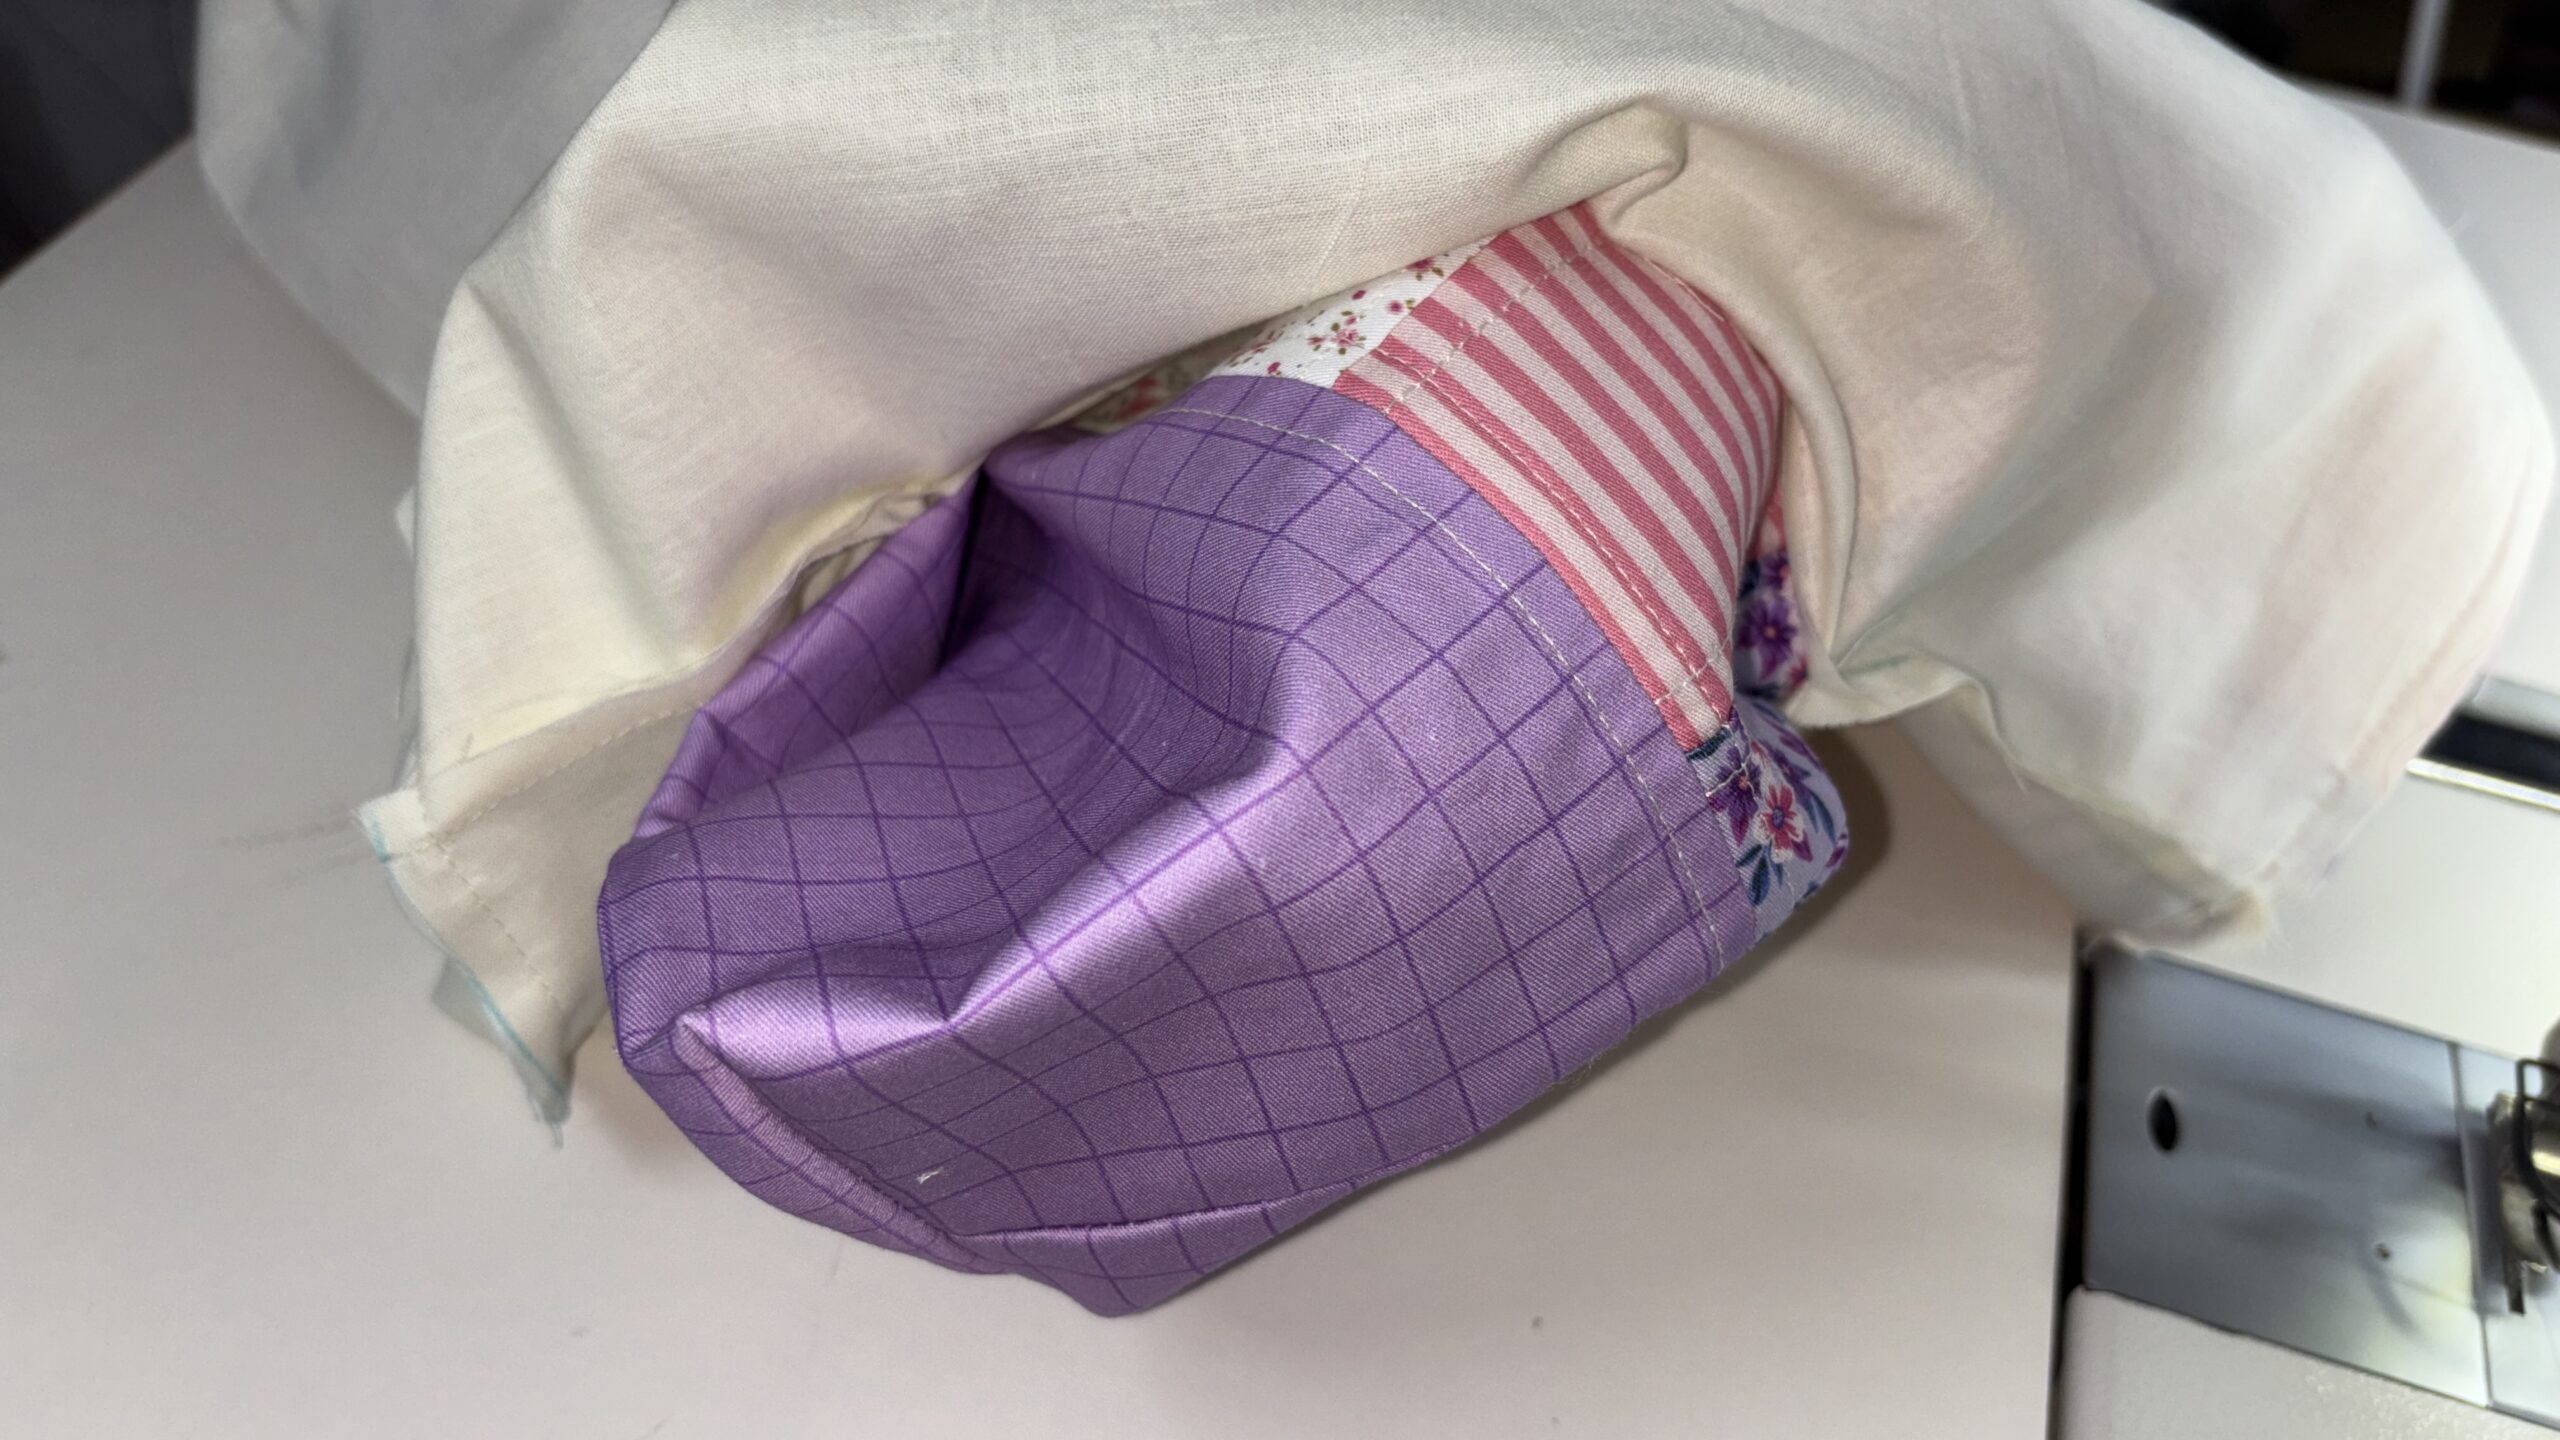
Turn the tote right side out through the lining gap.
STEP 30
Close the opening in the lining either by machine or by hand whichever you prefer.
STEP 31
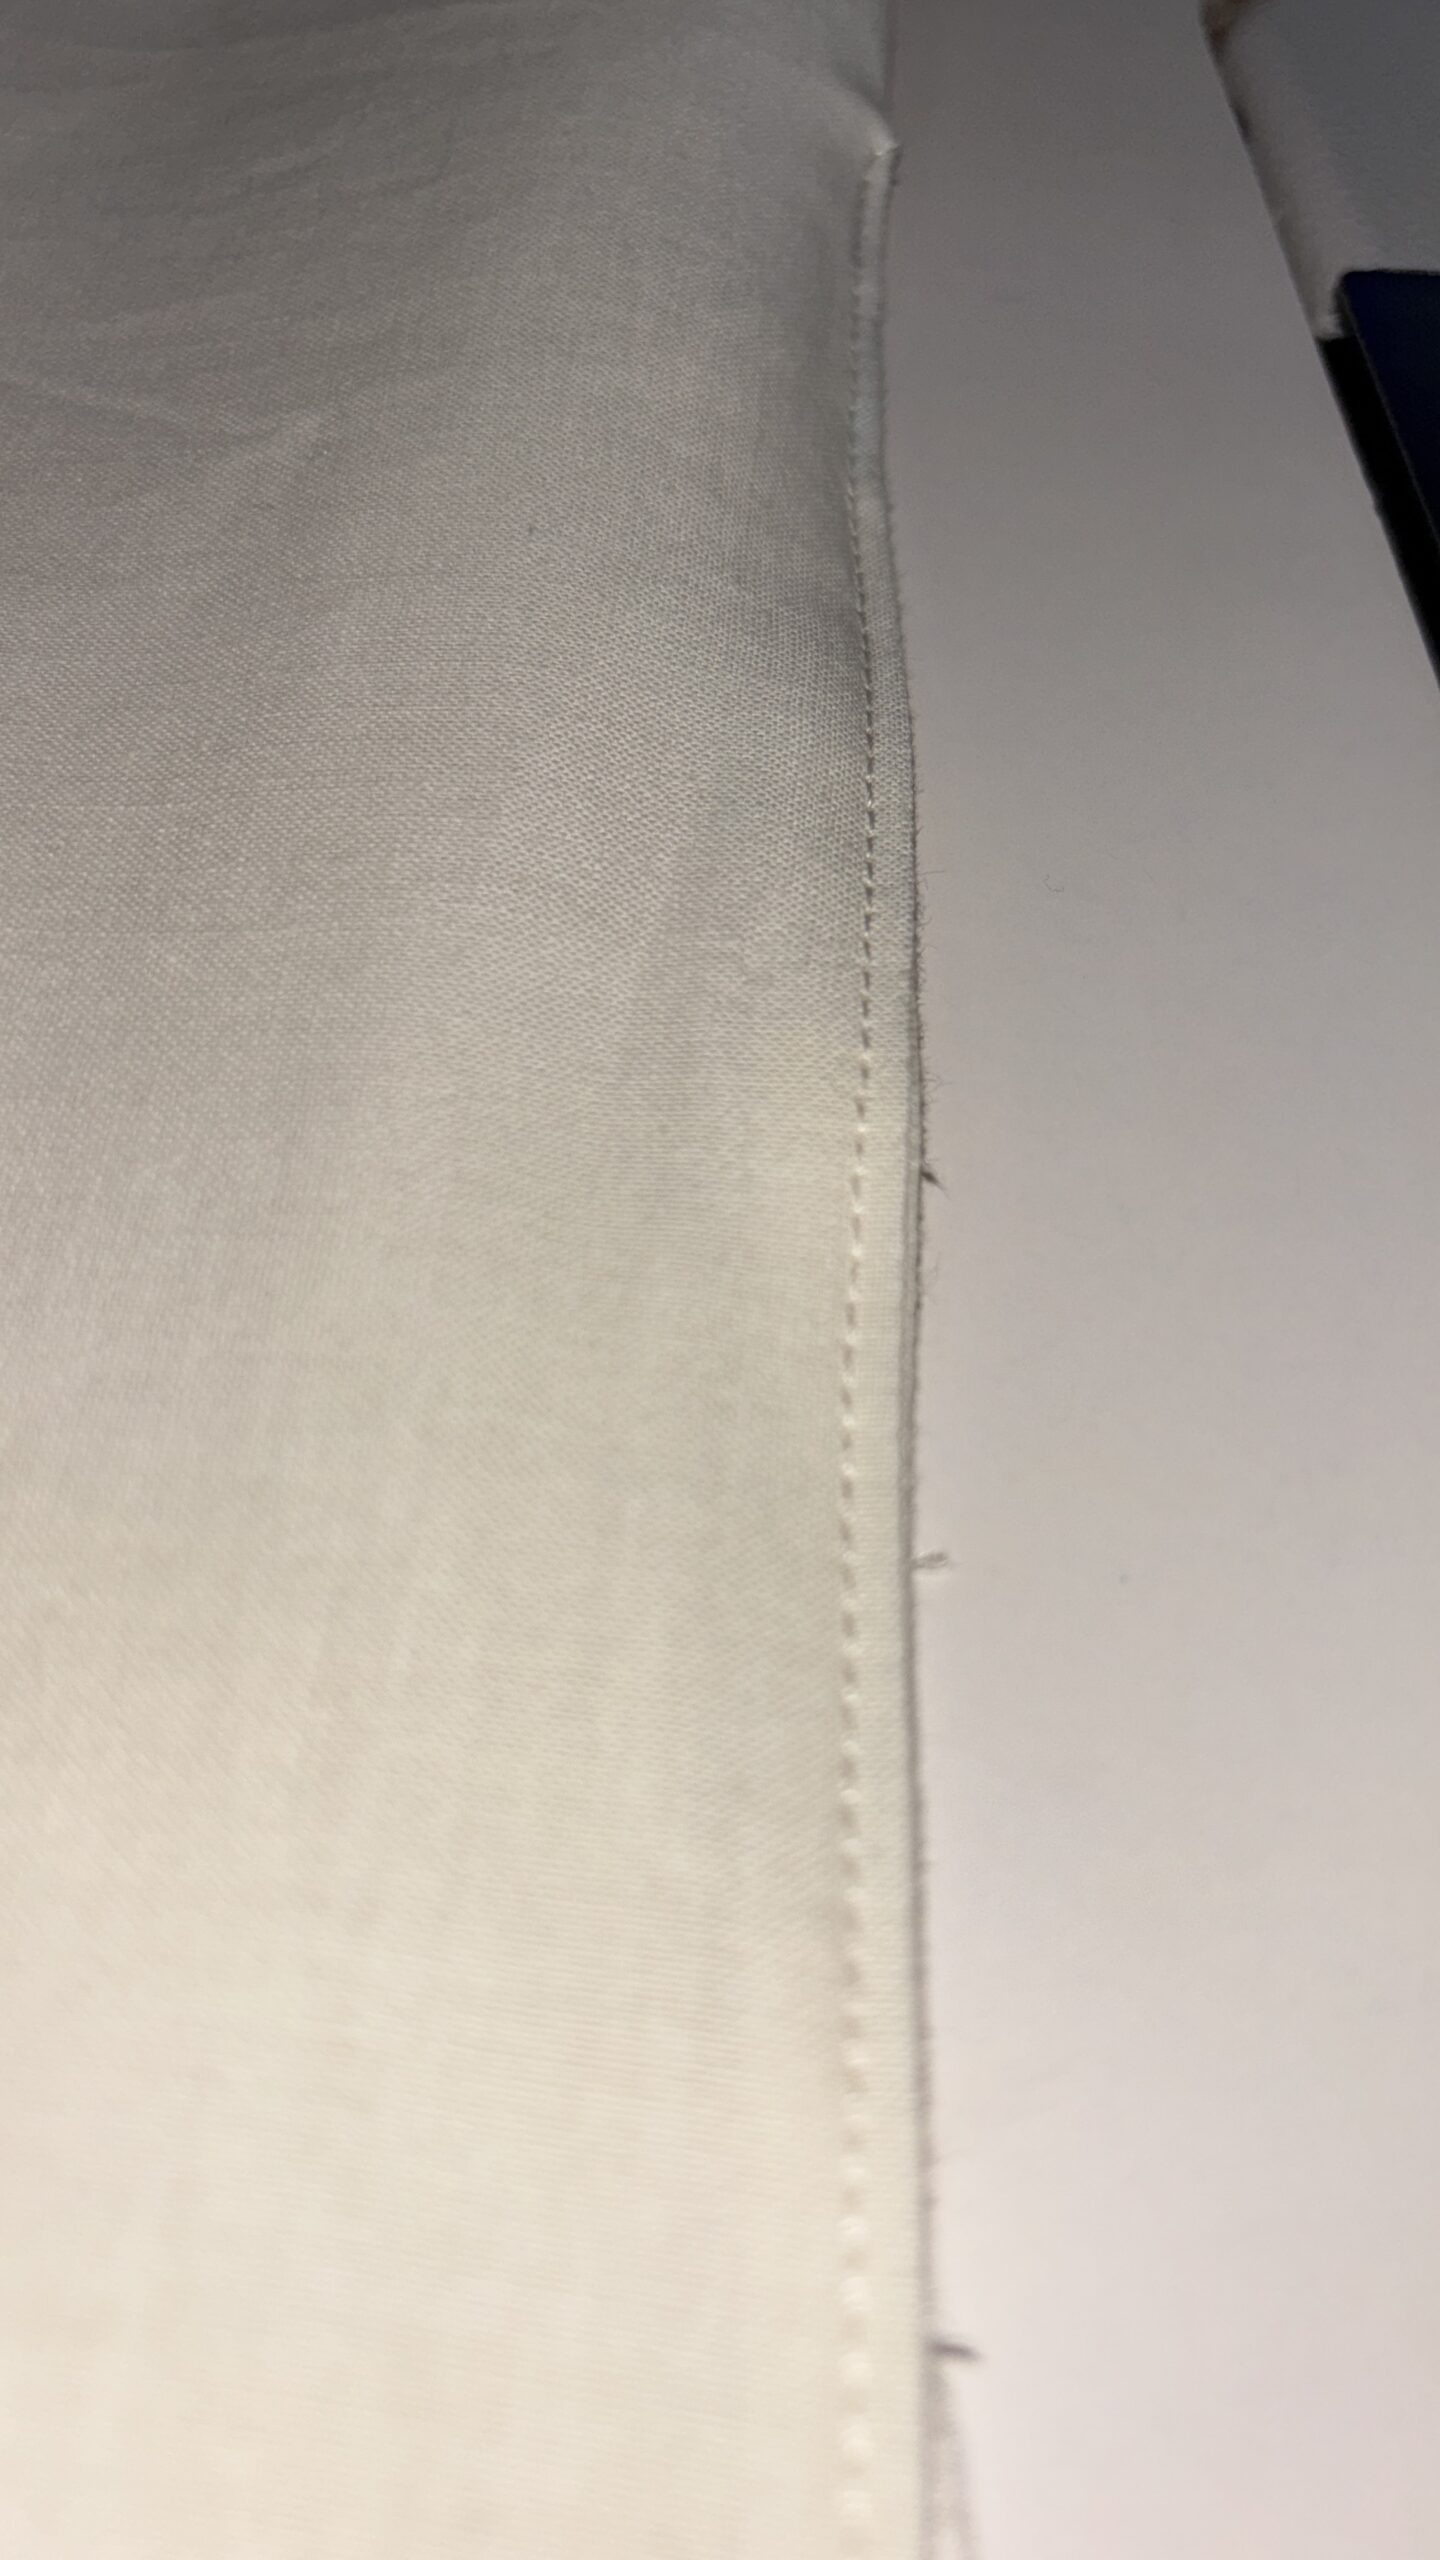
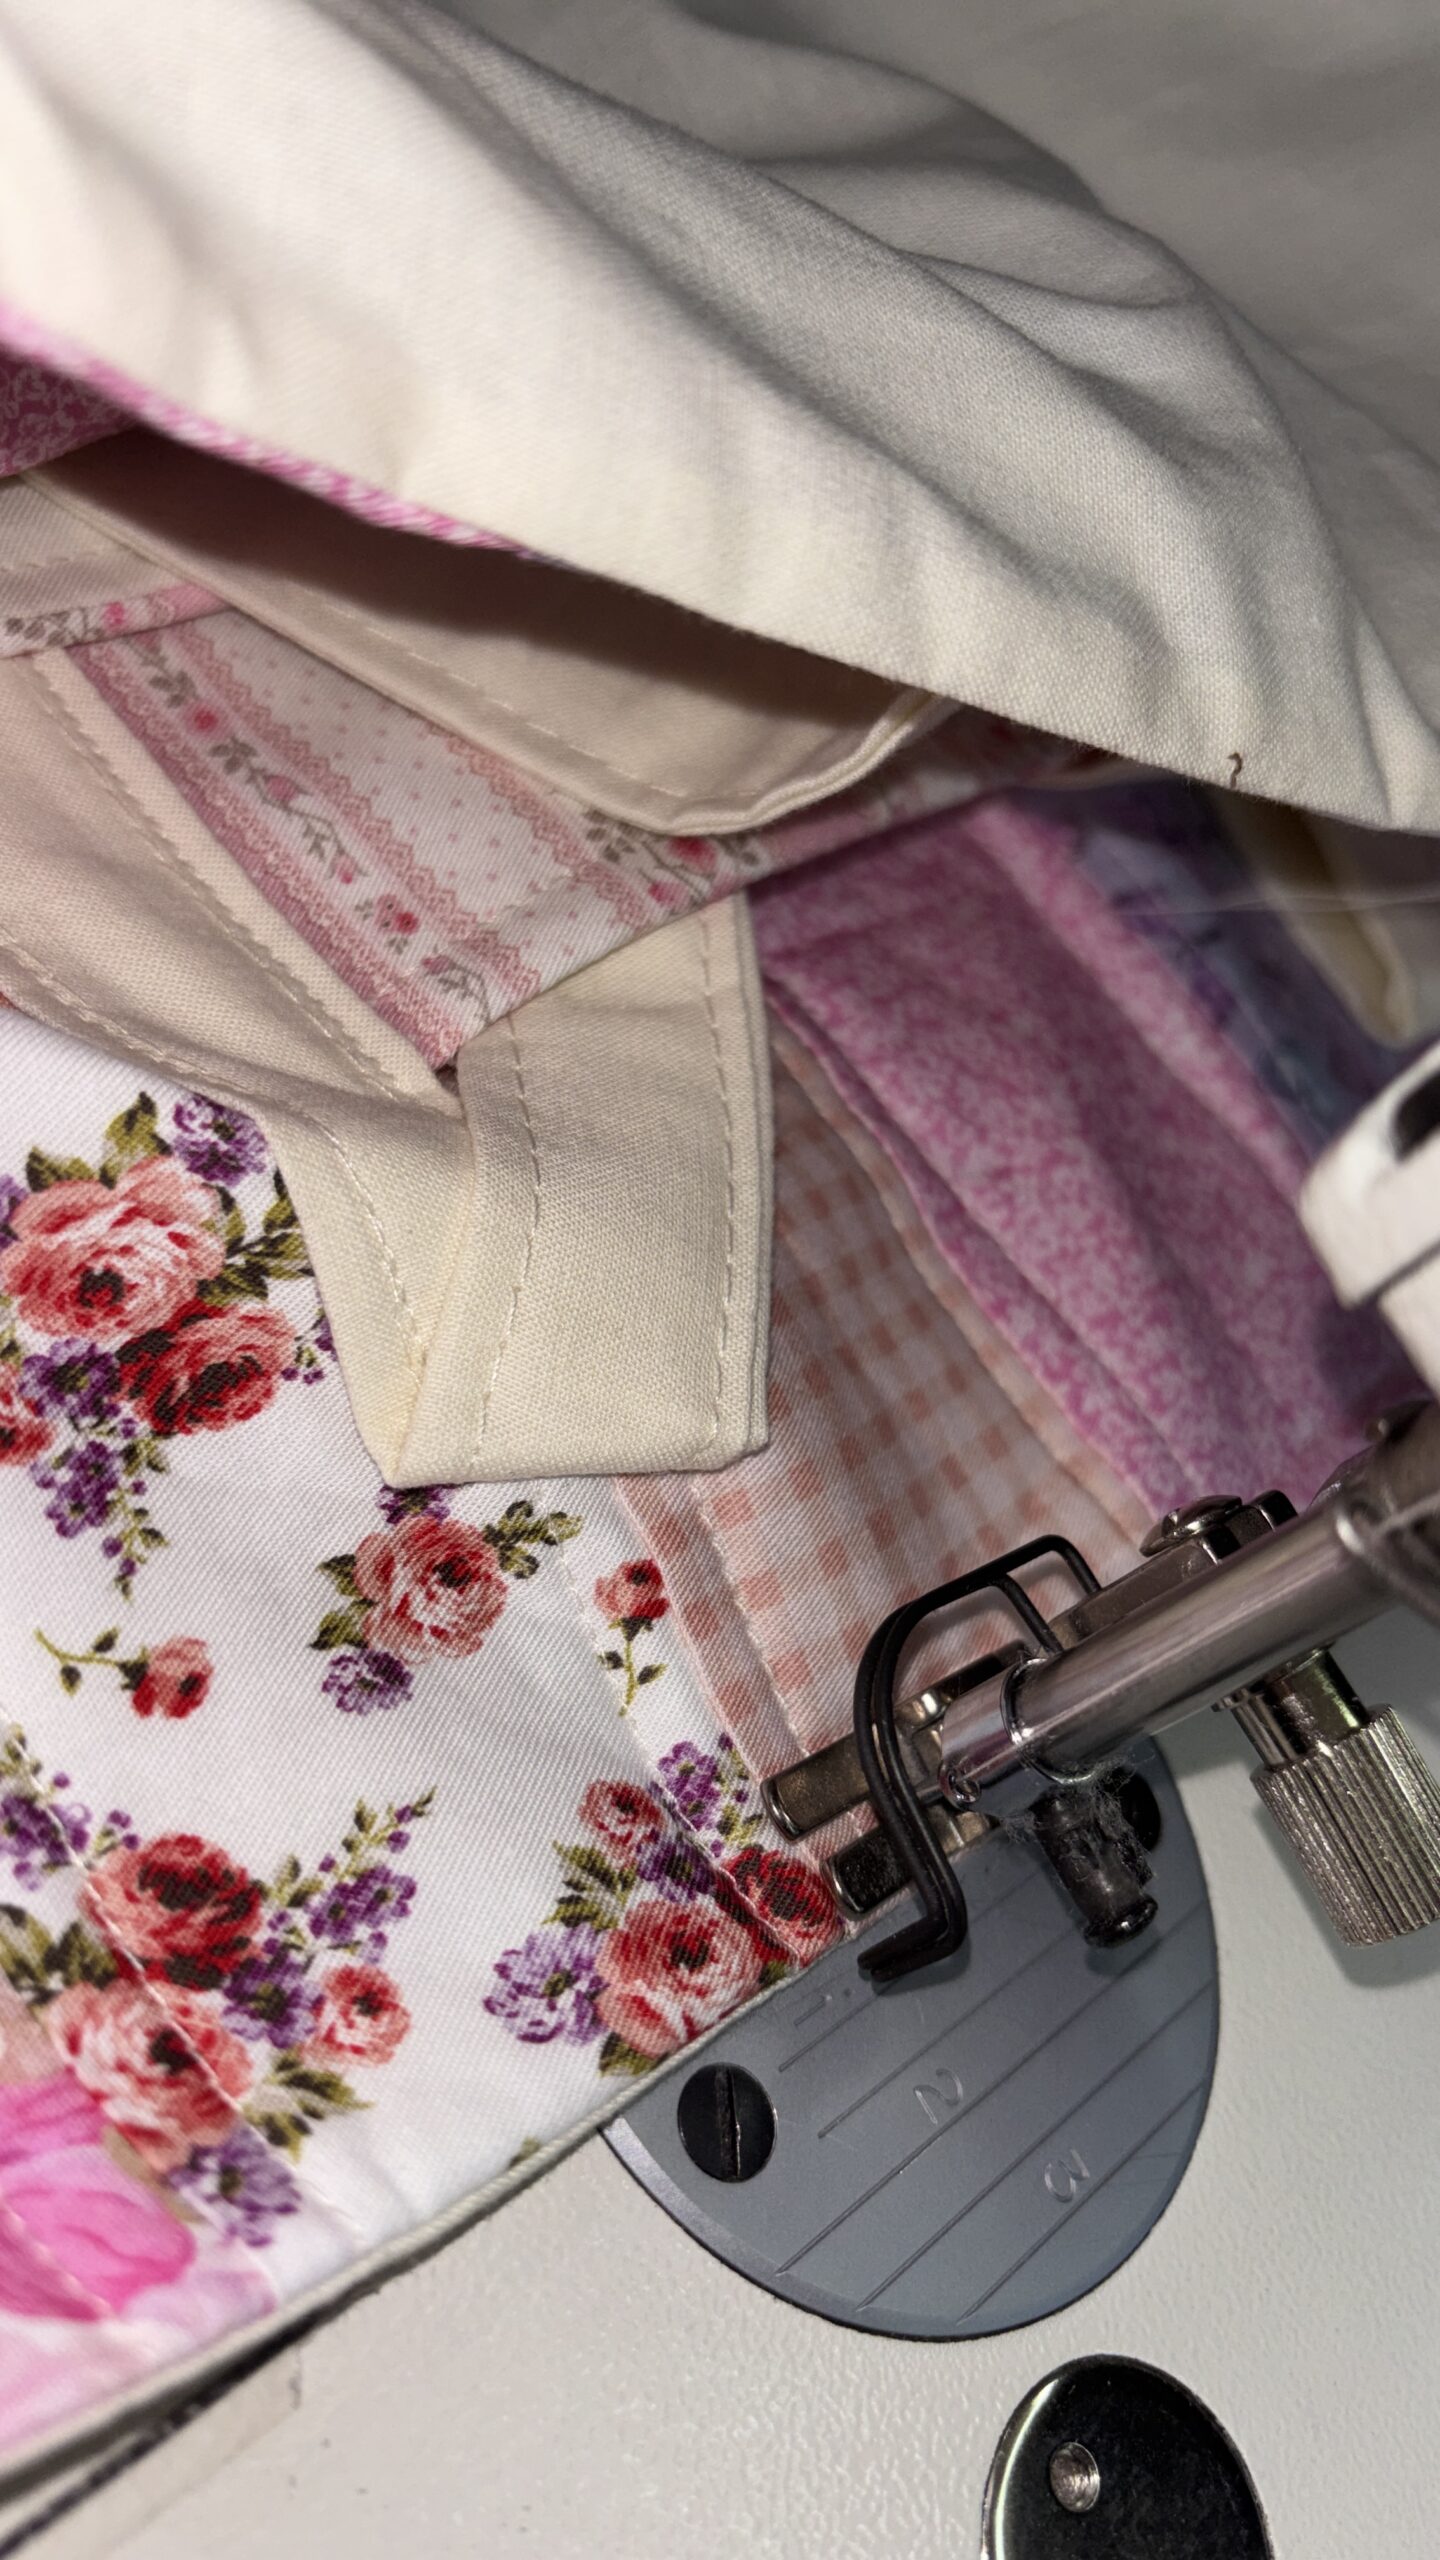
Press your bag and topstitch the top edge of the bag using ¼” seam.
STEP 32
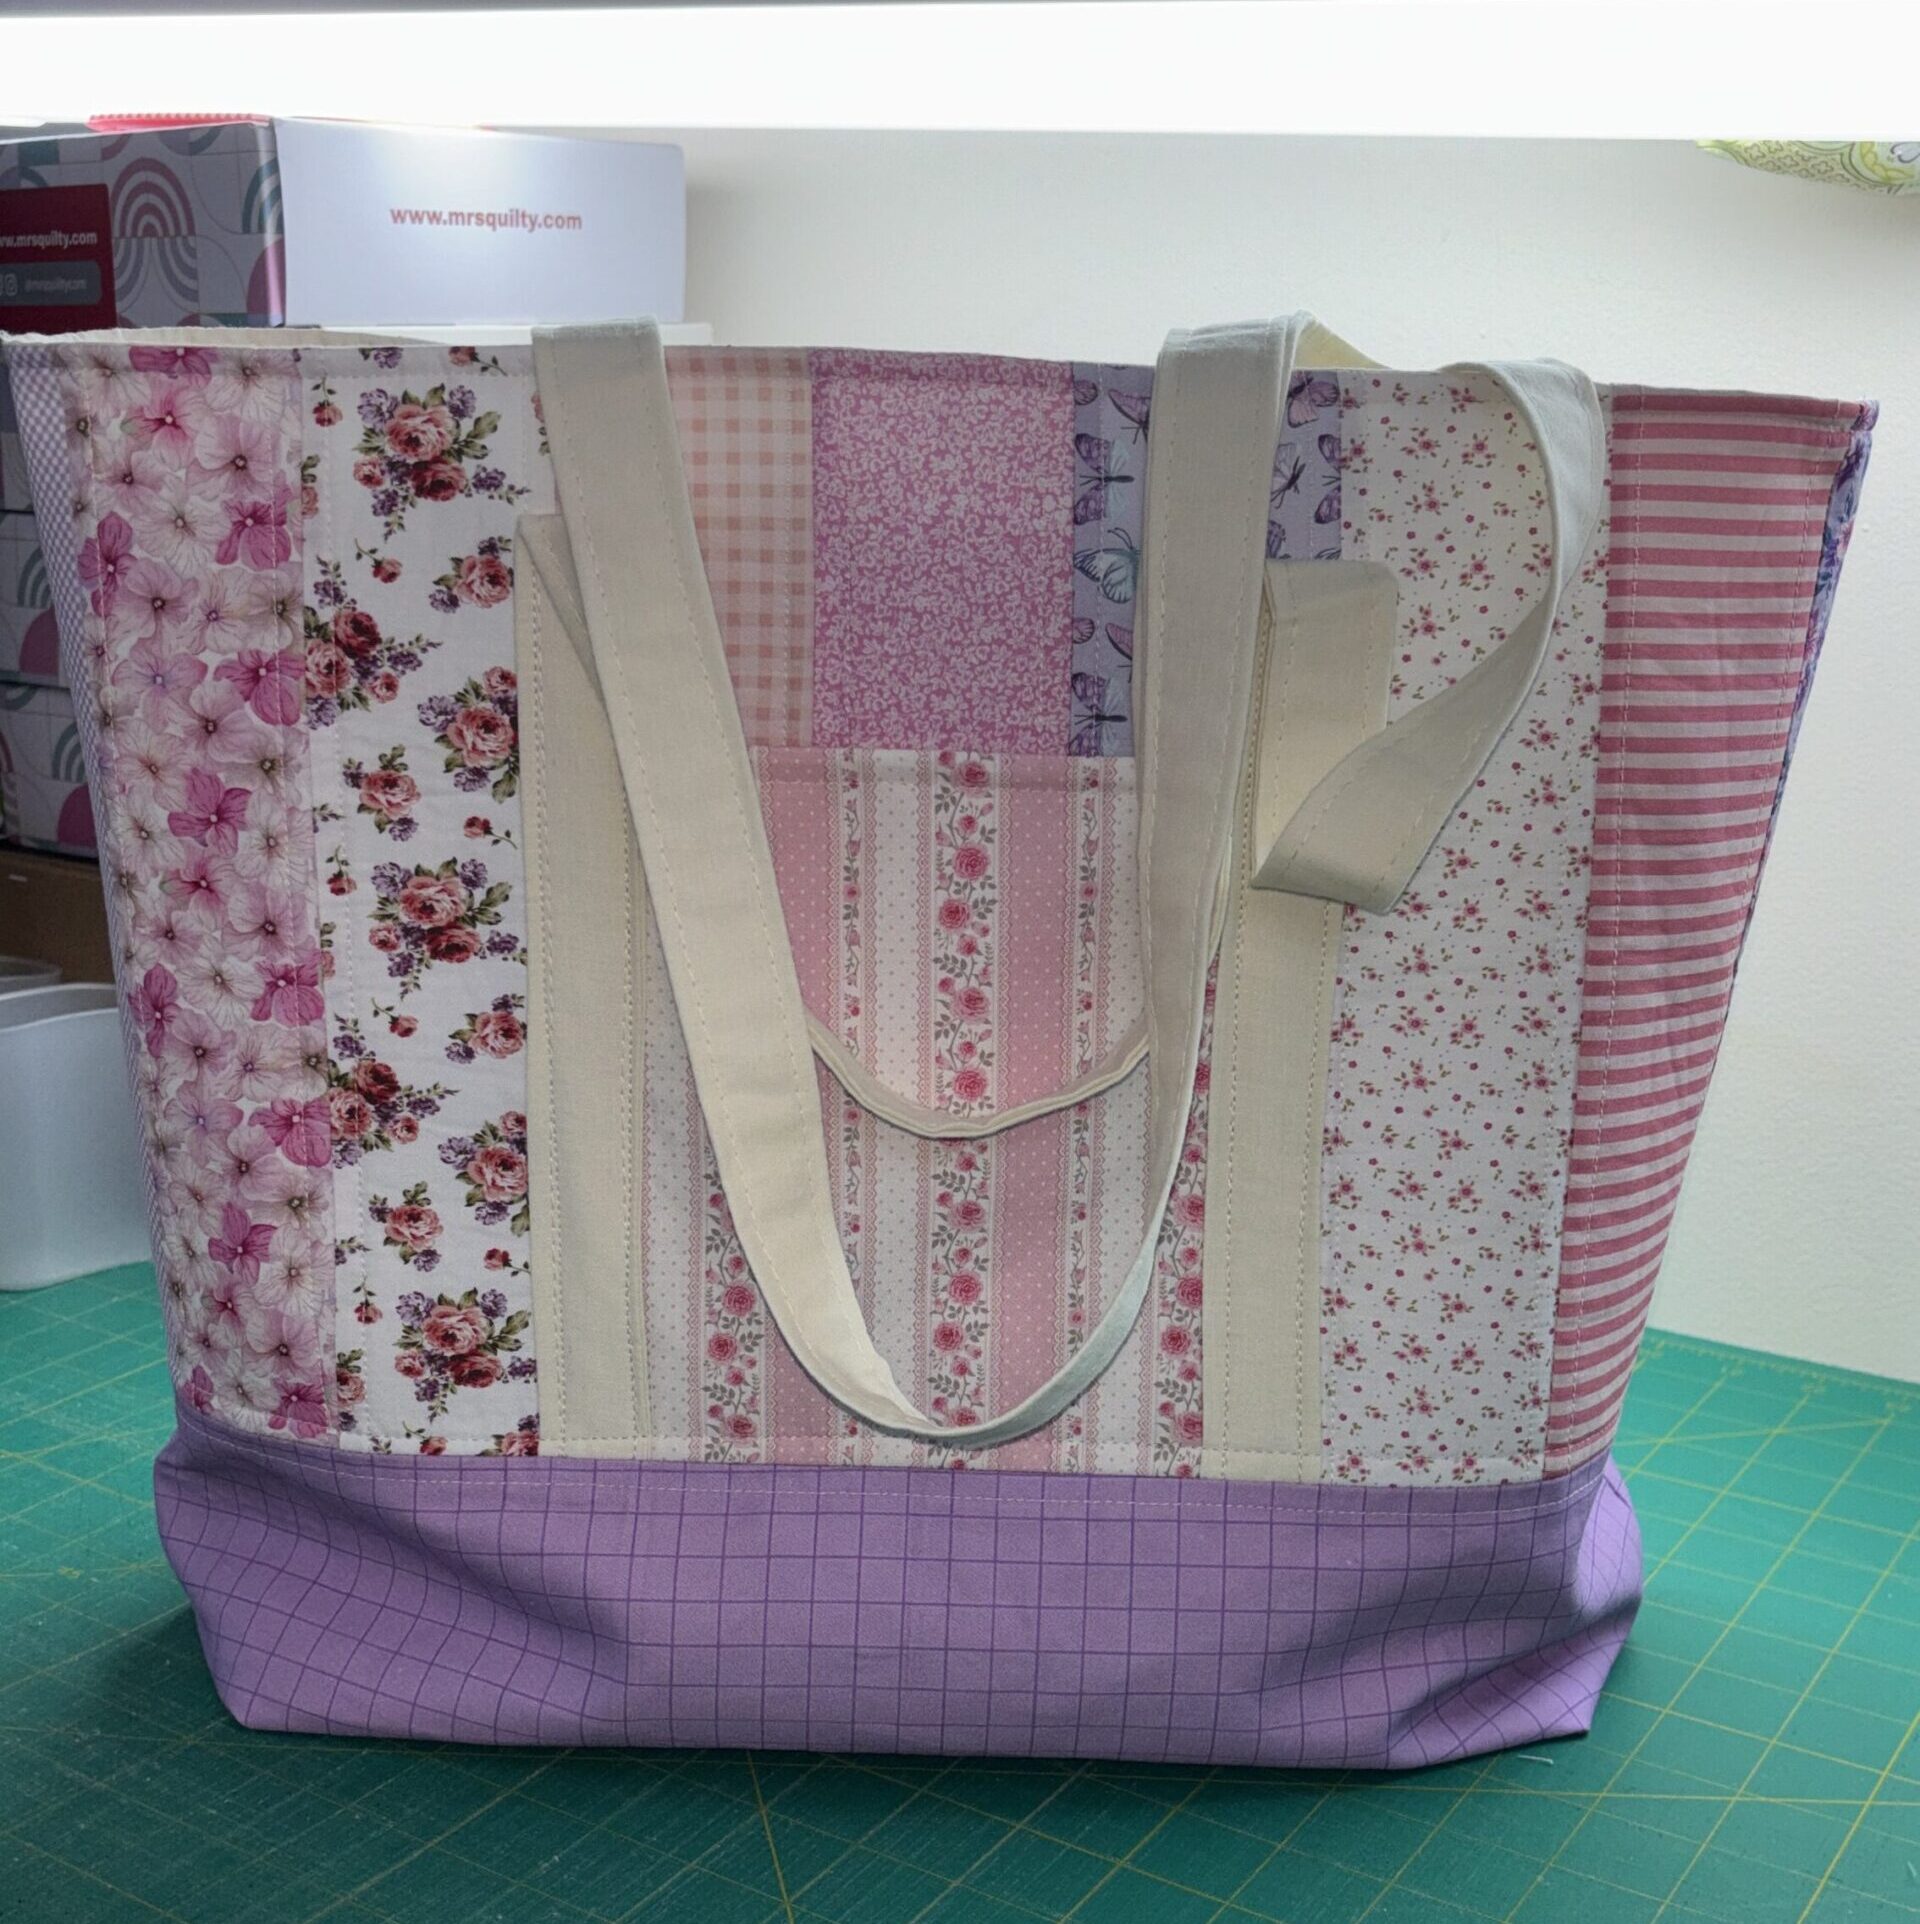
Finished size: approximately 13 inches high x 13 inches wide x 5 inches deep.
YOU MADE A BAG
A proper one. With pockets.
Your finished Heymish Market Tote should measure approximately 13 inches high × 13 inches wide × 5 inches deep. Give it a final press, admire the stripy quilted chaos, then immediately fill it with fabric because apparently that is how bags work.
FREE PRINTABLE PDF
Want the pattern offline ?
Join the Heymish mailing list and we’ll send the printable Heymish Market Tote PDF to your inbox.
Gifted disclosure: This project was made using a gifted Mrs Quilty Box as part of Heymish Handicrafts’ ambassador partnership. Use code HEYMISH25 when ordering.